
5,683 total views, 1 views today
On the truck, I called Fedex this is what they sent LOL
Update Package arrived in Tucson on the 24th of March in Great Shape.. Thanks Fedex

Feb14
Total time for the Build 94 hrs
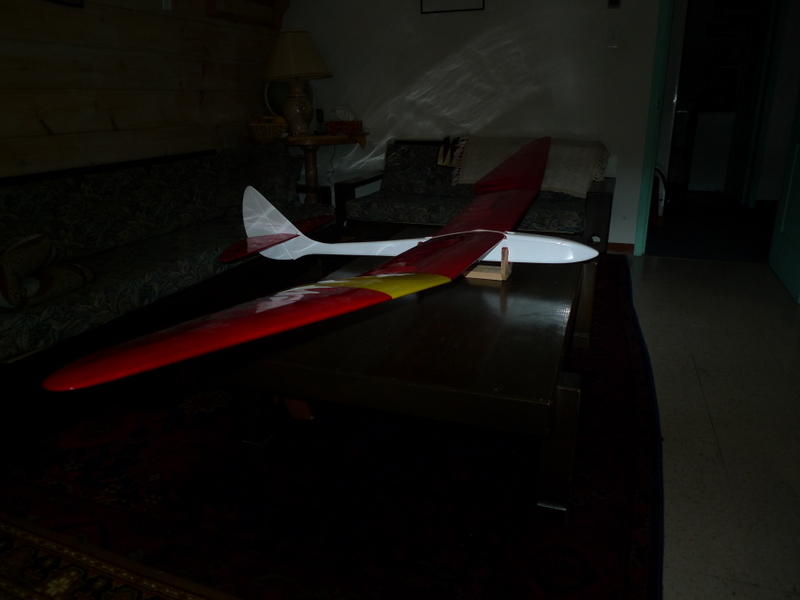
All finished and weighs in at a trim and tidy 1300 Grams , and that’s with 70 Grams of lead in the nose. I didn’t ever think I would need that, If I could have sanded a 30″ 1/16 x 3 sheet of balsa out of the tail maybe I could have gotten away with no nose weight.
Ah well I’m not gonna do that now, I’ll have to wait till I build the next one

more sailing
and more 🙂

Feb 13

Stab spoilers hatch ready for the cover

————————————————————————————————–
Feb 9
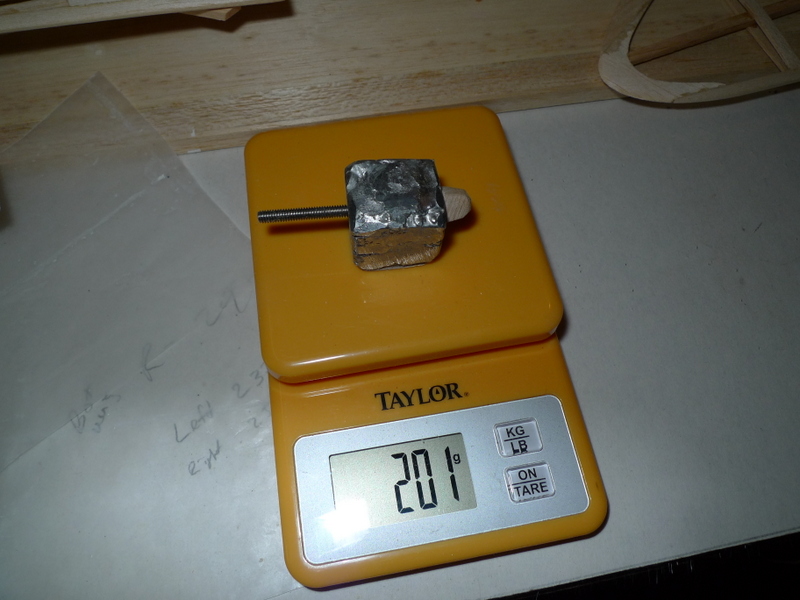
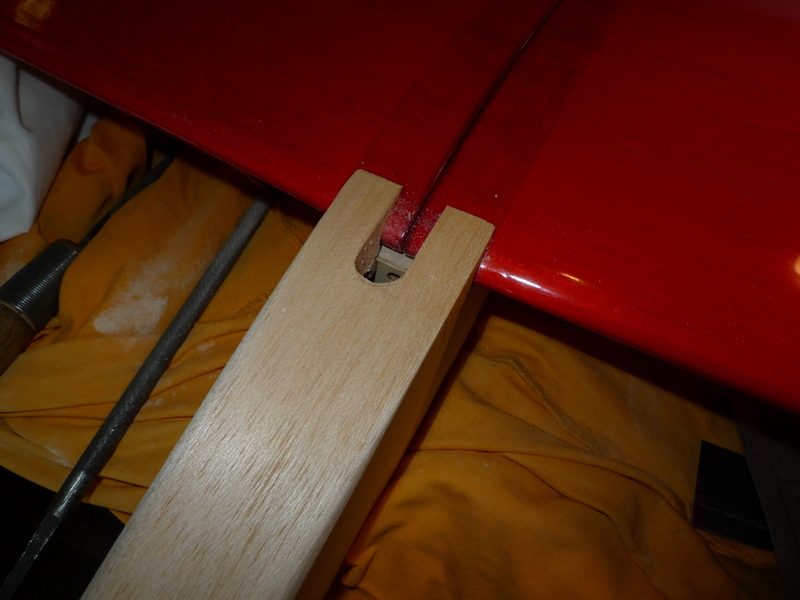
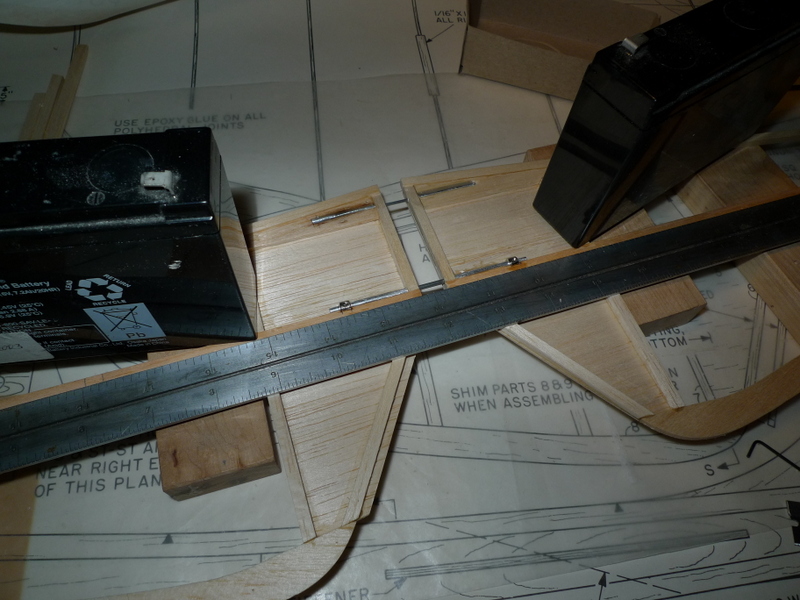
Mold and lead for ballast

3/16 dowel thru for adjuster screw

Setting in place

directly under the CG point, can be moved forward or rearward

Removable at 201 Grams
Canopy preliminary shaping
Fuse

Tow hook channel, and cutout in fuse

Fin

Canopy nearing final shape

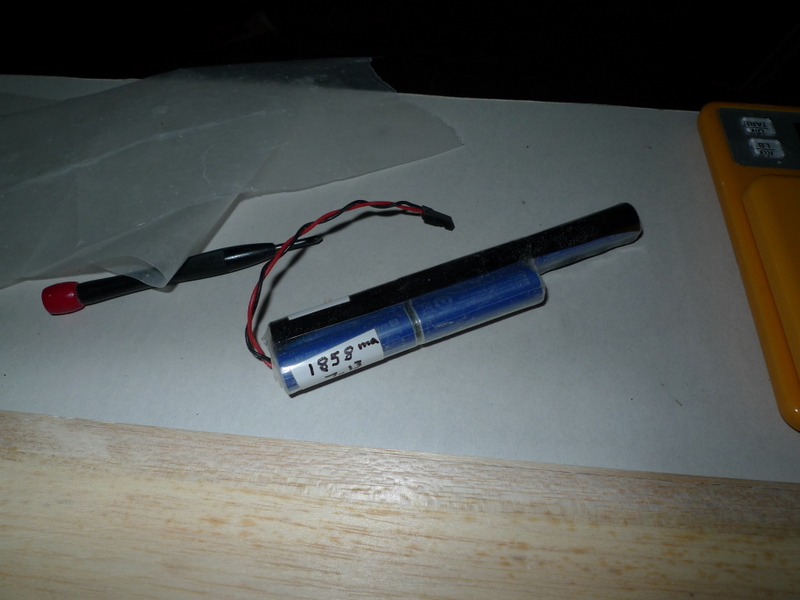
Battery, is this a 2 2 1 setup?
Ballast, this mold should hold around 7 oz of lead
—————————————————————————
Feb 7
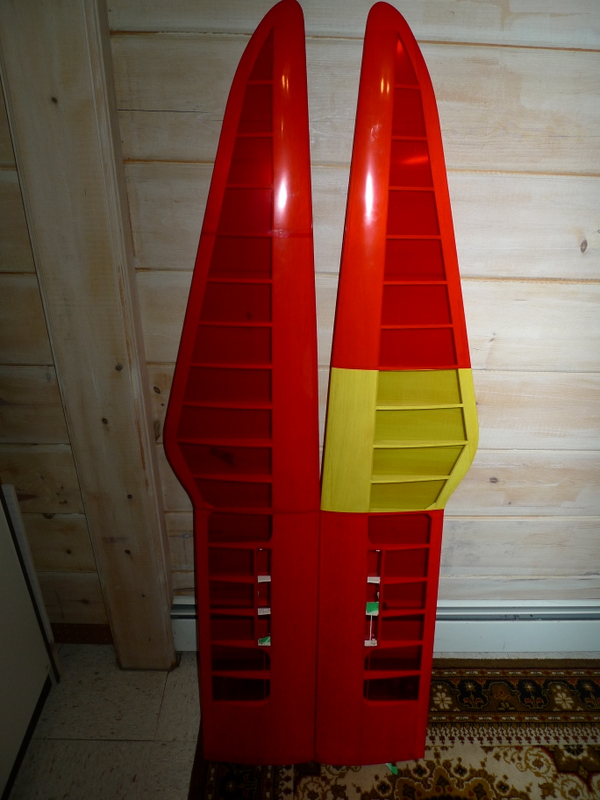
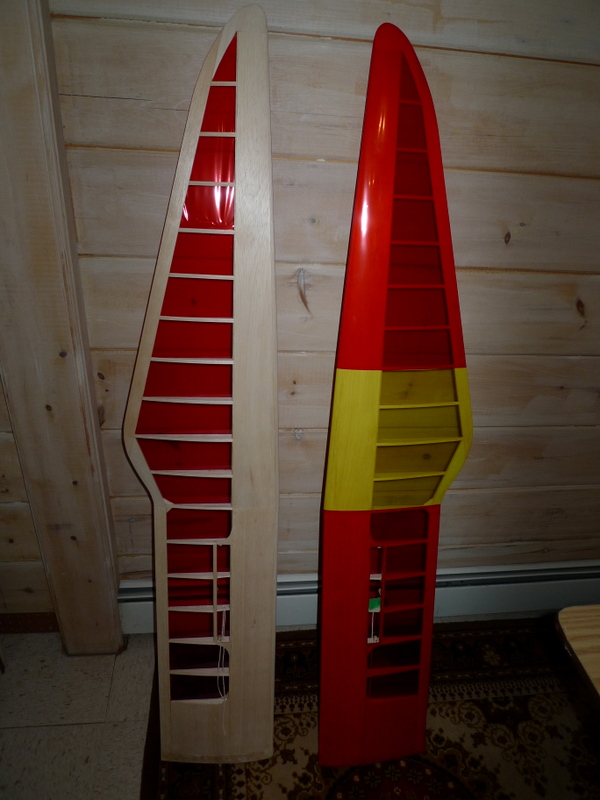
Ultracote, I really like this covering much nicer to work with then Monokote. This is the wing color of the newest BOT in the west. Should be really viseble. Still missing is the spoilers
Fin sheeting is glued on. I’m gonna sand a lot of this area away to get a nice blend between the fin and the fuse. Square corners and sailplanes never looked right to me:)

Here you go, looks a lot better.

and the left side, is that port or starboard, I can never get it straight.

Canopy, hold down, some plastic pins at the leading edge

and magnets at the rear. Rubber band for security, whad yaaa think Tom?:)

—————————————————————————————————————————————————-
Feb 5
Rudder push rod end, I like to use SS Cable and nylon tubing.
There’s a bit of a learning curve to get the tubing the right length, and get the Links Silver Soldered on , however it works very well with the Sullivan Quick Links

Stab bellcrank, and inside aft end of fuselage
Rear dowel for wing rubber bands

Stab and rudder servos in place, a compact layout

and of course the wings with their magical colors
wing underside

——————————————————————————————————————
Feb 03
Wing center
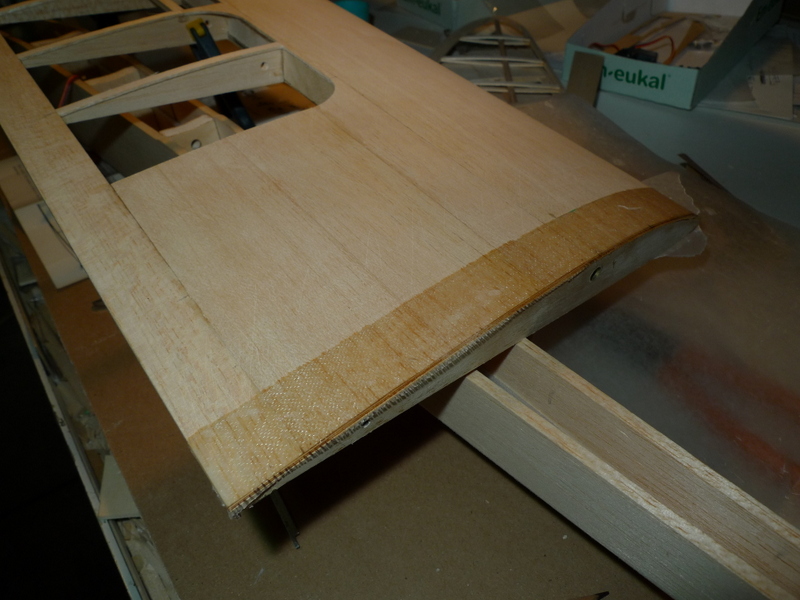
A couple strips of Fiberglass where added to reinforce the area for the rubber bands

Spoiler blades with magets for trailing edge retention

Spoilers ready for magnets, holes carefully drilled into ends

Servo mount

Fiberglass reinforcement left wing
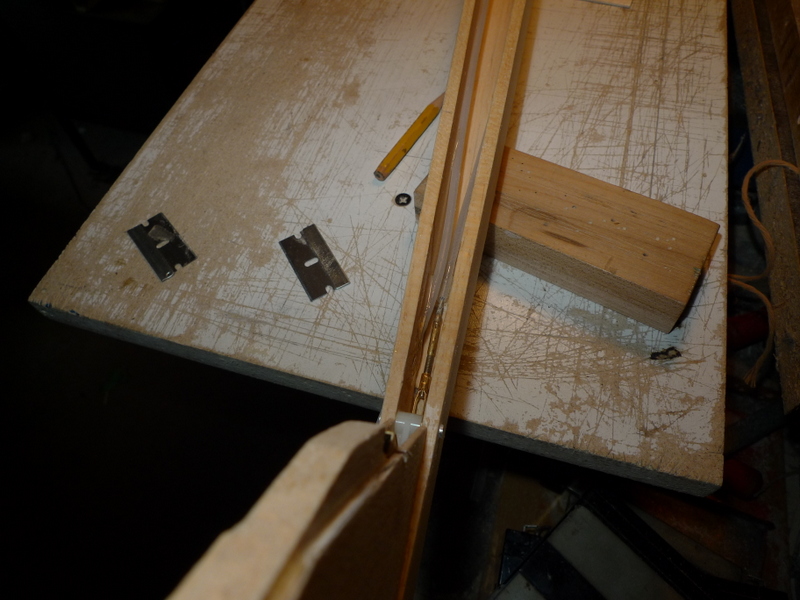
Spoiler bay with adjustable stops in place

Pre-made adjustable stops

Setup for fiberglass reinforcement

———————————————————————————————————–
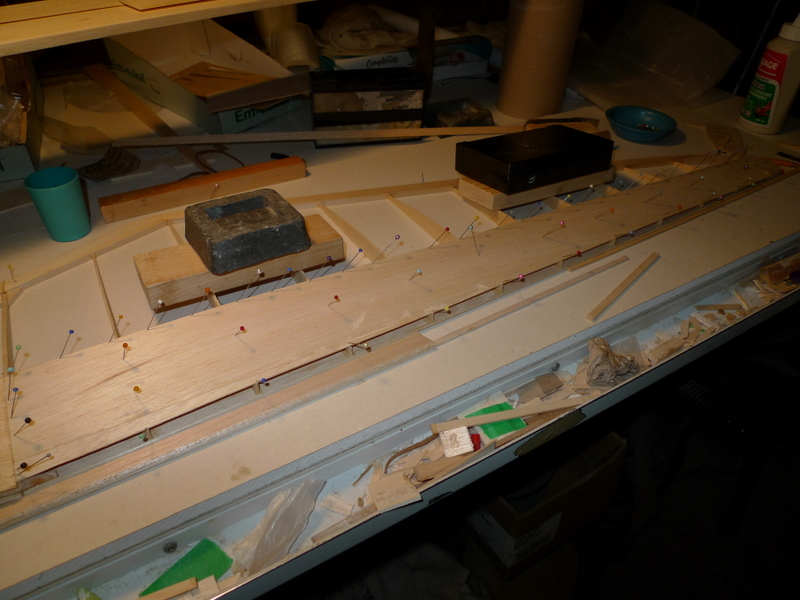
Feb 02
Both panels put together

Left wing leading edge

Leading edge profile template

Wing is beginning to really take shape

Leading edge, a flat surface to glue this on is important.

Inboard panel rib caps

Left tip panels rib caps

—————————————————————————————————–
Feb 01 2014
Left wing panel top filler sheeting as well as sheeting around spoiler bay

Left wing panel outer LE sheeting
Spoiler opening and filler sheeting right wing panel

Right wing panel spoiler opening

Left wing panel inboard top LE sheeting, edge at spar is glued with epoxy

Right wing panel, fitting of balsa filler pieces surrounding spoiler opening

Rib caps right wing tip panel

Right tip panel top LE Sheeting

Inboard panel LE sheet

Spoiler servo setup, servo hanging of spoiler opening sub spar
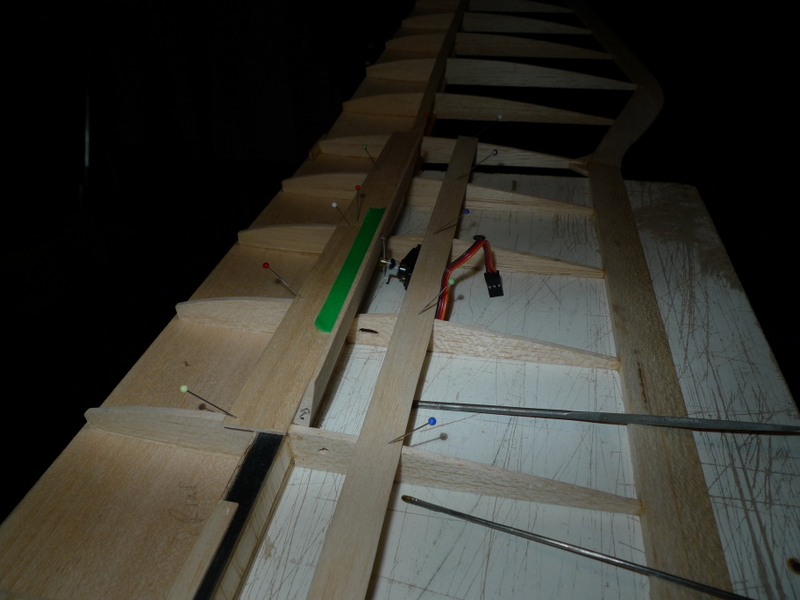
Spoiler servo mount blocks
spoiler bay sub spar

the wing is getting longer

main panel to tip join

Top tip panel sheeting needs a stretch with a piece from the tip

Polyhedral angle set
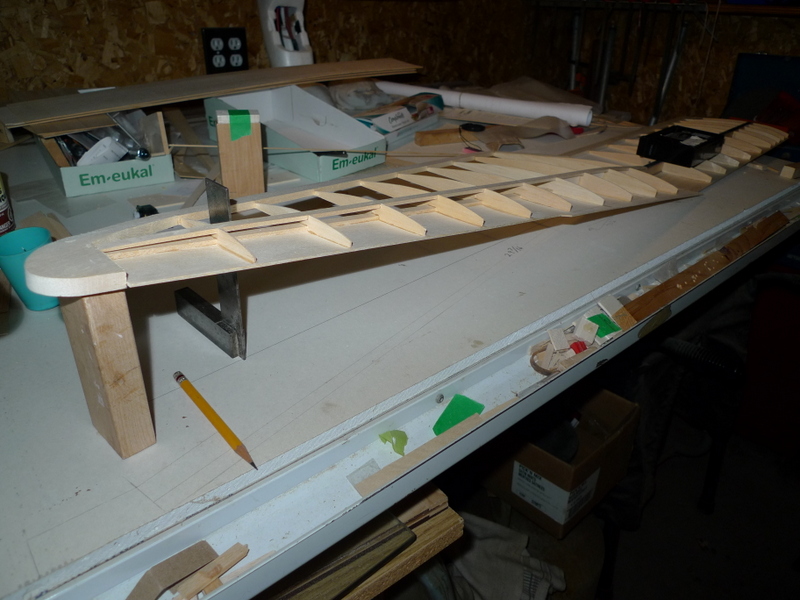
wing panel join

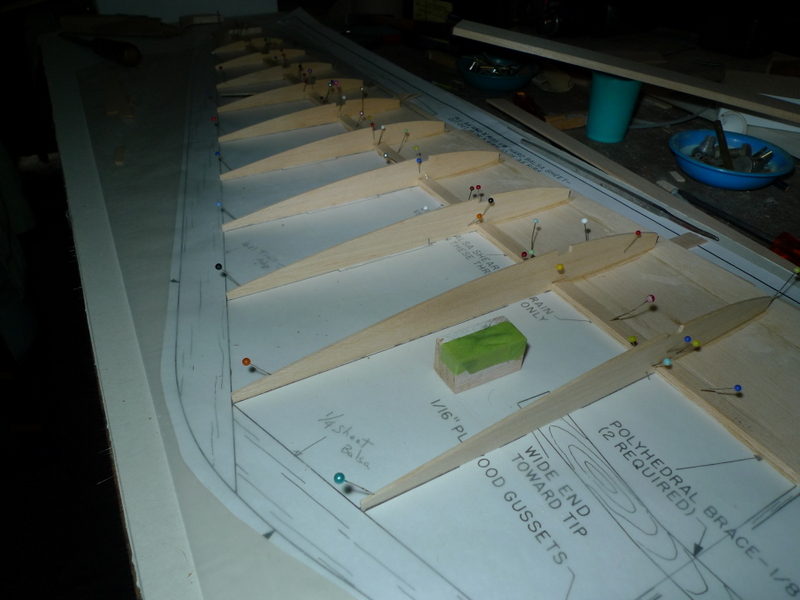
rest of ribs are placed

wing inboard panel join

——————————————————————————————————————–
Jan 14
Right main panel coming together, some shear webs and ribs in place making sure the correct ribs are placed for the spoiler opening
The A ribs on inboard panel, they need to be set with glue in the area forward of the spar so the rear portion can be removed later to add the ply wood shear web doubler.

Left wing panel moving along as well

Top spar in place on right panel

Left panel upper spar in place and weighted down until glue sets

———————————————————————————————————————————
Jan 6
There are 6 pieces of 1/16 x 4 sheeting in the kit, Appears they were grouped in sets of two based on weight, I’m using the heavier wood at the inboard end as filler pieces behind the spars both top and bottom..
The lighter sheets will be for the top and bottom leading edge sheeting.
Right inboard panel build, I had previously glued the lower spar to the lower LE sheet

Left inboard panel
Partial rib stack with notches for rear spoiler spar as well as cutout for spoiler.

Spoiler will be 3 bays wide, one bay inboard of polyhedral joint.

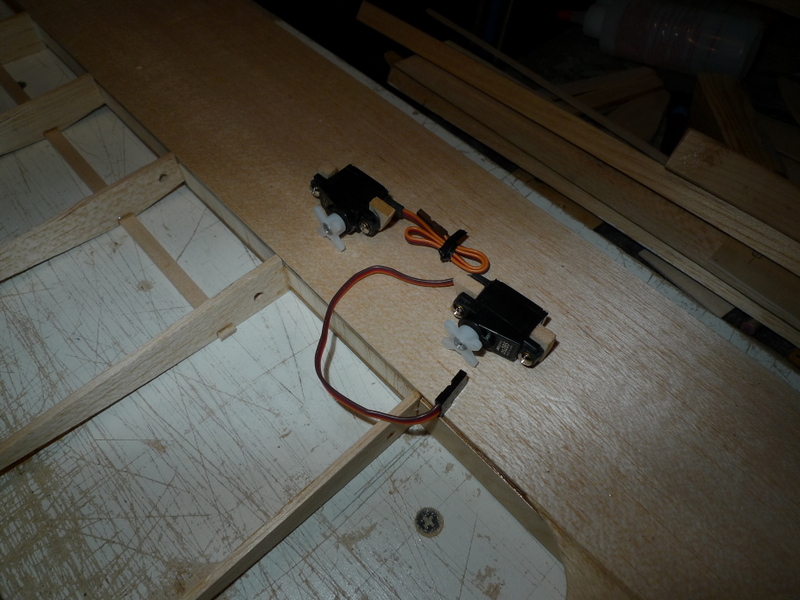
Spoiler servo

——————————————————————————————————————–
Jan 5 2013
I’m back, lots of snow here the last month, and of course Christmas in between..
Also finally got the correct CF for the wings, mind you CST could have done a better job with the width of the carbon fiber, minus .050″ is a little out of tolerance on the width in my book.. 🙂
Will it matter, not likely.
Spars without the CF

I used a straight edge and held the spars tight to this before laminating the CF.


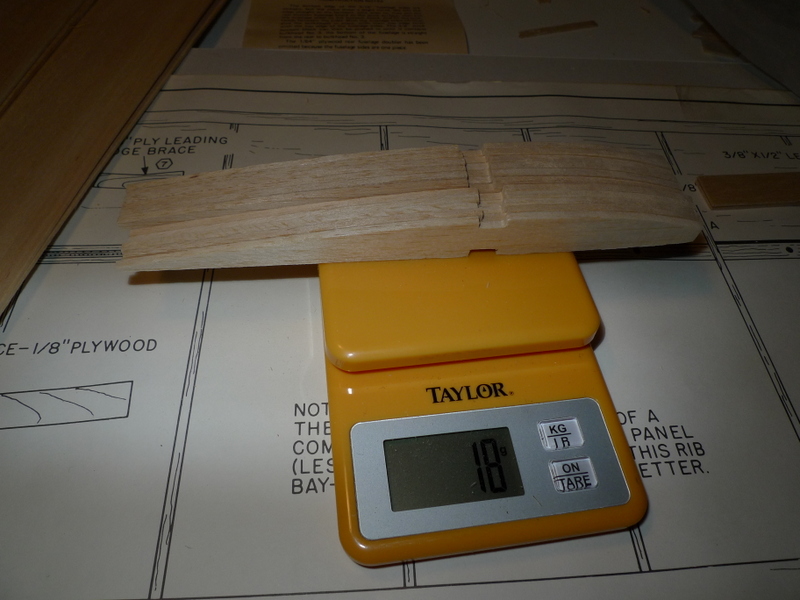
Spars

Spars upon completion, laminated and cut back to 1/8 ” thick 10 Grams heavier

Rib set for one inboard panel,
———————————————————————
Dec 12
Fin and stab linkage

Stab linkage, bell crank,

Actuator cable and linkage

Fin in place, trial fit to check all clearances of the stab linkage

A little glue

2 part rudder gets glued together

Tail comes together

—————————————————————————————————————
Dec 11
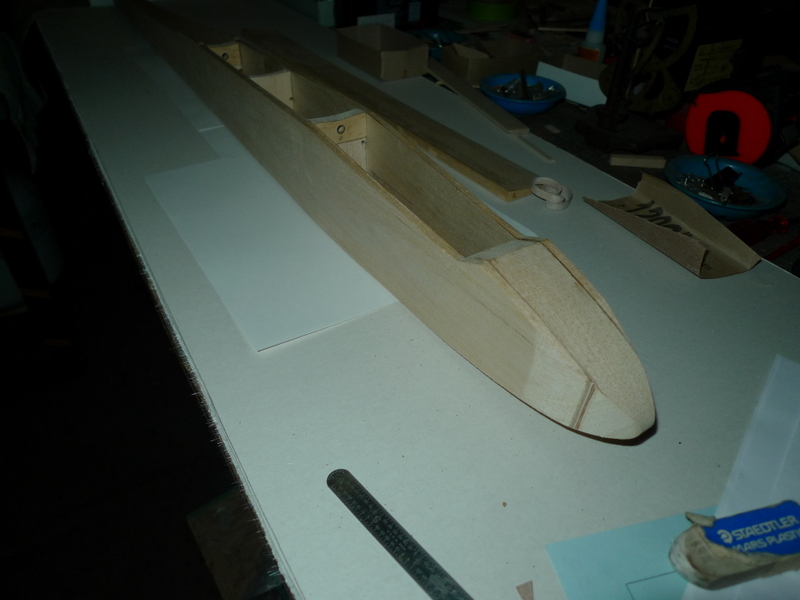
The two bottom fuselage pieces are glued together and the formers to the bottom..
This is the order I’m putting things together as I am certain the formers are square to the bottom

Nose block gets glued between the two sides

Bottom meets sides

No more clamps, really turned out nice
another

——————————————————————————–
Dec 6
Fuselage assembly, a lot of parts come together here, so I’m going to take my time with each piece, and make sure everything fits together snug, and has all holes added and shaping complete.
I don’t want a crooked fuse, or have to dig in there later to add something.
Formers 1and 3 with plywood reinforcement and wing retainer pins. The die cutting on the ply was a little off so the edges where all sanded with the dowel pin thru the holes. All three formers are glued at an angle of less then 90 Degrees to the sides. A pitfall here If one glues them to one side at 90 Degrees..

Formers
Lower fuse sheet, and join at former # 2

Forward bottom sheet, the sides where not the same and the end was 90 degrees to one side which is incorrect as the sides are not parallel, a little bit of sanding and shaping was needed here.

Slot for tow hook channel

All the parts start to come together , the front nose block needed some shaping as well a little wider then what the plans state.

—————————————————————————————————————————————
Dec 2
Right tip panel

Tip panel shear webbing in place

Upper spar right tip panel

Upper spar left tip panel
Stab actuation , plans call for bell crank system, will a tube and cable system be better?
I’m cobbling together the fuselage pieces

First step, glue the fuselage doublers too the sides, making sure there’s a left and right side. 🙂

—————————————————————————————————————————-
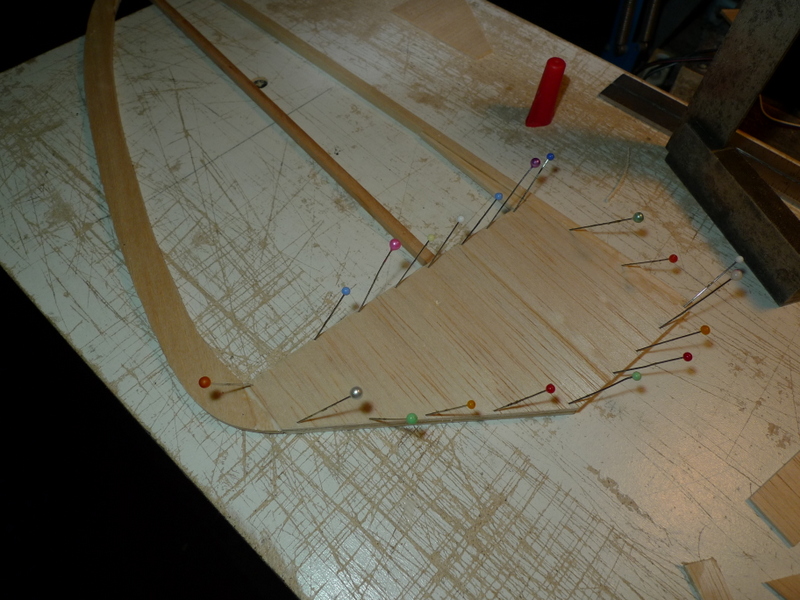
Nov 29
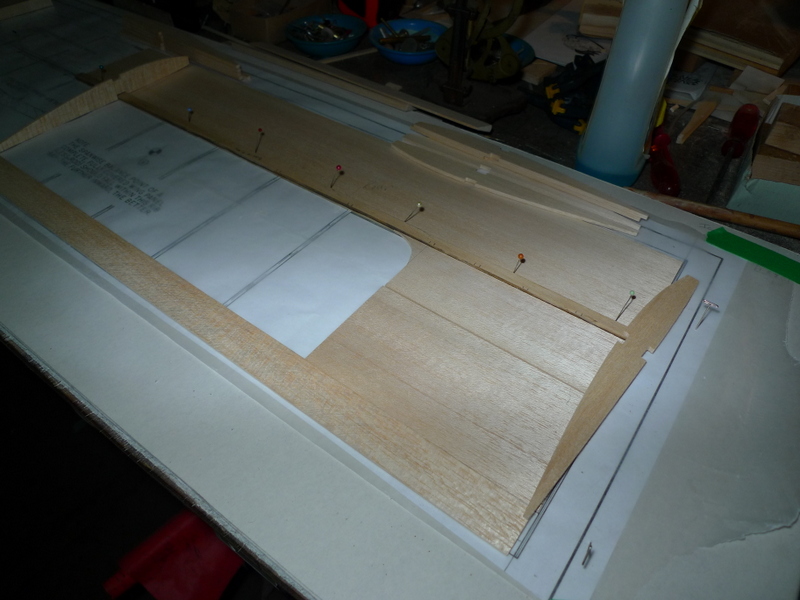
Left wing tip panel begins to take shape. Take care and make sure the lower spar notches are deep enough so that the aft portion of the rib sits flat on the board.
Stab cap strip sets, glued together at the trailing edge
Her is where they get glued into place one set at a time.

Training edge filler cut from a piece of 1/4 balsa stock, shape is marked
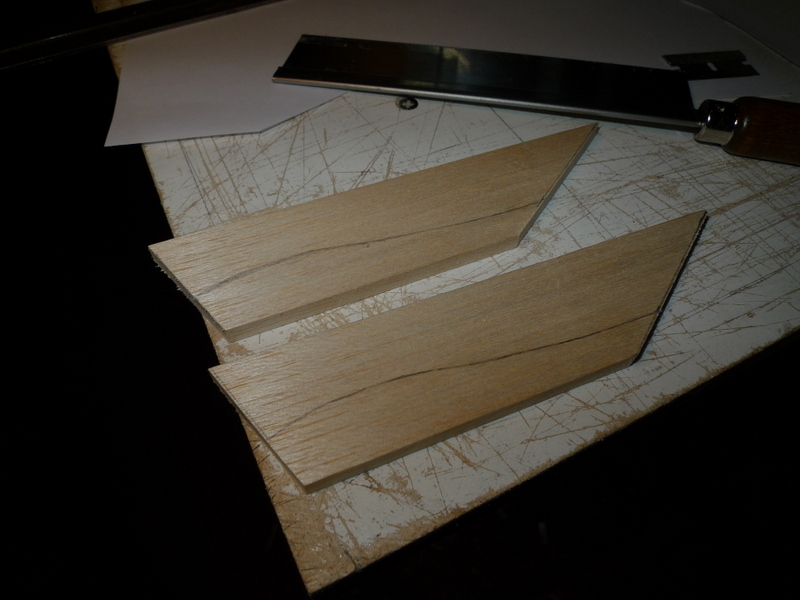
Cut and some of the taper is sanded so that there’s not so much to do later

Left tip panel with trailing edge in place

Right tip panel on the board

——-————————————————————————————–
Nov 28
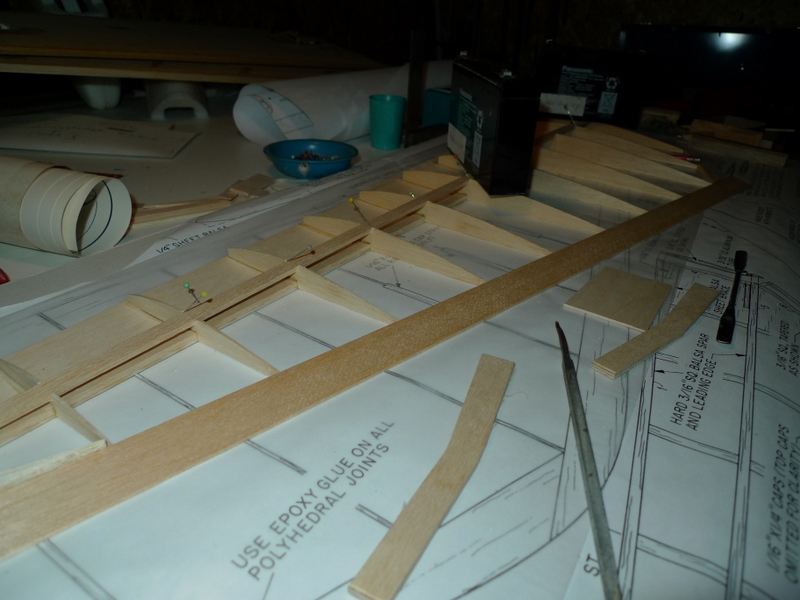
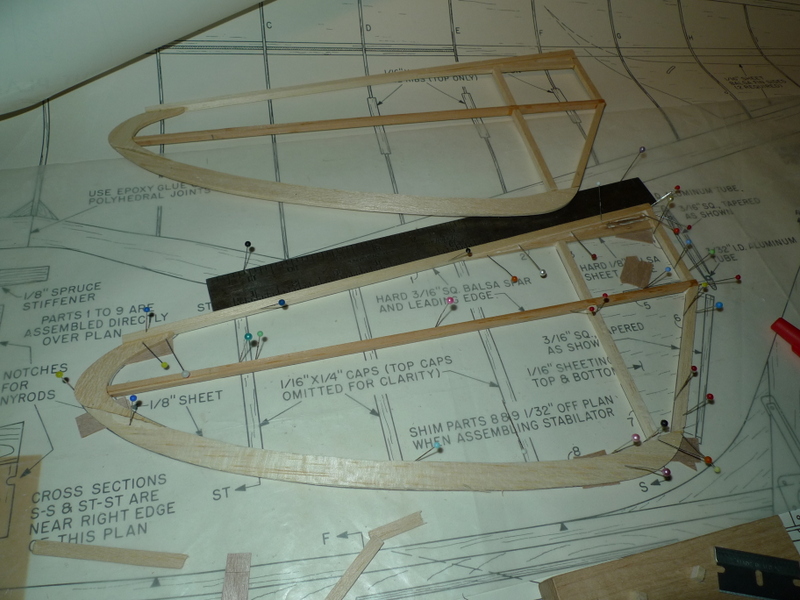
Stab coming together, I’ll add the inboard sheet and cap strips once the frame is off the board

One frame off the board and the other set up, shims are placed under the trailing edge and the tips.
Wing tip ribs cleaned up ready to be set on the lower spar
Inboard panel ribs, these where quite rough when I removed them from the sheets. They took a little more cleaning up then those for the tip panel

Cap strips cut in pairs, and the instructions say to install them in pairs as well to prevent warpage of the stab

Lower inboard sheet on stab half
Stab tubes in place, I’ve added collars to lock the stab to the fin
———————————————————————————————————-
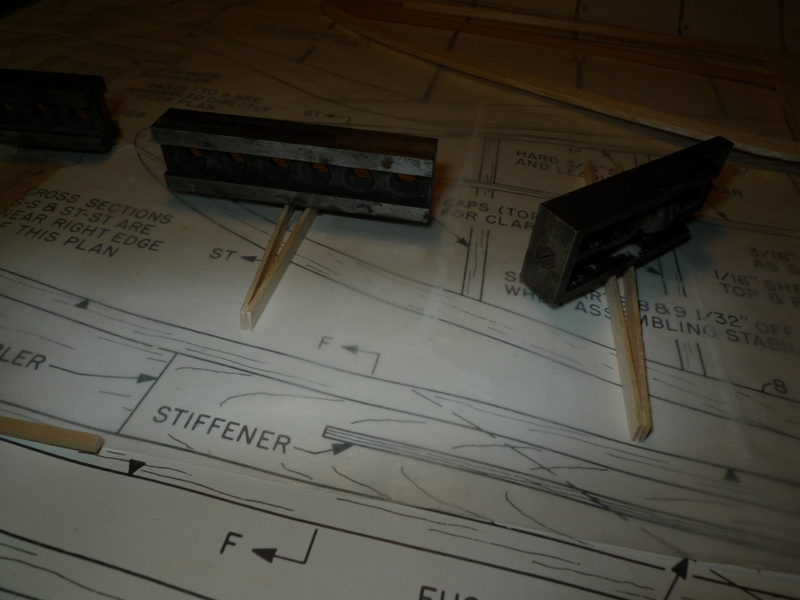
Nov 27
Stab build, tips and trailing edges get put together first. I like to sand the inside edges lightly as well especially when it’s getting covered with transparent Ultracote.
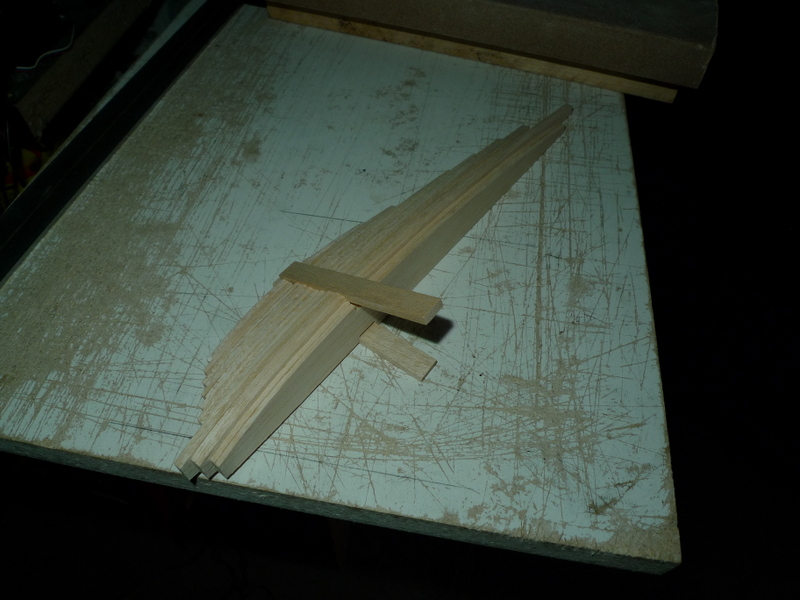
Spars, leading edges other frame pieces are cut to length, and shaped 1st, always in sets, so that the other half of the stab is identical.

The frame pieces have been pre cut , I need to shape the ends to suit before they get glued together.

Tip panel lower leading edge sheeting. A triangle piece is cut from the end and glued to the inboard end where the width of the sheet is greater.
Spars are cut to length and are both marked for rib location, there can be variations on the plans so this will get all ribs in the same spot.

Nov 25
We have some details ironed out
- 3 bay spoilers, servo operated placed one bay in from end of main panel. DS285 servos
- DS368BB servos for stab and rudder
- CF strips on main panel spars, top add .021″ x .375″ bottom add .014″ x .375 ” and then rip spars to 1/8″ thick
- add two 3/32 collars to retain the stabs
- SS cable and nylon tubes for stab and rudder control
- CG adjustable lead weight for ballast, this should be a treat
- 1/16 wire skid to protect rudder
- airtronics, channel style adjustable tow hook
- glass at leading and trailing edge, main wing panel where wing bands pass over
- RTF weight Goal , I’m shooting for under 45 oz
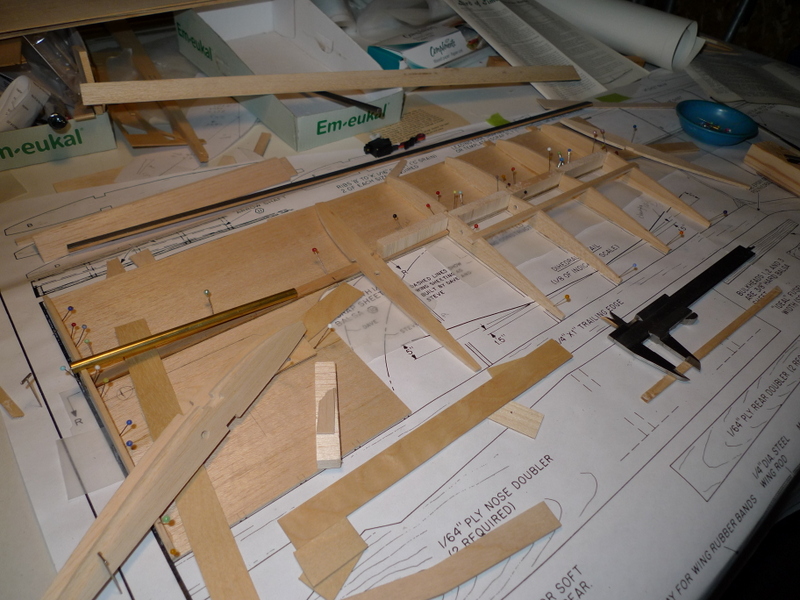
Some details, I’ve removed all the ribs from the die cut panels, they will all get a light sanding before assembly..

Some of the other goodies, removed from their packages. I like to keep everything in a few trays just to keep things tidy

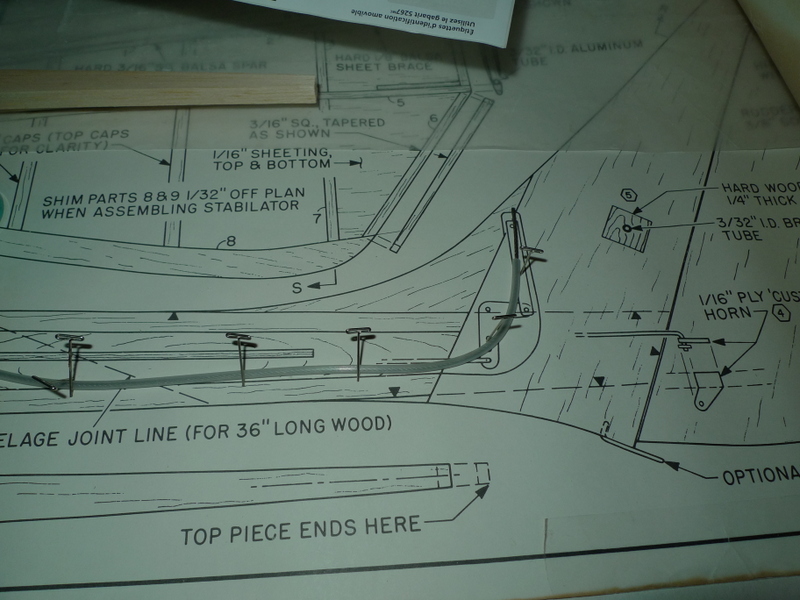
The plans, two sheets that need to be taped together. I place tape over some of the edges, as they are quite brittle from the age.

More plans..
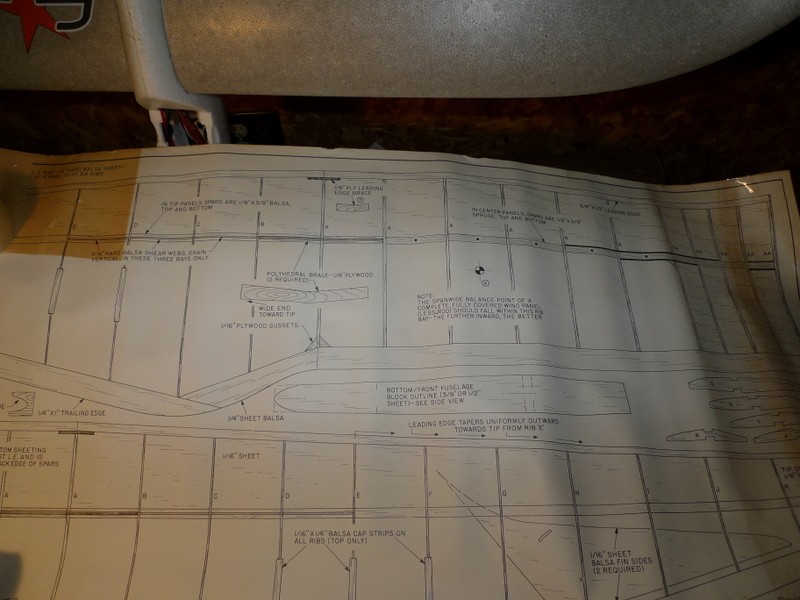
and more

———————————————————————————————————————–
BOT arrival imminent, expect to start build, within next couple of days

A classic kit from the 70’s or is it the 60’s

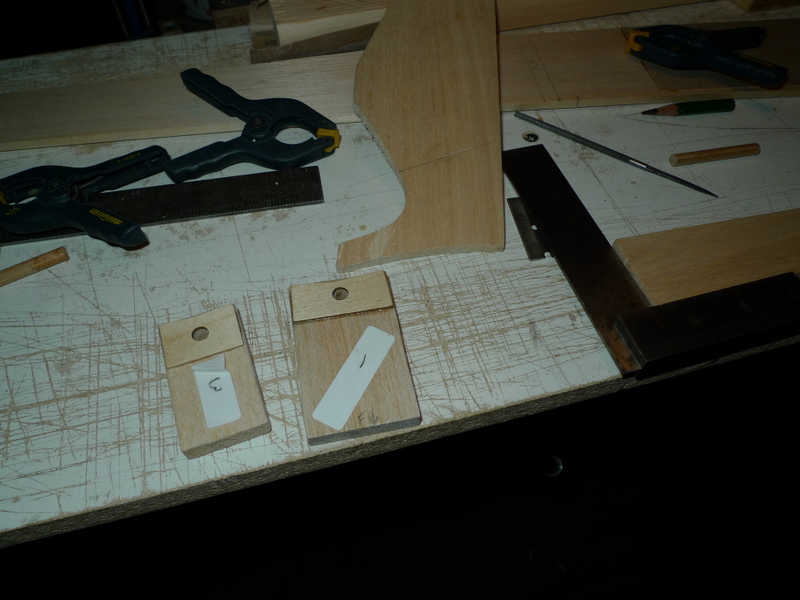
Nice wood misc. packs with notes on who packaged them. Nicely done.
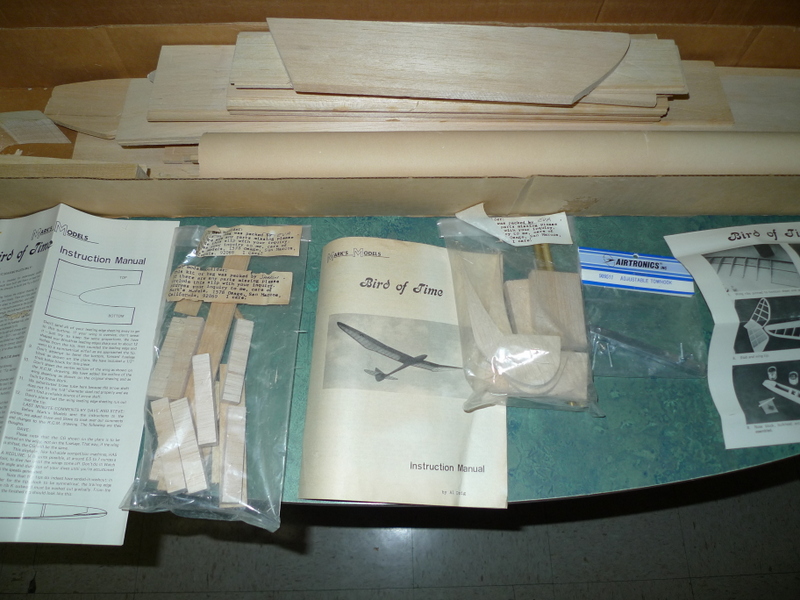
I got all the wood out.

————————————————————-
I have a Build coming up of a Marks Models BOT..
A Dave Thornburg design from the early 70’s , I believe it’s a 118 ” WS.
It will have
dial cord operated spoilers,
possibly carbon reinforced spars,
colors red with yellow band on wings
Can’t wait