
15,803 total views, 1 views today
Oct 11 Something Extra
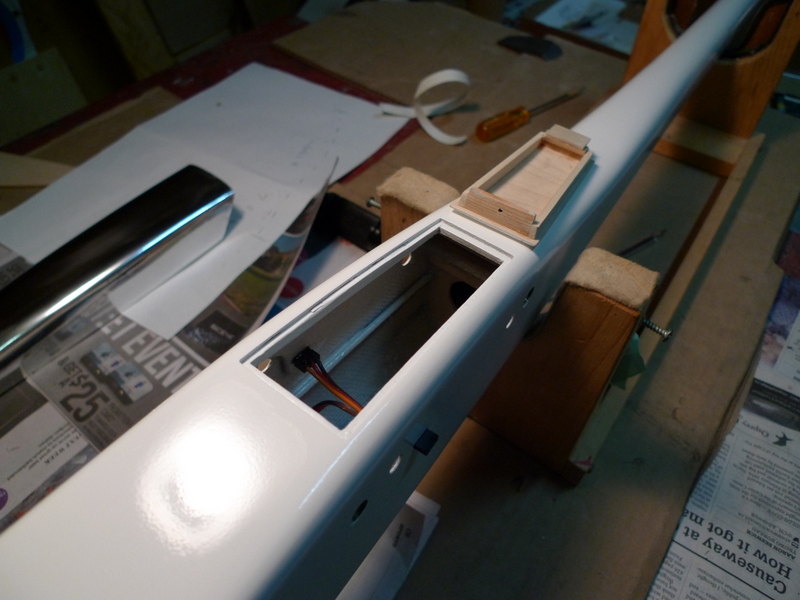
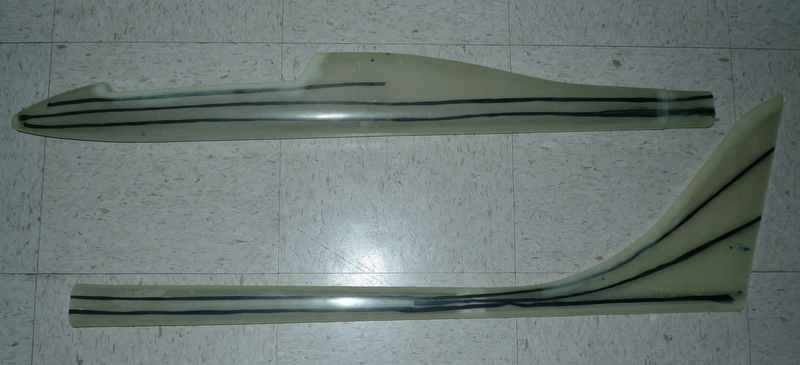
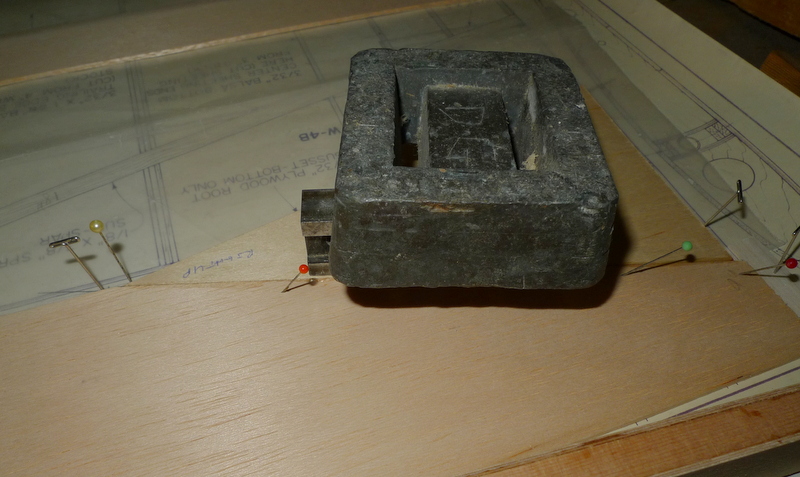
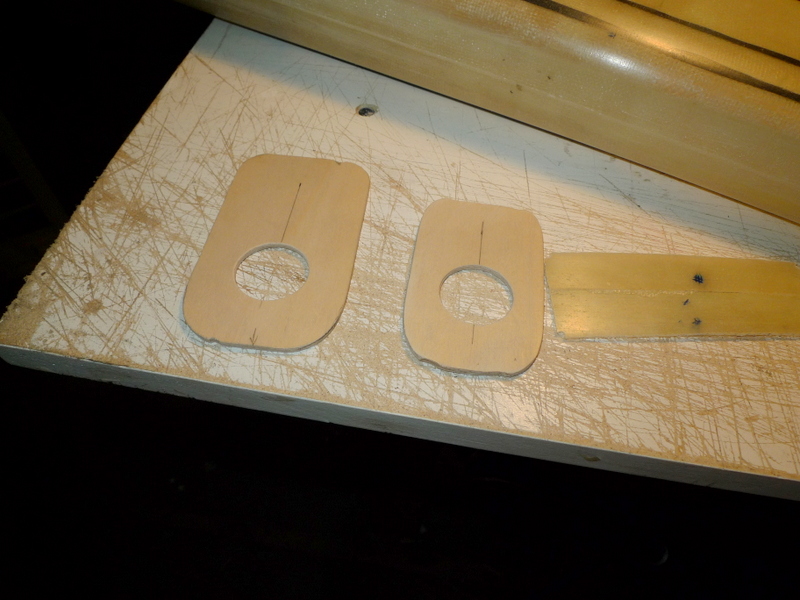
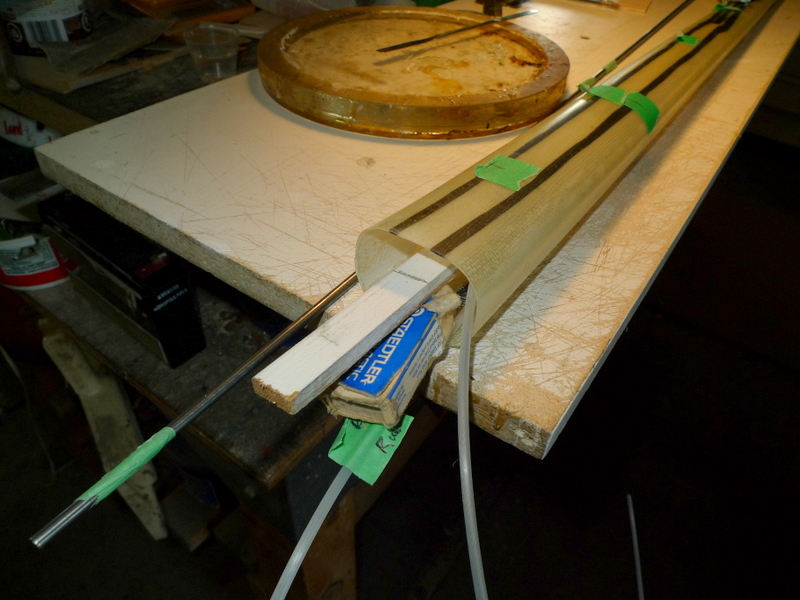
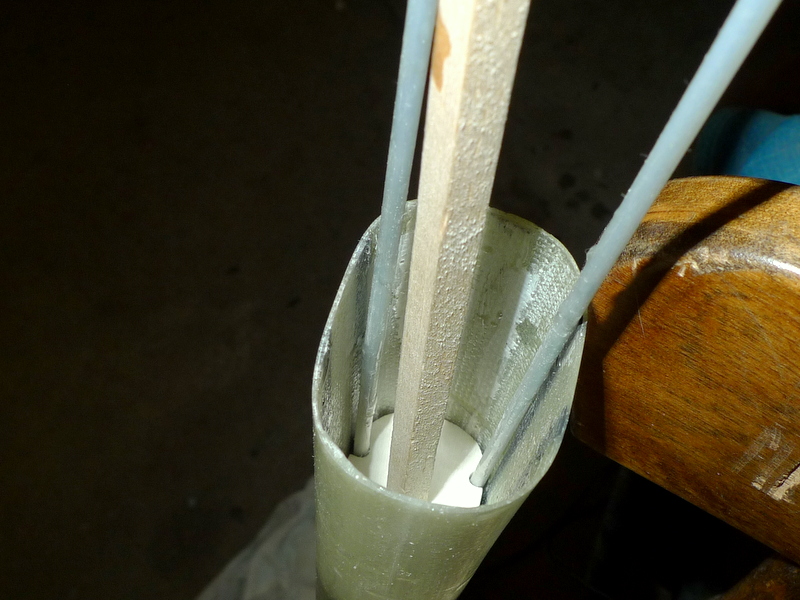
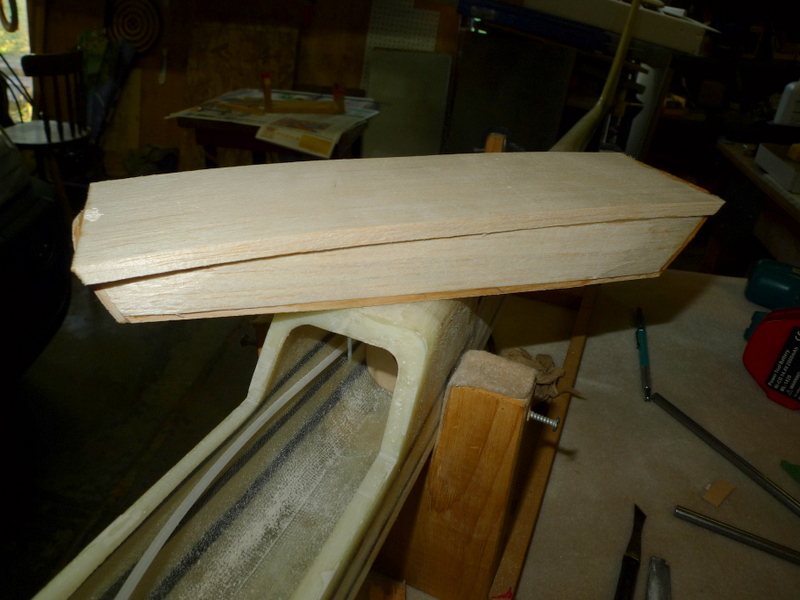
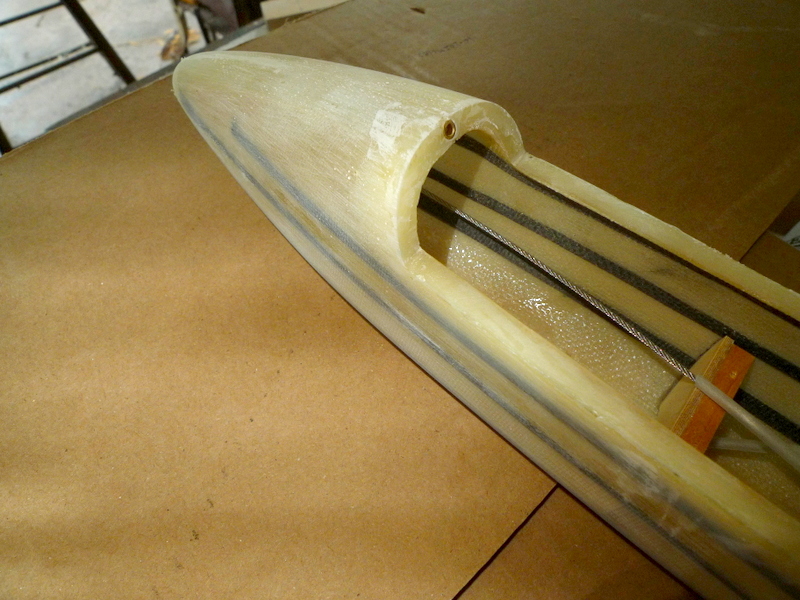
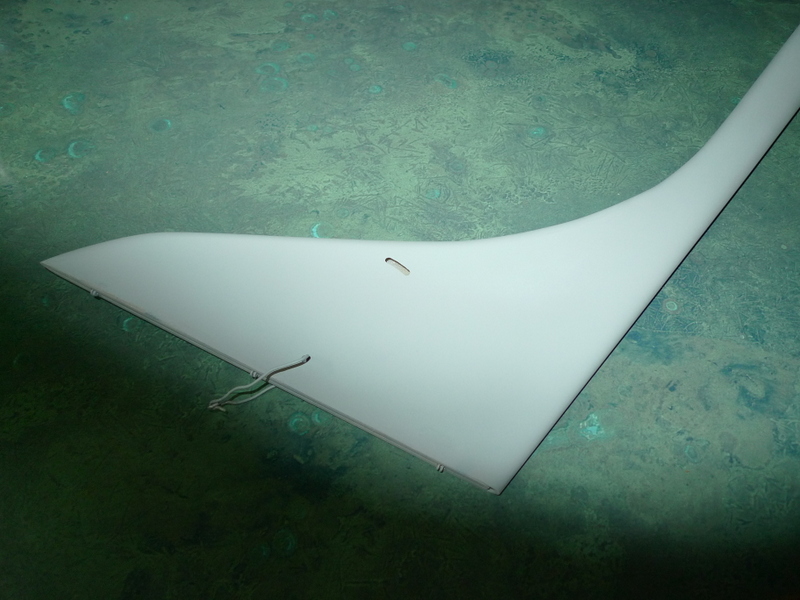
Wing Retainer Spring access Hatch
The hatch is spring loaded and the front is designed to pop up when the retainer pin is removed.
The retainer pin is accessible only after the Canopy is removed.
The canopy is held down at the rear with 6 Powerful earth magnets, and with a pin and corresponding hole at the front.
To remove the canopy just pull up at the rear and slide back.
At this point the pin is visible, and it is pulled forward

and rotated so the end points up, which makes it easier to grab it and pull forward and remove.


The hatch has know popped up and can be pulled forward to release the rear tongue from the fuselage.
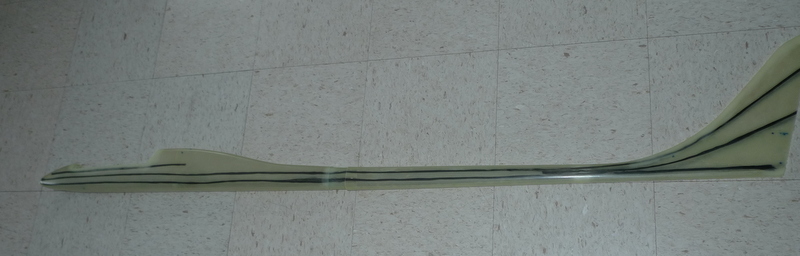
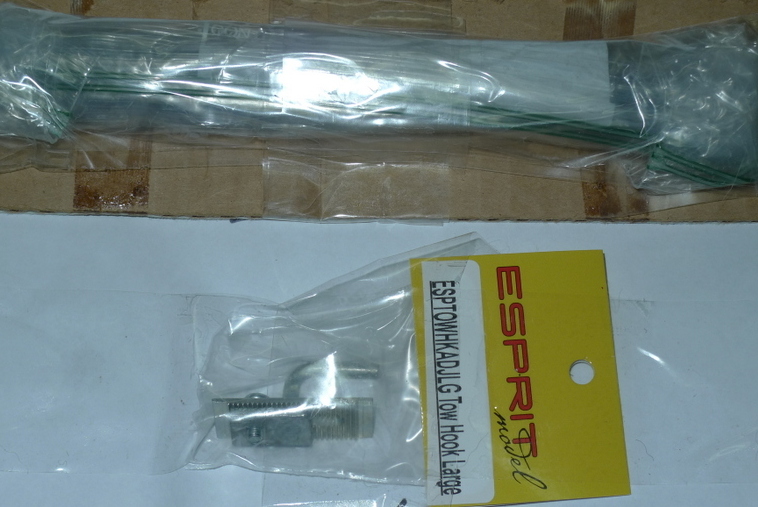
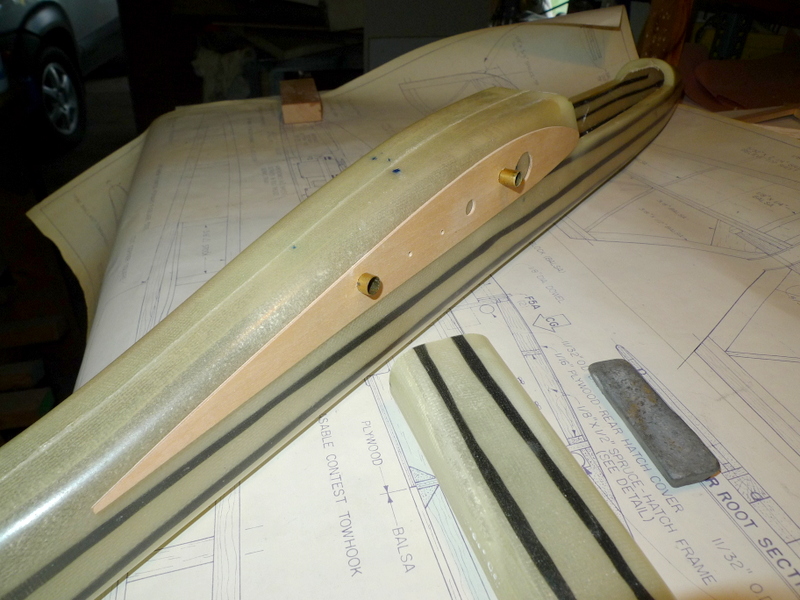
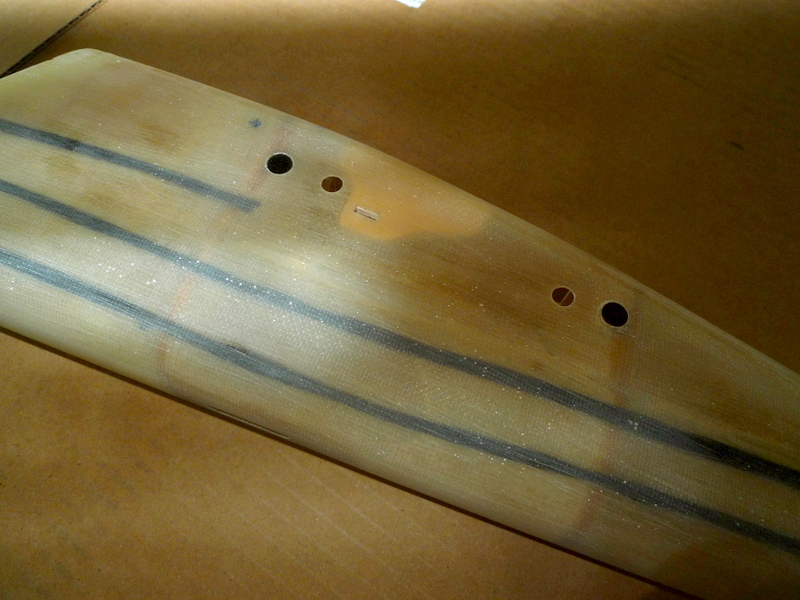
Tow Hook and Rubber skid strip


Oct 09
Tuit Fini

Jump on board for this build I reckon it will be the last for the winter 2014/2015.
Hopefully I’ll be able to show the scale of this ship as I go along.
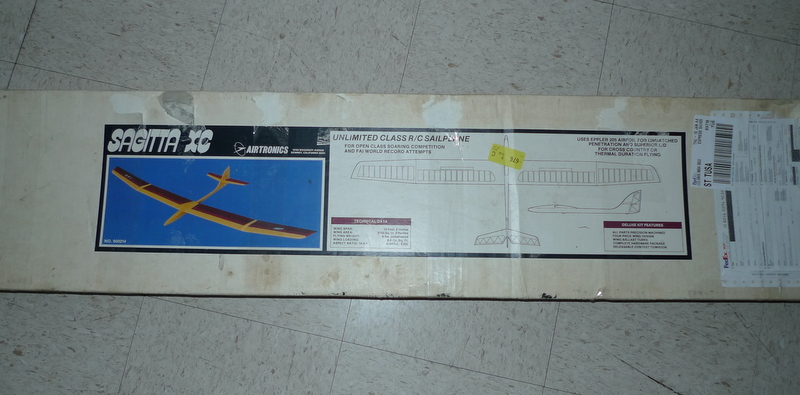
Box Info
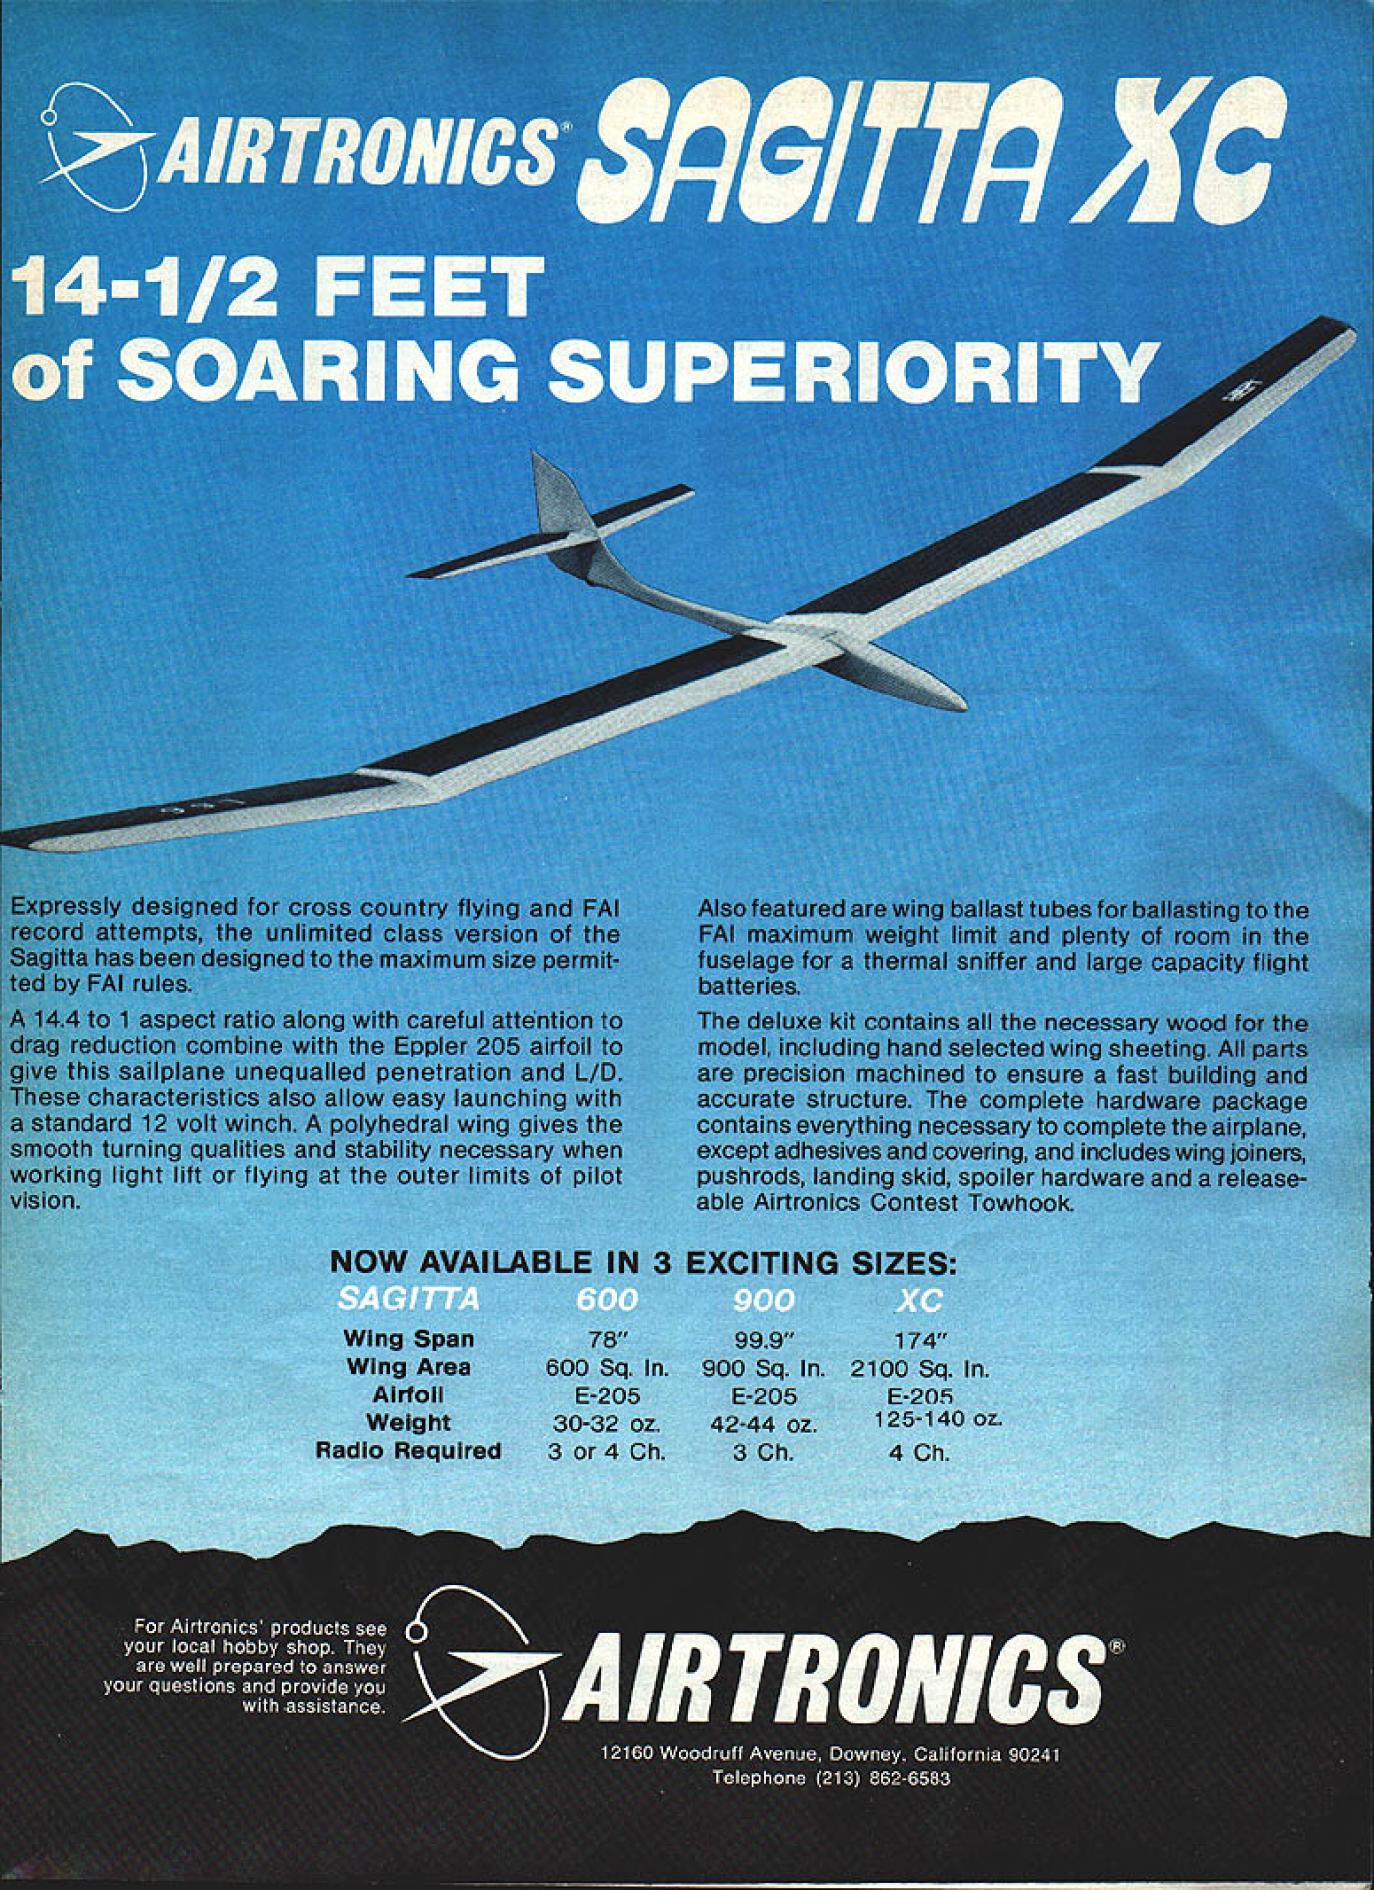
Uses Eppler 205 airfoil for unmatched penetration and superior L/D for Cross Country or Thermal Duration Flying
Technical Data:
Wingspan 14 Feet 6 Inches
Wing Area: 2100 Square Inches Effective
Flying Weight: 8 lbs, Unballasted
Aspect Ratio: 14.4:1
Airfoil: E205
Deluxe Kit Features:
All parts precision machined’
Four piece wing design inner panels —- ” outer ___ ”
Complete hardware package
Releasable contest towhook
Other
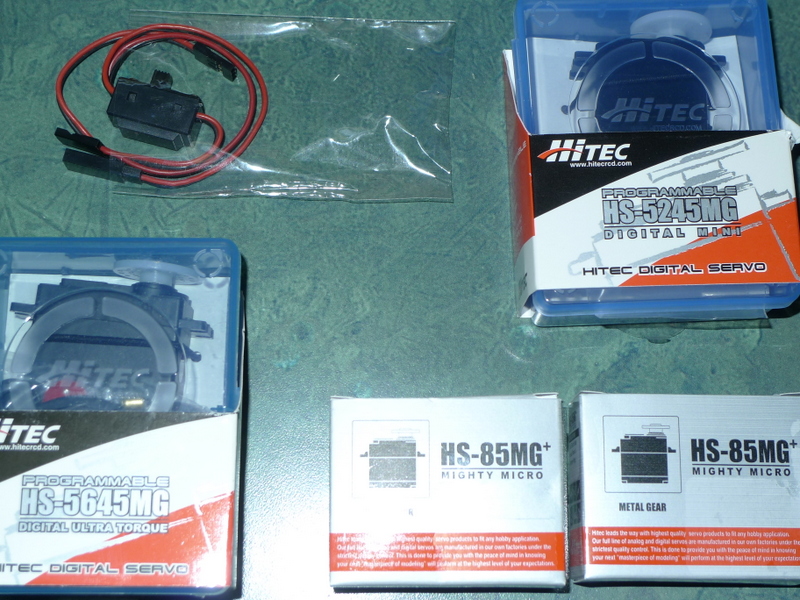
Hitec HS- 85MG for the two spoilers
Hitec HS-5645 for the stab
HS-5245 for the rudder
white painted fuse
MPX connectors at wing root
Thankfully it’s a 4 piece wing
also using a FG fuse extended by 6″ in length over the original kit fuse.
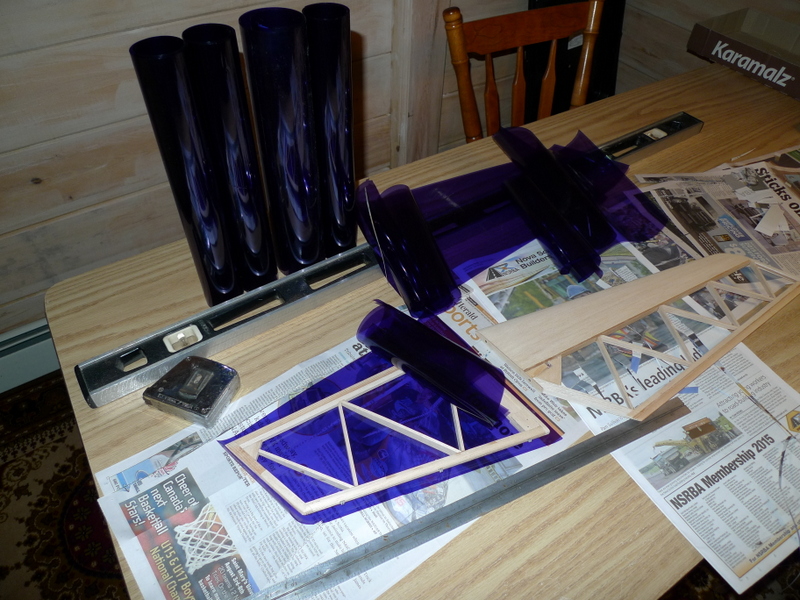
Colors
– add a white stripe (6-12”) on the outer panel root, both tips, bottom only (6 bays and the sheeting at the tip panel root)
Hanu 965 Ultracote Lite Transparent White
– the rest is Hanu 955 Ultracote Transparent Violet
A few more pictures of the kit, the fuse and some of the electronics for the inside.
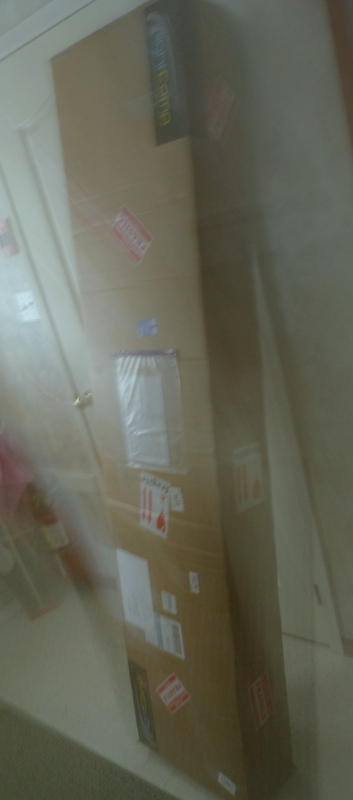
Fedex made it, once again with a big truck

Big box , almost as high as the door
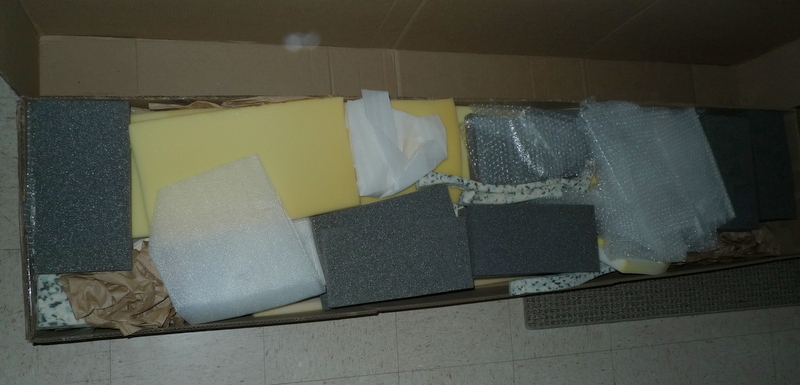
The inside, everything is well packed and protected
 The fuselage 2 pieces with CF strips for strength
Wing rods and towhook
Servos and switch
Kit box
Contents


———————-
Feb 13
Yes, you guessed it, we get snow in Febuary. I took this pic with an Lumix LX3 mounted on a 2 M spectra

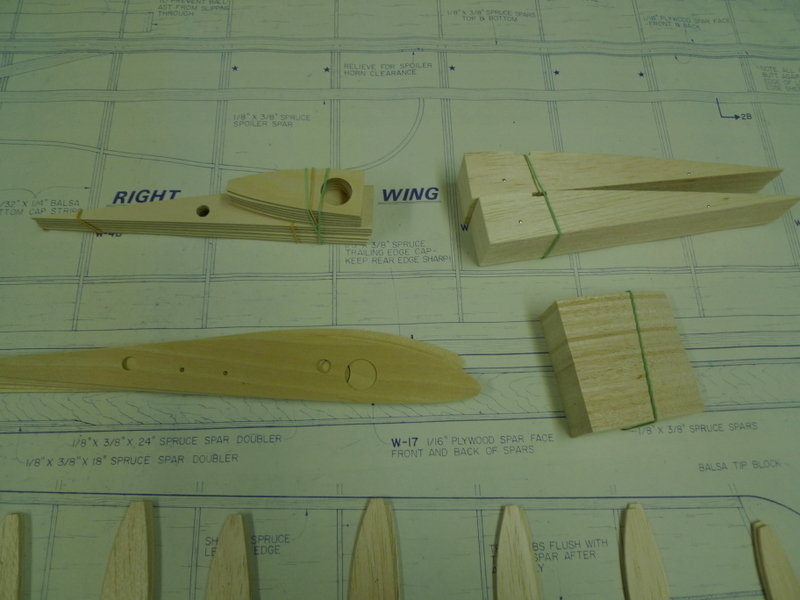
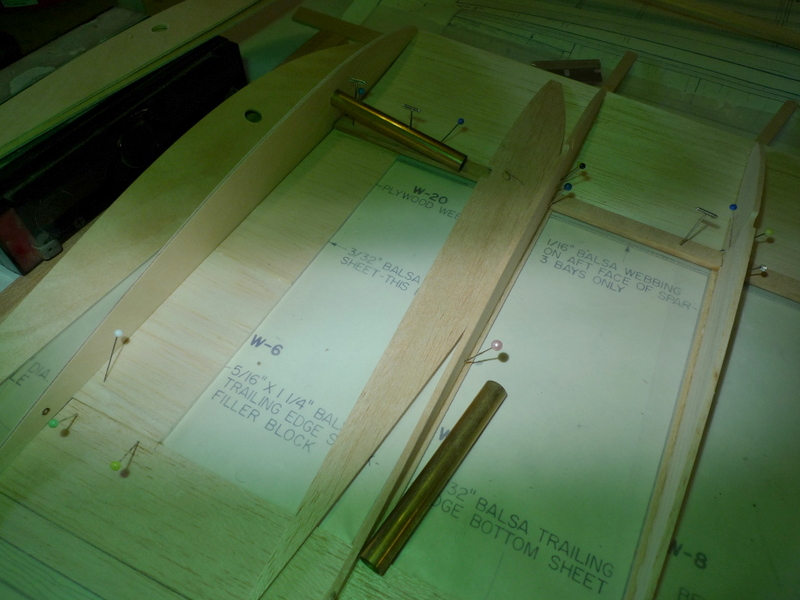
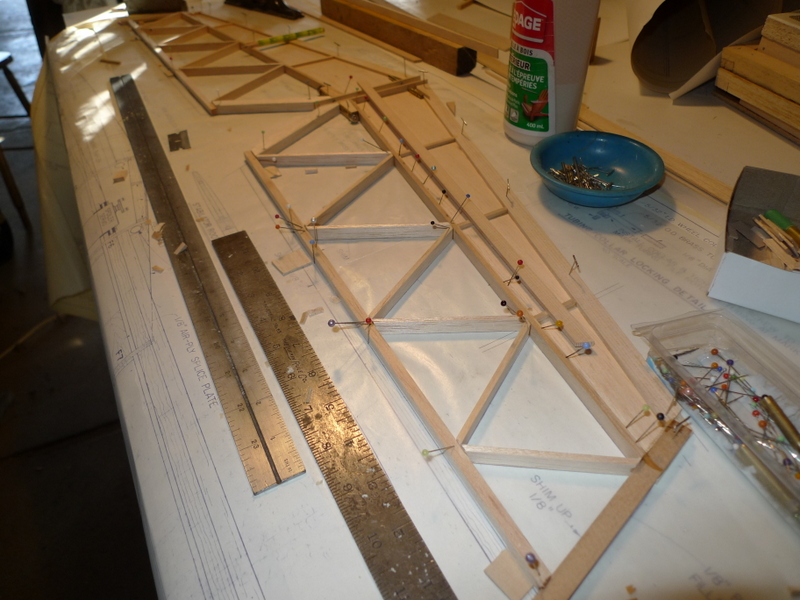
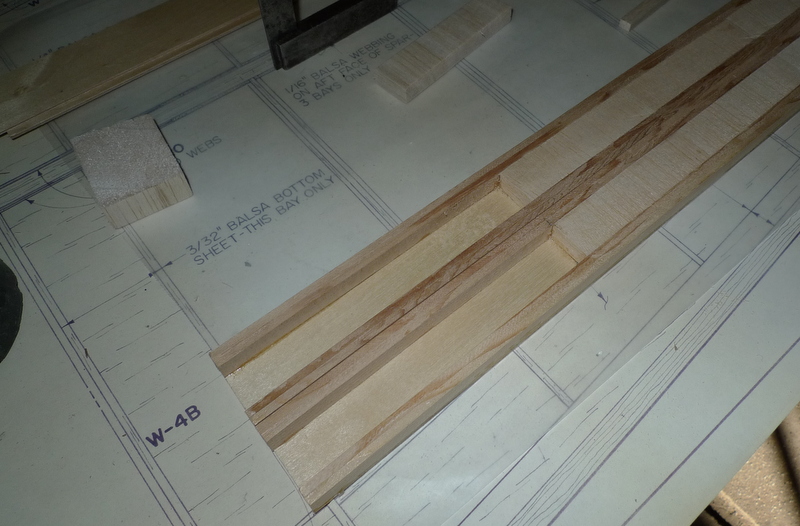
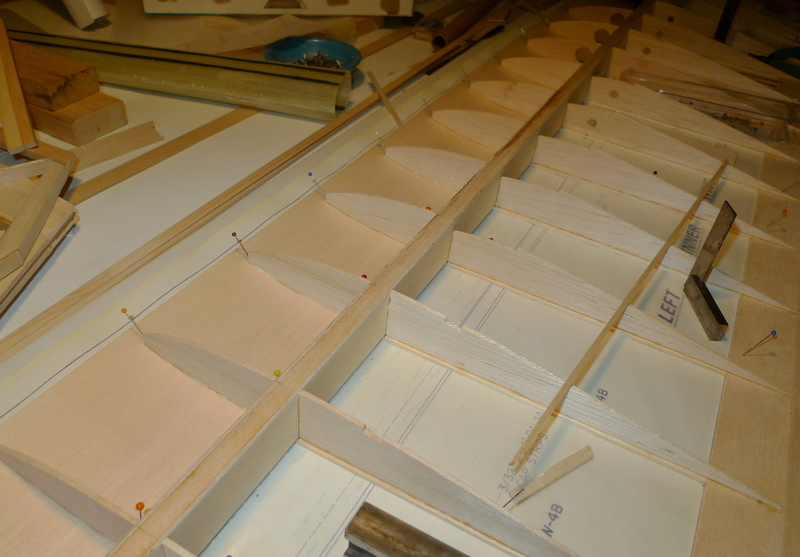
Digging thru some of the parts, here are the ribs for the tip panel. Tip panel build is like the Sagitta 900 as the lower sheeting and rib caps are placed on the board 1st, and then the lower 1/8 x 3/8 spar and ribs are added.

Main panel ribs are two parts, and that means the main spar is built up first
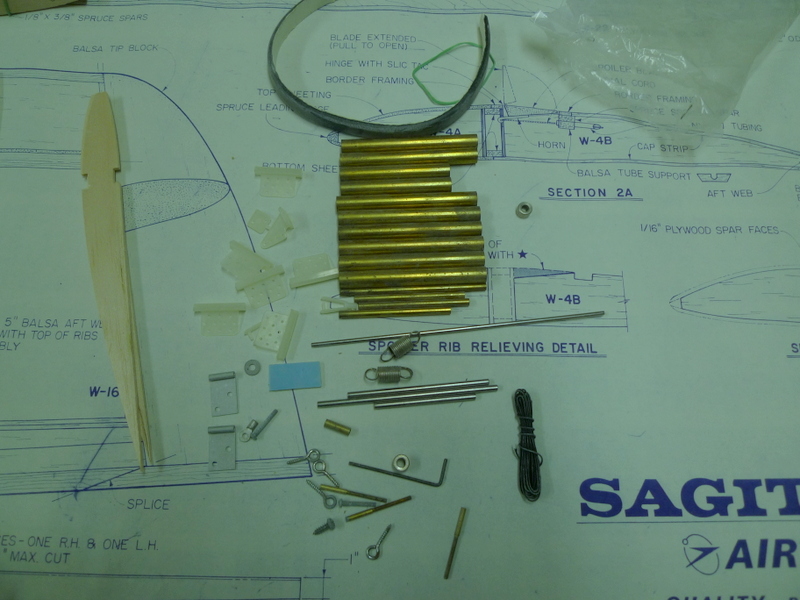
Contents of one of the parts bags, as far as I can tell the only thing missing is the 2 grub screws that fit into the 1/8″ collars..
Pretty good for a kit that’s been laying around for 25 – 30 years
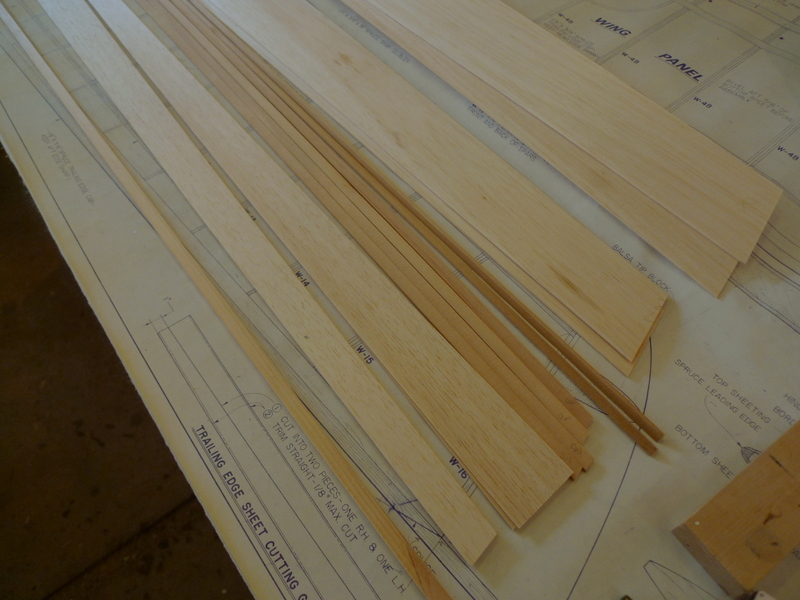
sorting thru the tip panel parts, spars trailing and leading edge sheeting and caps.
Most parts need to be cut, so I do that in pairs that way left and right panels are the same.
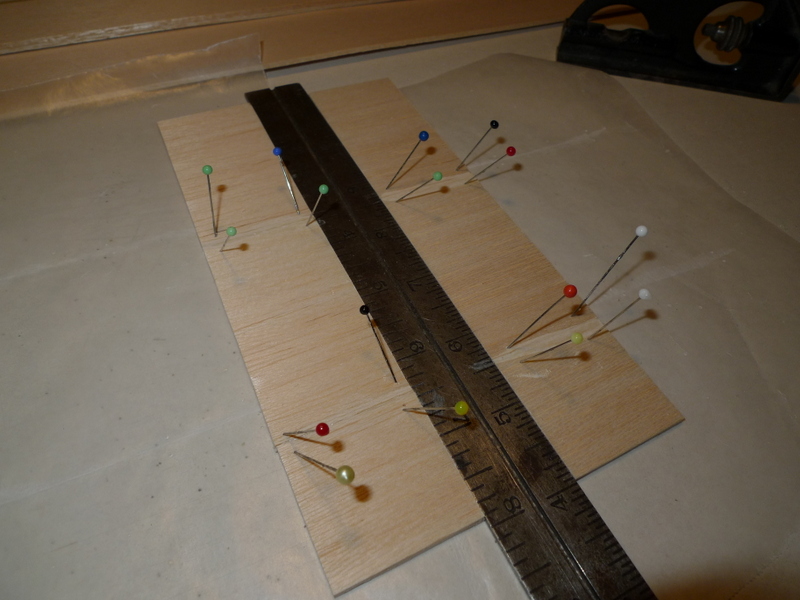
Of course a scale is present, it’s not to late to weigh pieces and match for equal weights of tip panels.:)

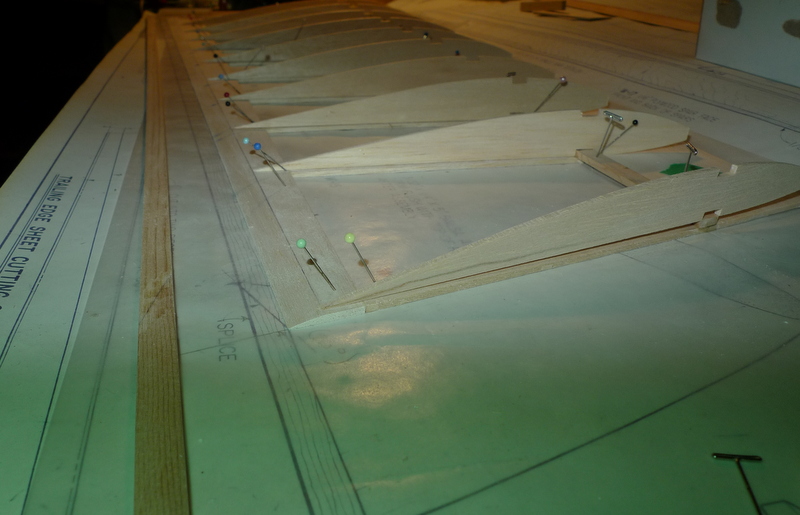
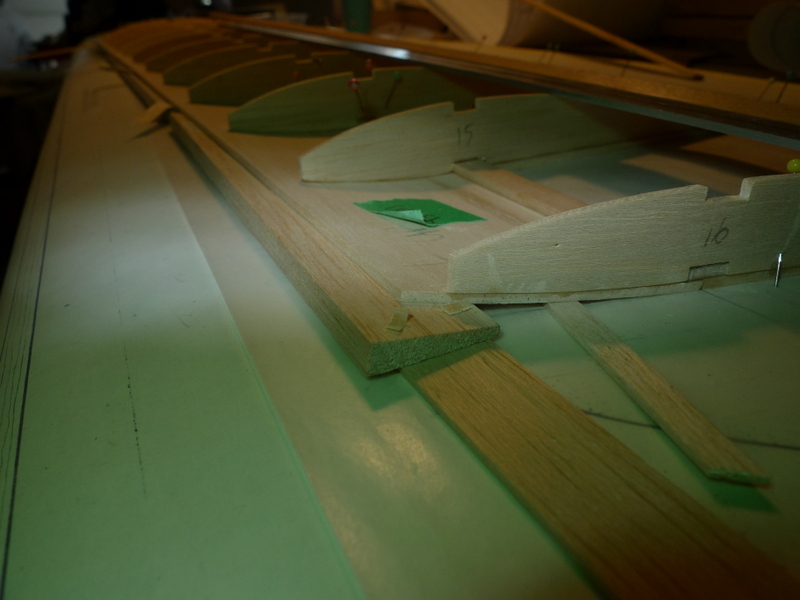
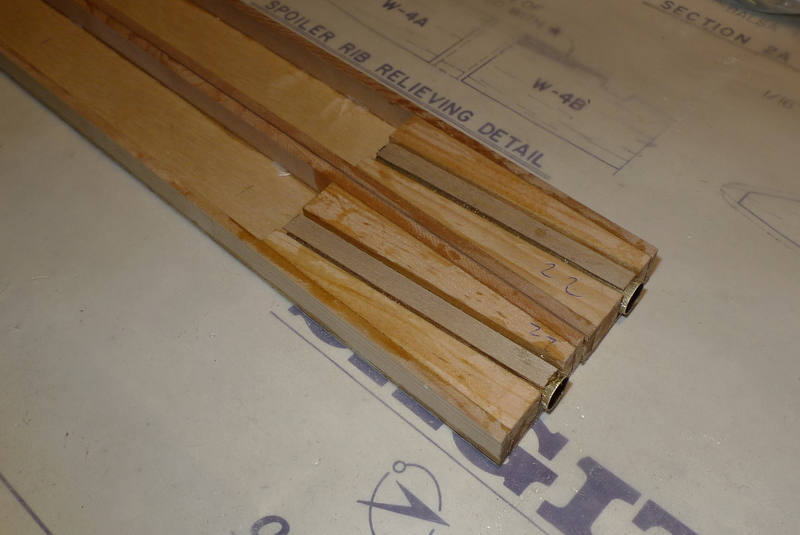
Tip panel rib set, the root rib is marked up a bit on the top , likely from loose wing rods within the box. It will work fine and will eventually be covered. The spars are an accurate 3/8 wide, and a quick check confirmed all slots in the ribs are accurate and fit really nice. Notice the progression, in the leading edge of all the ribs as you go from root to tip rib. The last rib W 16 is not perpendicular to the spar therefore it is flush with the previous rib W 15:):)

Feb 14
I just noticed the two springs which are part of one of the parts bags. Without looking any further I reckon they are used to hold the wings to the fuselage. There’s also some screw in eyelets that are part of the system.
🙂
That gets me thinking, the wooden fuse has a hatch on the top , that allows access to the springs as well as to a spoiler servo which is all part of the original plans.
Here is the Sealy FG fuse, I may find myself cutting an access hole here between the wing roots. a whole lot easier to get at a couple springs.

Earlier I said the tip panels are buit up like the Sagitta 900, turns out that is incorrect. The Sagitta 900 did not have rib caps on the underside, also the XC has built up trailing edges. This setup is typical of the Aquila’s
It’s still winter here.
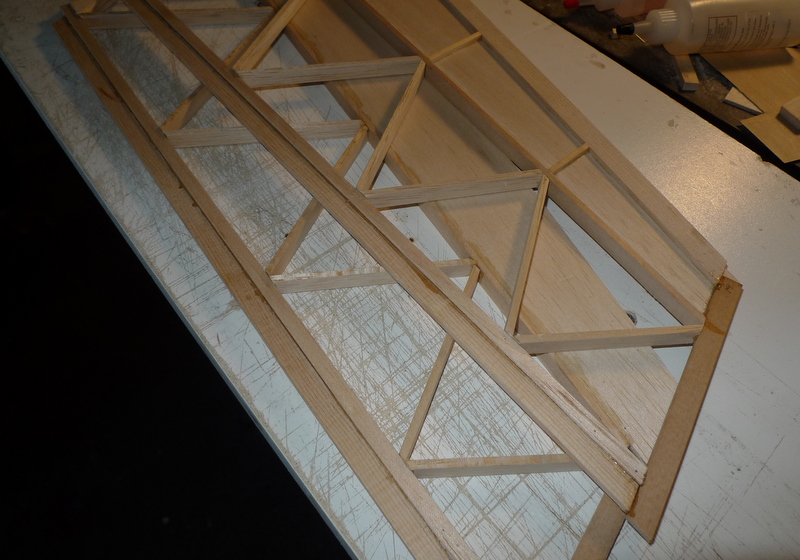
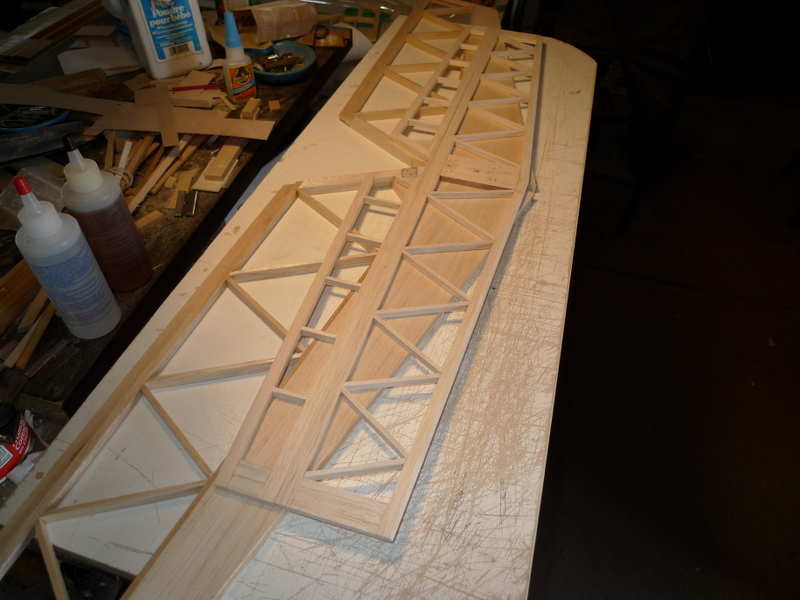
Right tip panels, all bottom sheeting in place and trailing edge sheet with taper
Right outer panel
Lower spar added

Set of ribs placed
Other set of ribs for left panel. interestingly the left tip panel is shorter on the plans then the right panel. Marking the bottom spars and lower leading edge sheet for rib and rib cap placement will yield two same size panels.

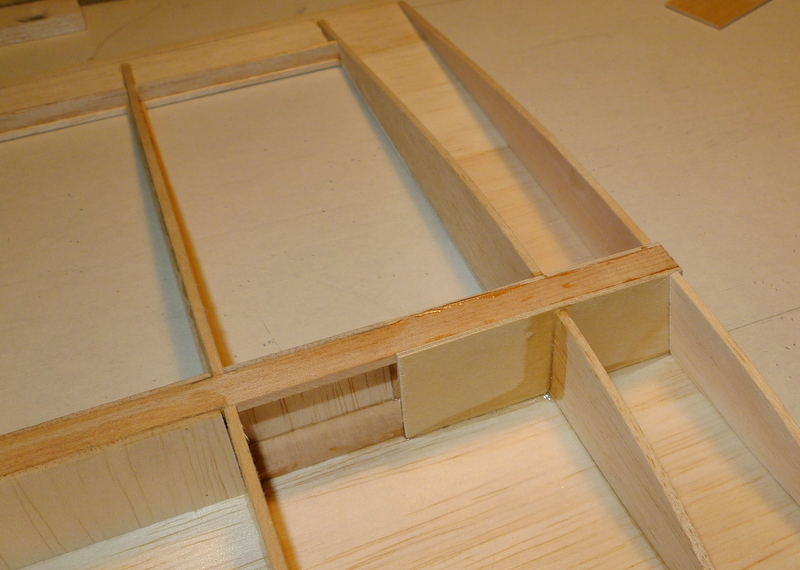
A little detail for the main panels
————–
Feb 15
Top panel ply root cap and joiner tube
Right tip panel showing ribs
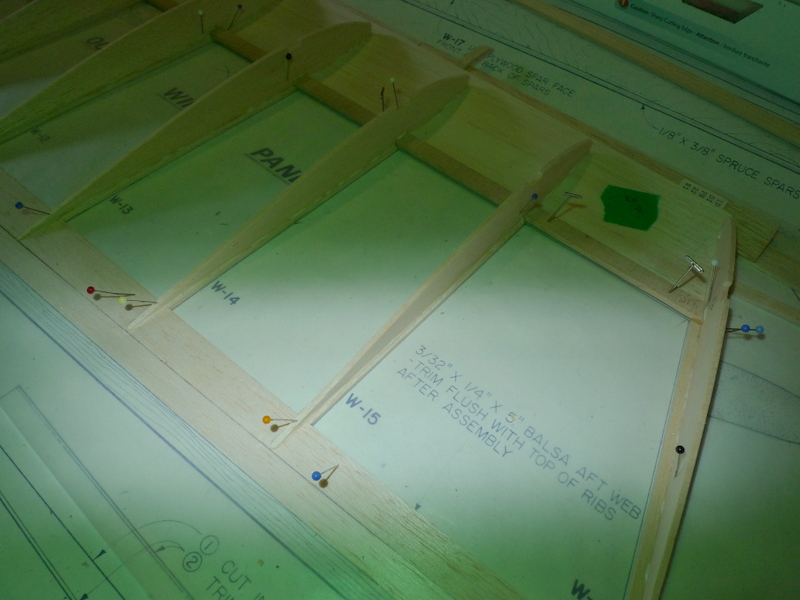
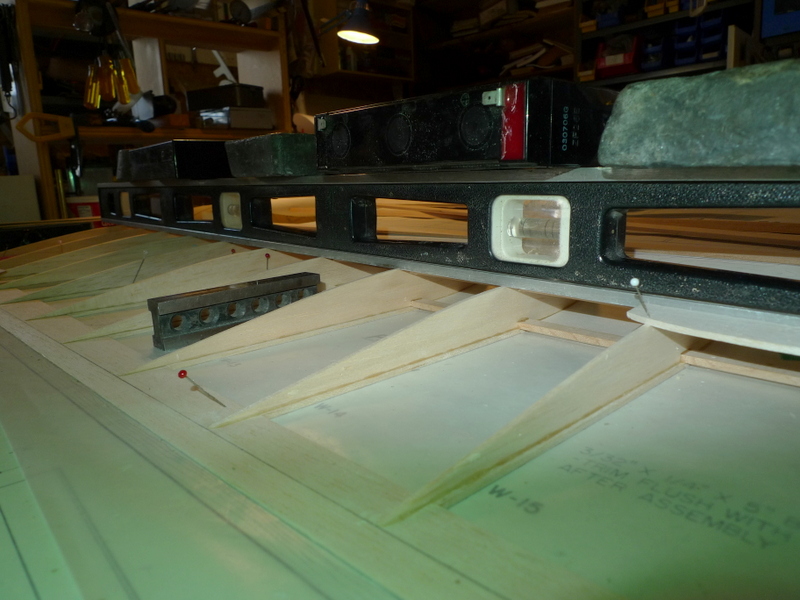
Upper spar set and held down flat with a 4 ft level and some weight
Leading edge of ribs W16 requires trimming prior to placing the LE spruce
Top spar is added to left tip panel

Right tip panel trailing edge webbing is added hear, needs to be trimmed later

Leading edge trimmed and glued in place

Trailing edge web filler is trimmed and sanded flush with ribs

April 15
Stab set pieces, where there are 2 pieces I make them up 1st, and make sure they are equal length


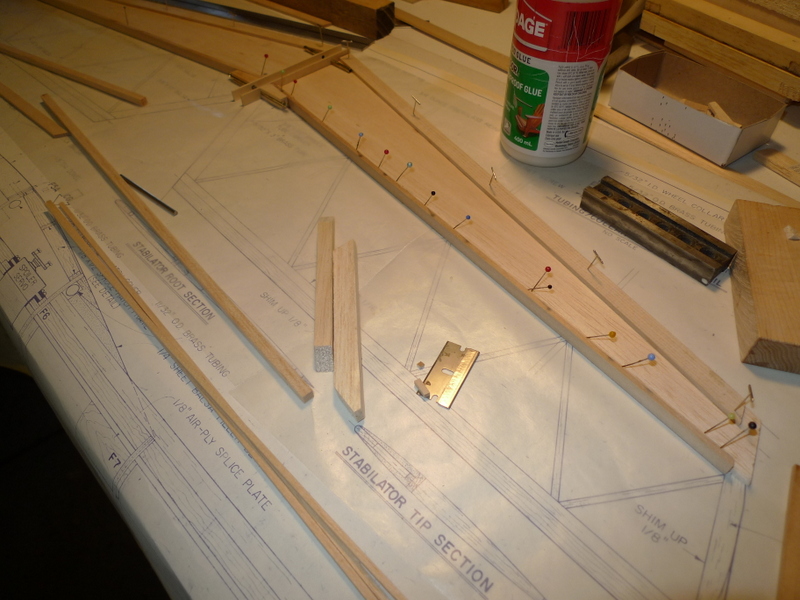

Stab set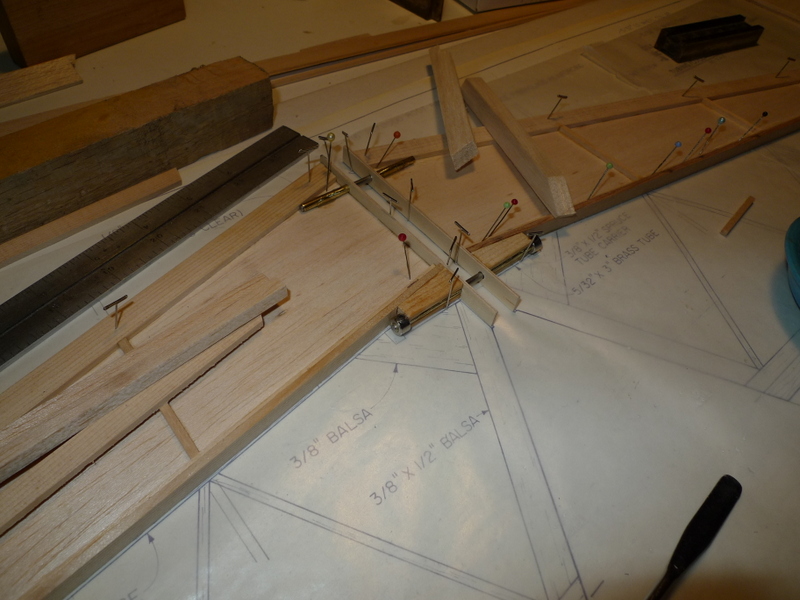
2nd Spar, with lower 1/8 x 3/8 spruce filler, doubled at inboard end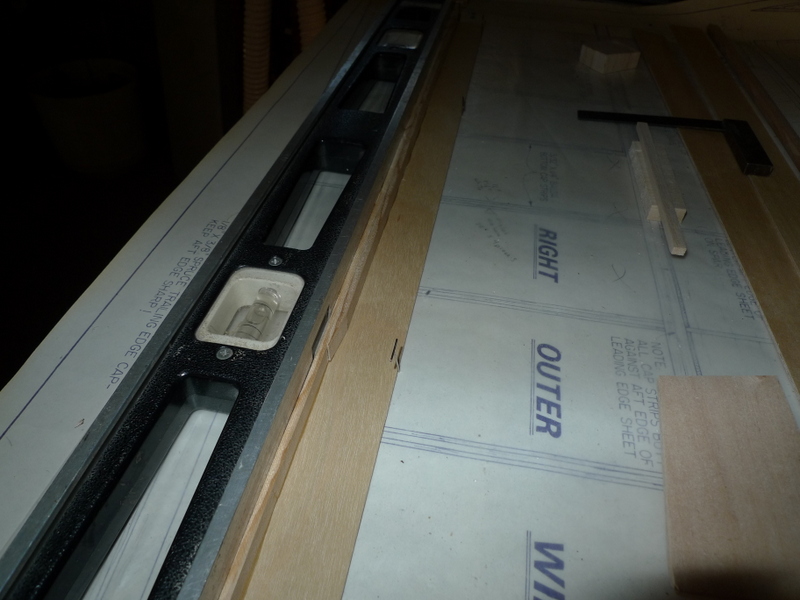
April 18
April 20
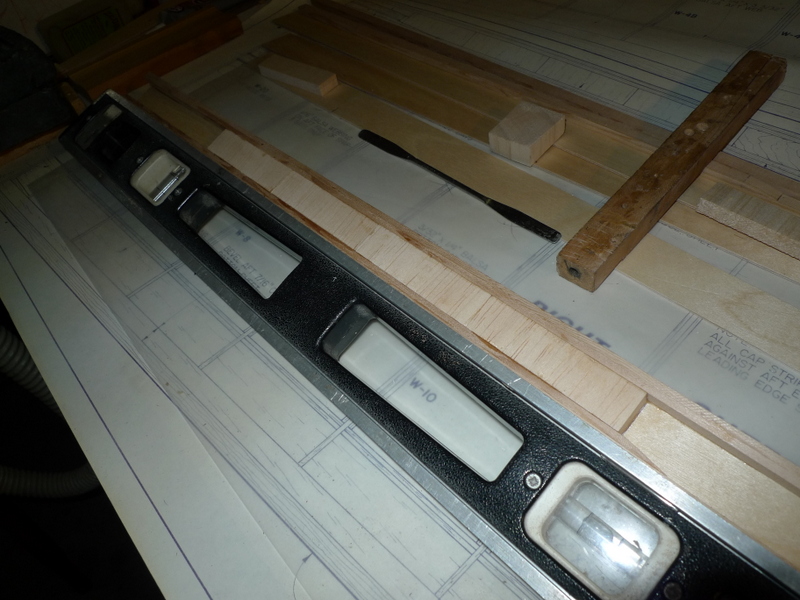
Stab set , missing top LE sheeting as well as some filler pieces
April 22
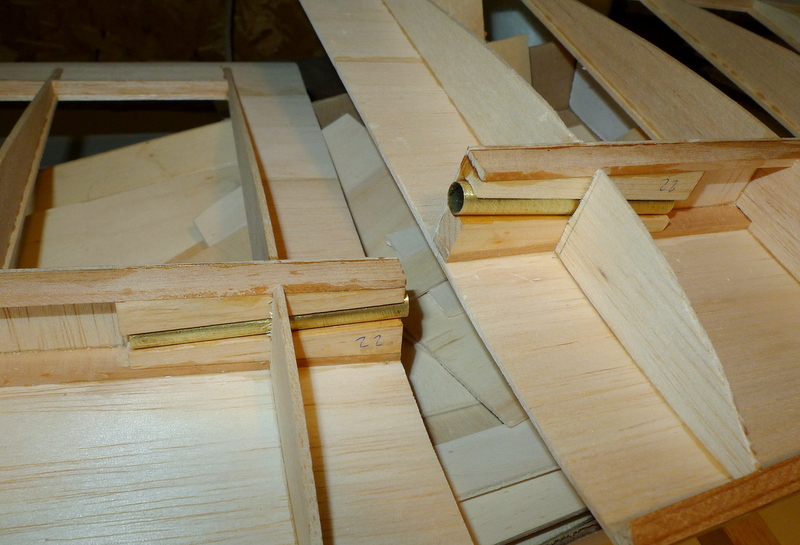
Wing rod tubes are set on both ends of the main spar

April 24


May 01
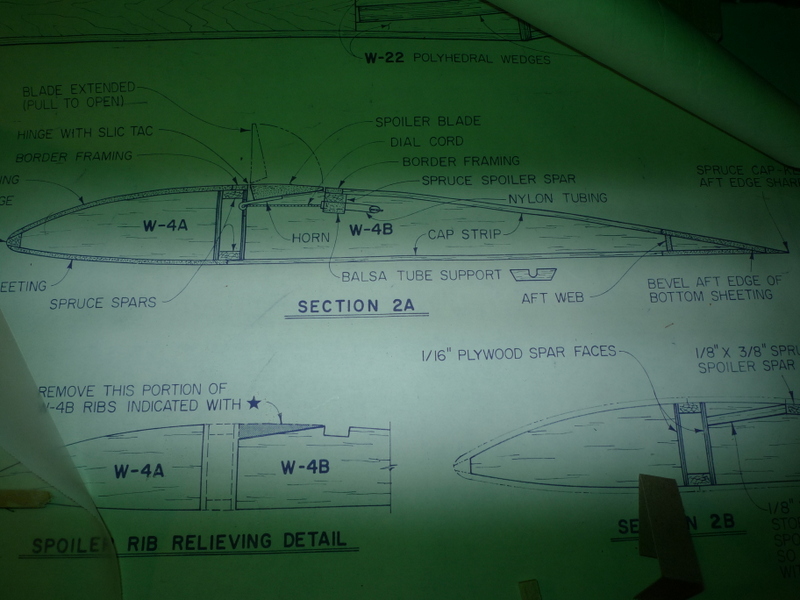
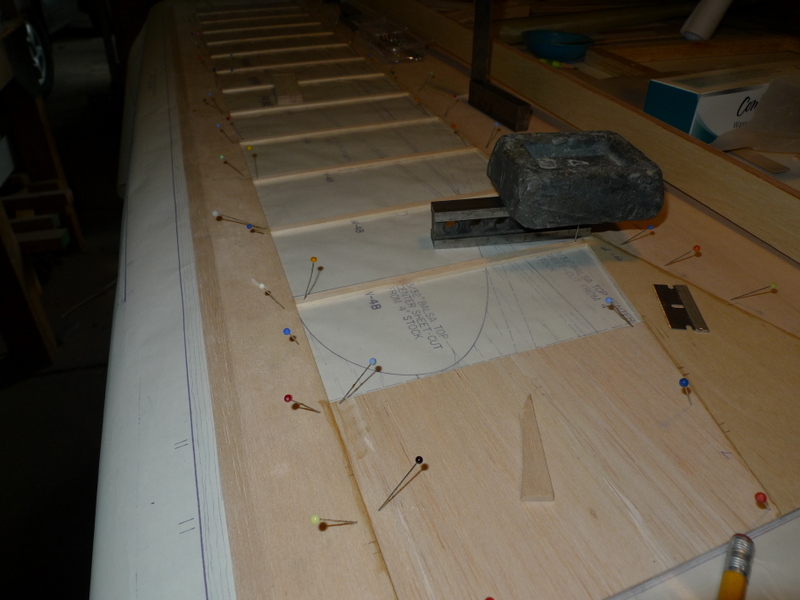
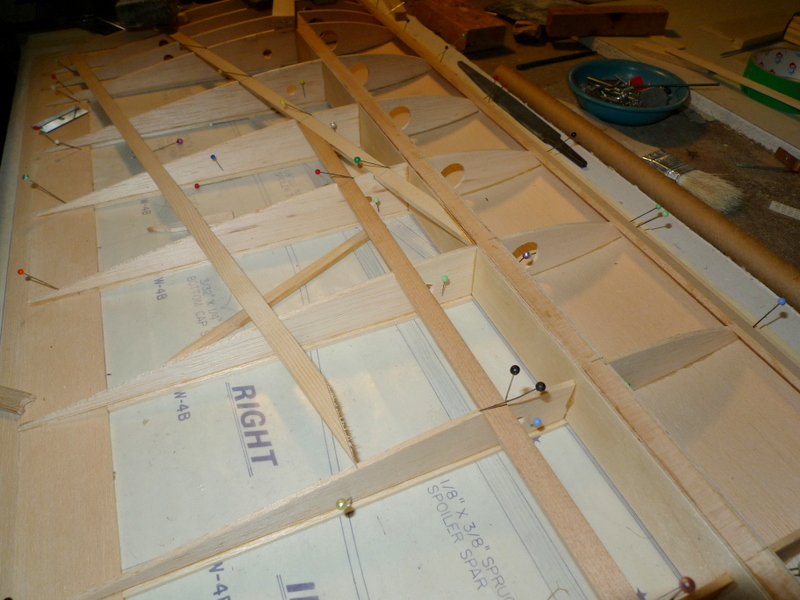
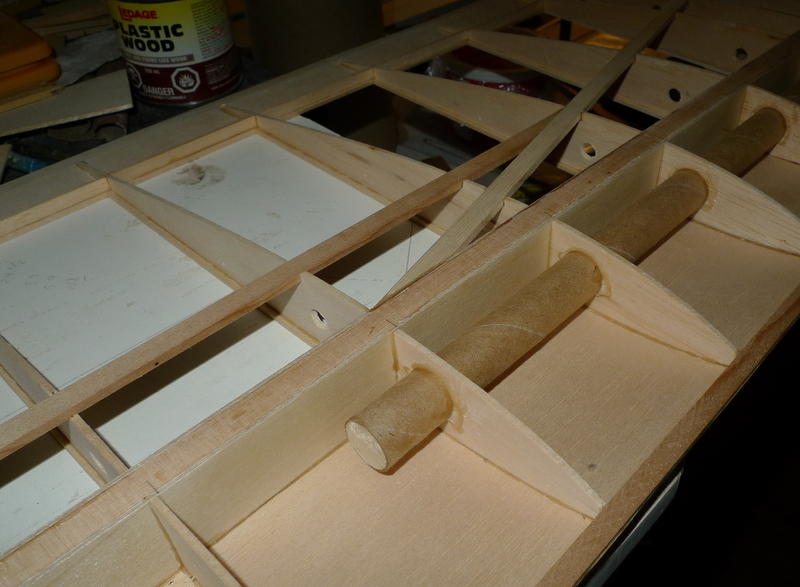
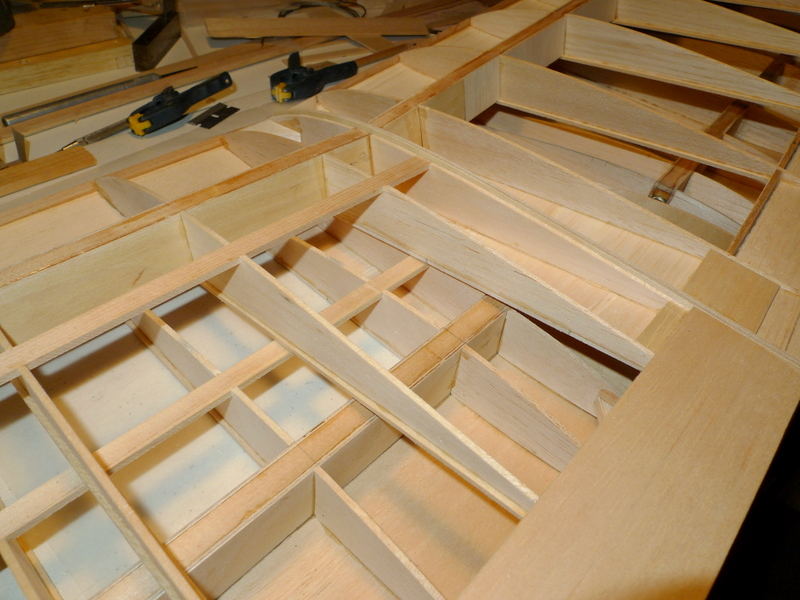
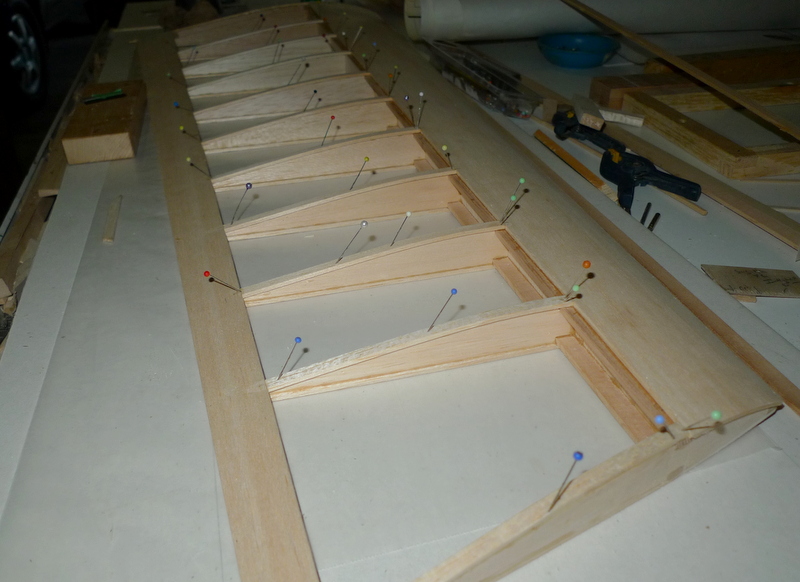
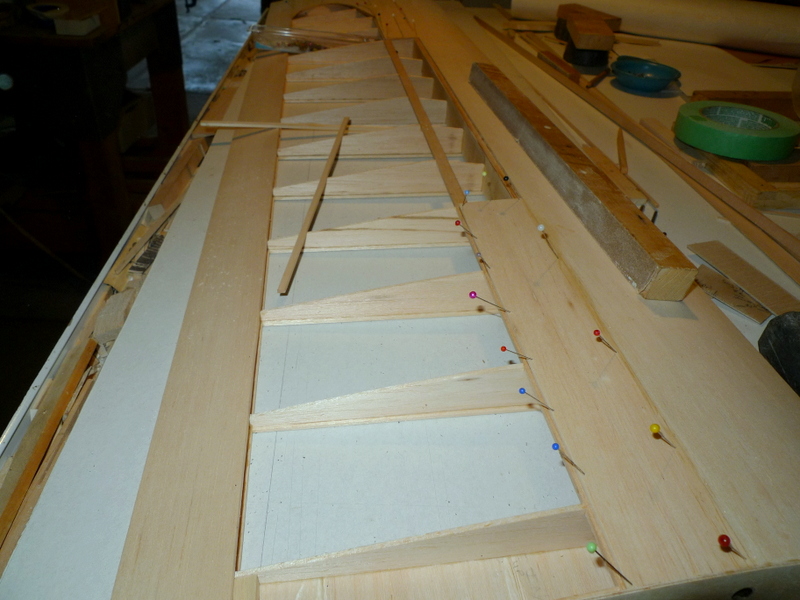
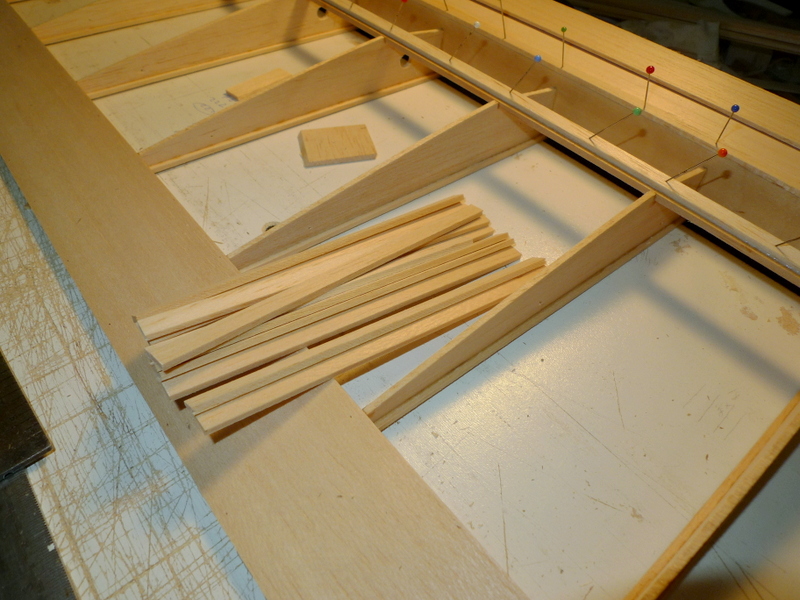
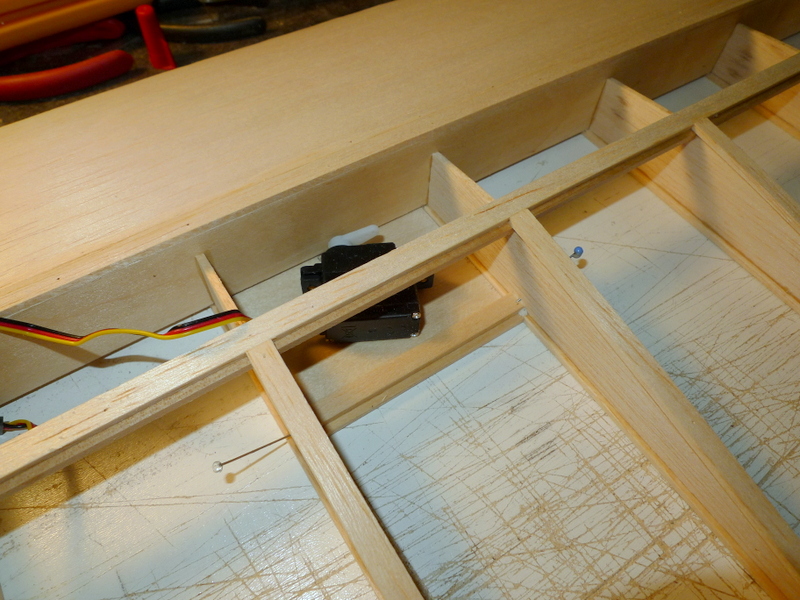
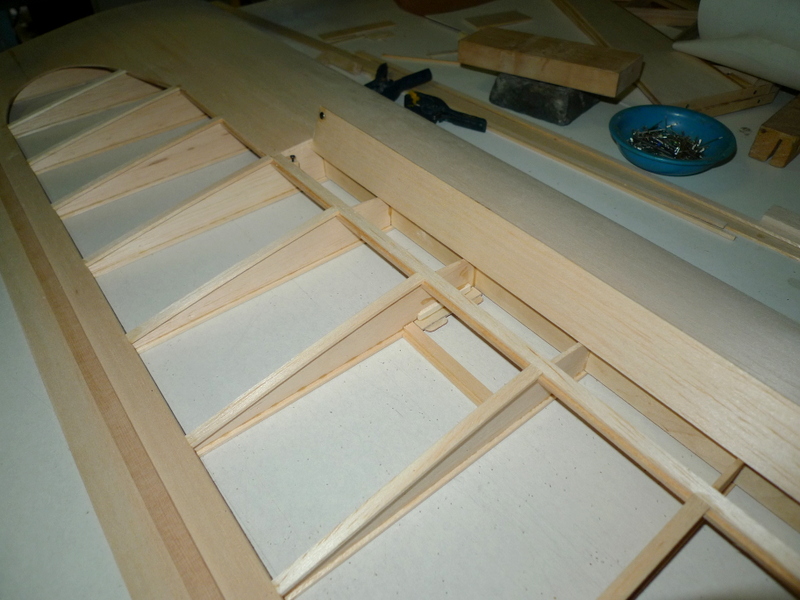
Wing main panel bits and pieces, some ribs need holes for spoiler servo wire as well as notch for spoiler blade clearance
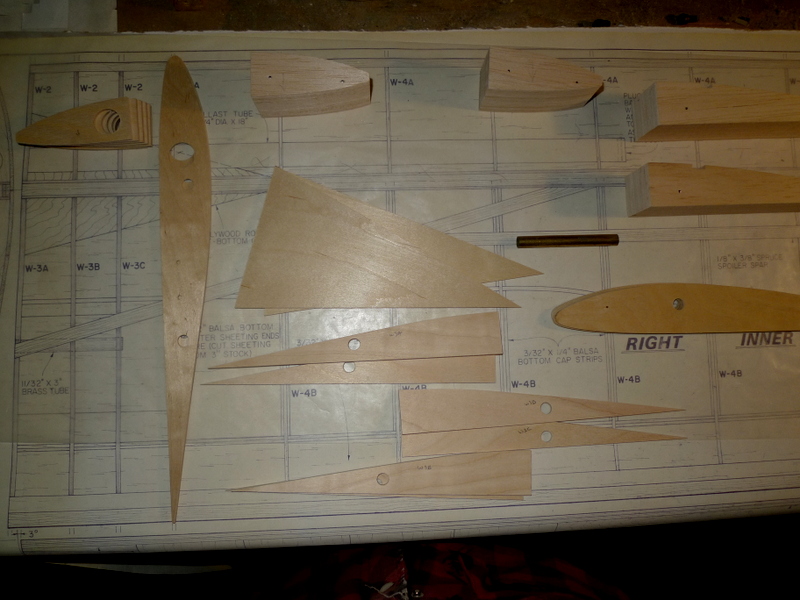
All stacked up, and notched for spoiler blade clearance
Spoiler servo and all ribs which need 3/8 or so hole for wire
May 5
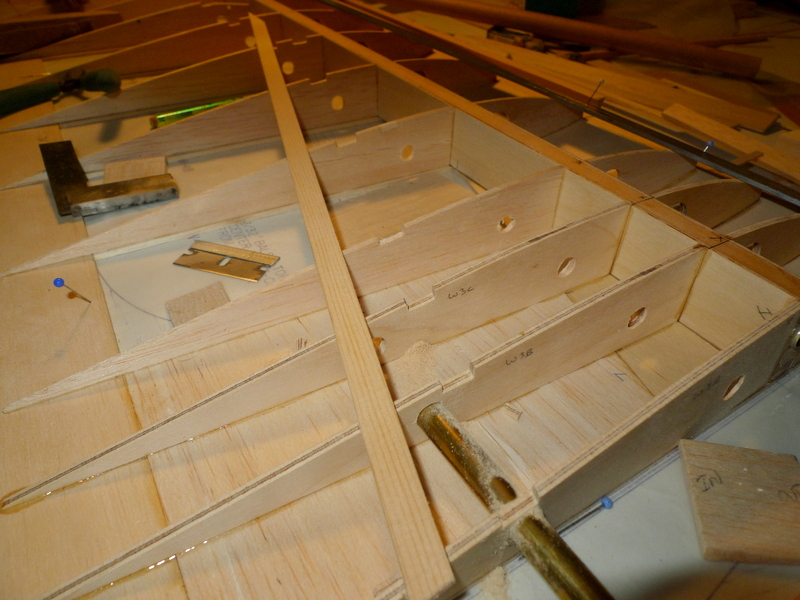
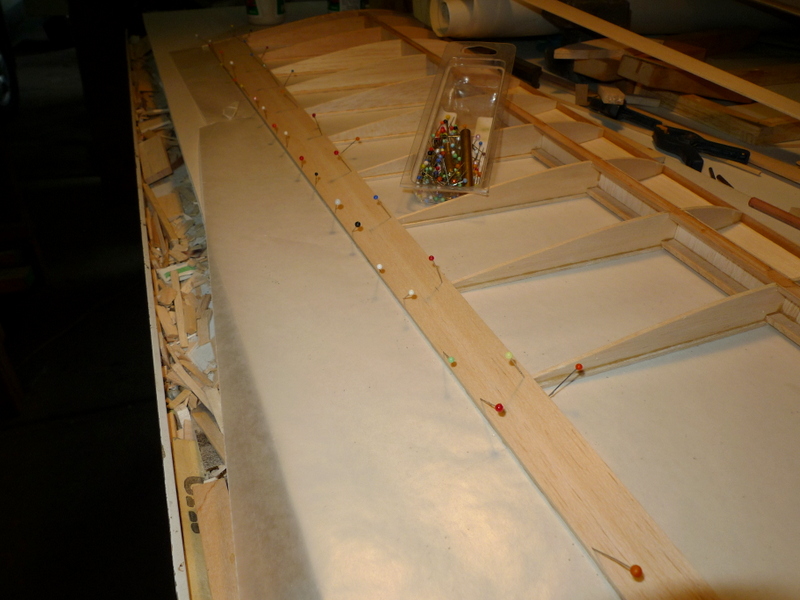
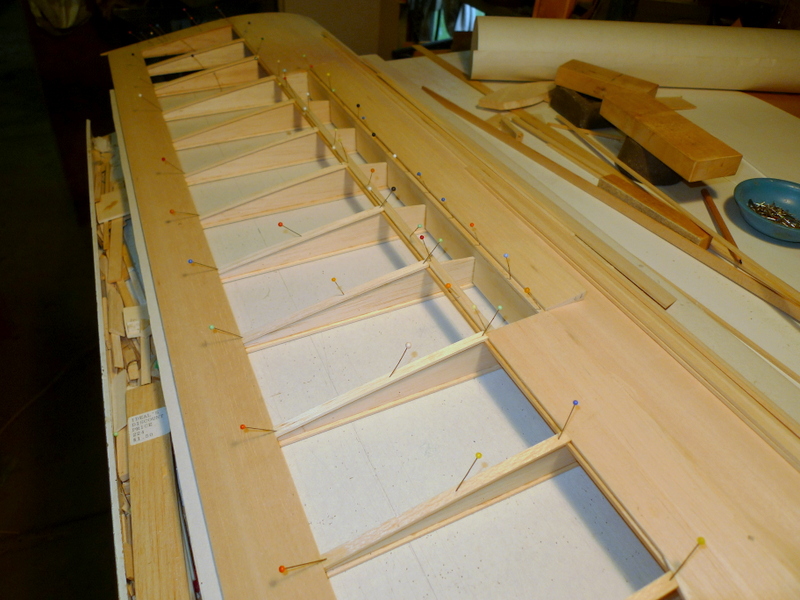
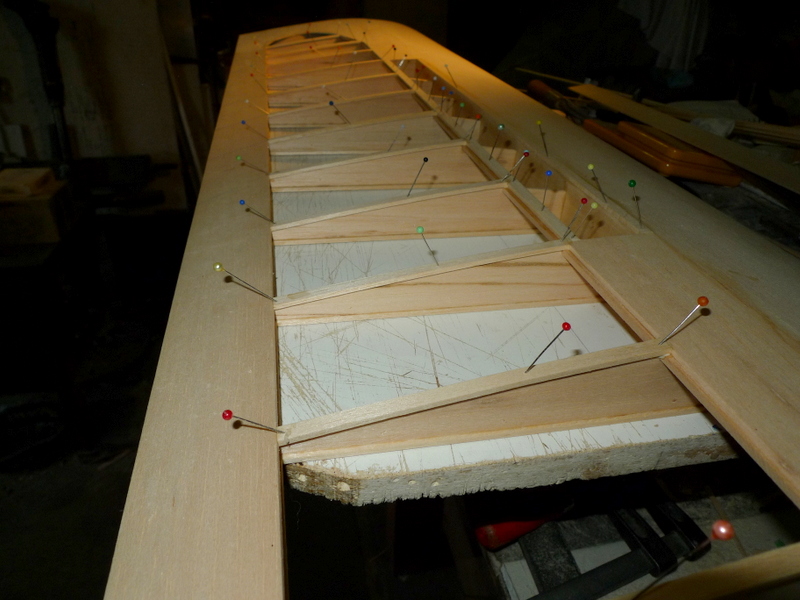
Main panel spars complete with full length ply front and rear. These , after a little clean up are ready to be placed on lower 3/32 sheeting and cap strips.


An ad for the Sagitta XC from 1982, also shows some info on the 600 and 900
May 08
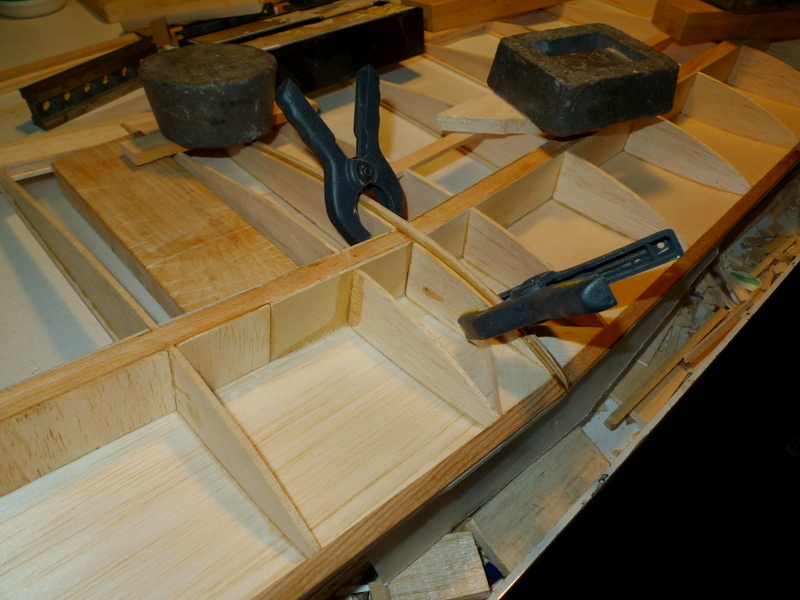
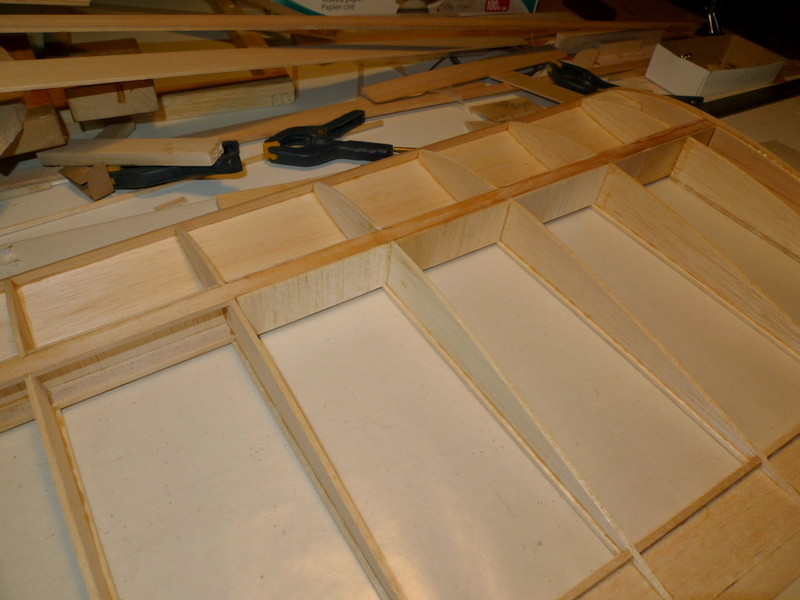
Main wing panel lower sheeting and rib cap strips.
12 rib cap strips per panel all cut to the same length. They fit in between the LE of the rear lower sheet and the TE of the front lower 3/32 sheet. There is filler sheeting added at both ends of the panel.
The main spar is then set on all this.
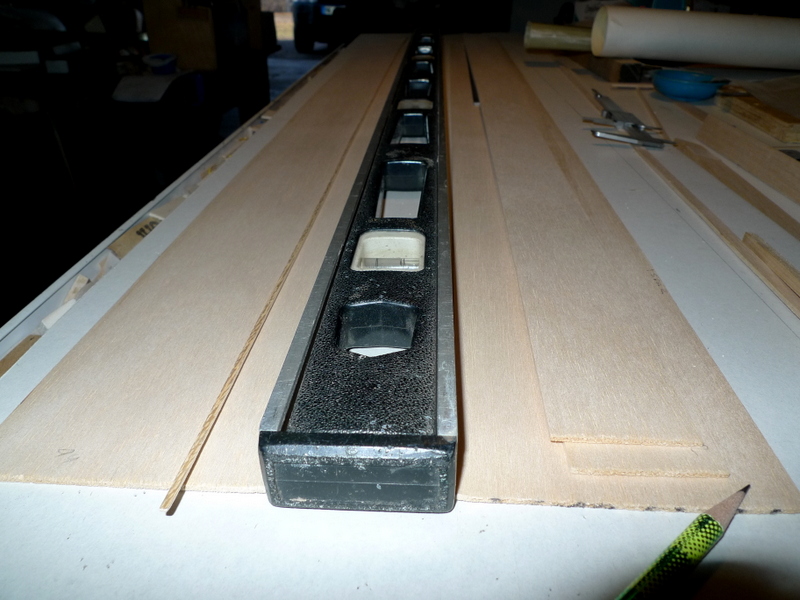
All sheeting usually develops a twist or some type of warp over time, so I cut or sand the edges to get them straight or as with the TE sheet straight and parallel at both edges.
The TE lower 1 7/8 wide sheet, also gets a taper sanded in at the rear edge.

May 09
Inboard and out board end filler 3/32 sheet

Trailing edge lower sheet gets the final 7/16″ over the full length beveled
ALERT
Somethings up here, the spars are longer then the drawing , oops
Either the 1/16 ply sides on the spars have stretched, or the plans have shrunk
I am gonna think the latter, and re-space the lower rib caps and the ribs accordingly..
The good news is , I hadn’t yet cut the lower LE and TE sheeting to length.
May 10
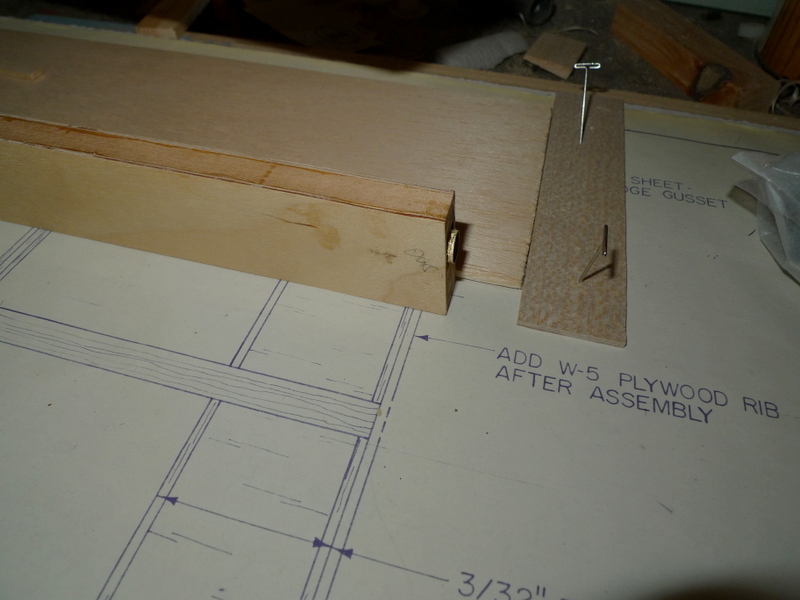
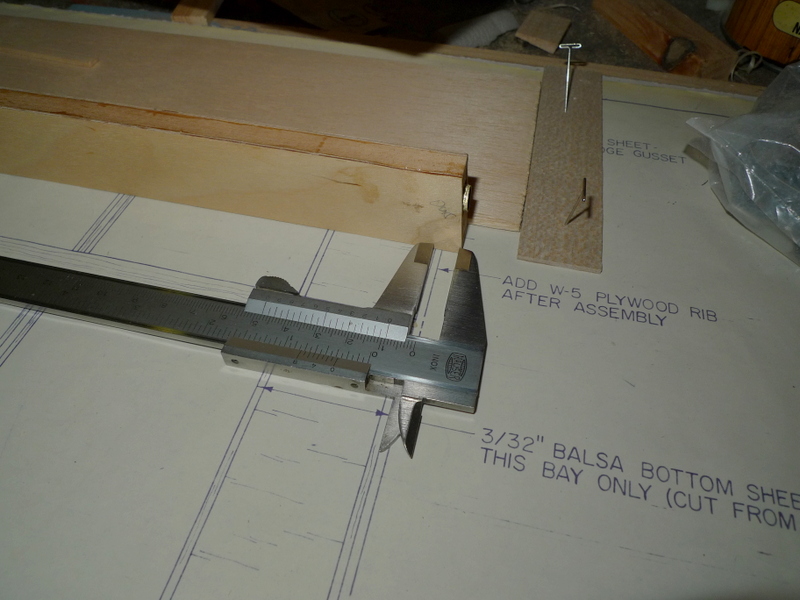
Ply lower root gusset, Aquila Grande also has this gusset. This one is 3/32″ whereas Aquila is 1/16

Lower rib caps and trailing edge, left wing panel

May 12
Lower sheeting and rib caps get added


Spar gets added, right panel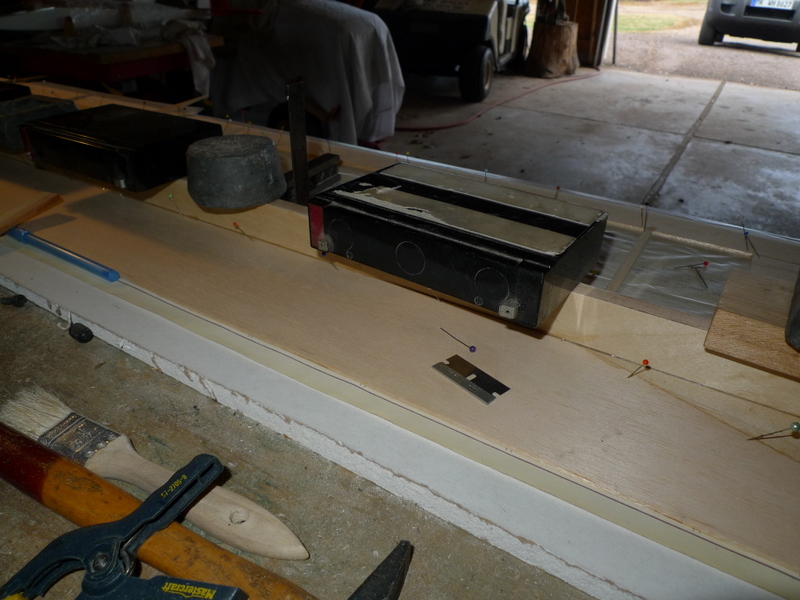
Rear rib sections in place

Left wing panel

May 13
The stack of forward rib halves comes in handy to mark the LE sheet for individual location

10 of the rib pieces needed holes added for the ballast tube carrier
Forward rib pieces in place.. The inboard end plywood forward ply ribs will have to wait, as the ply gusset needs to be wetted down in order to conform to the shape.

May 14
Fitting of drag and sub- spar, notched need to be added for the drag spar

LE spruce in place

Notched left panel drag spar added next

Underside right panel

Left wing panel drag spar
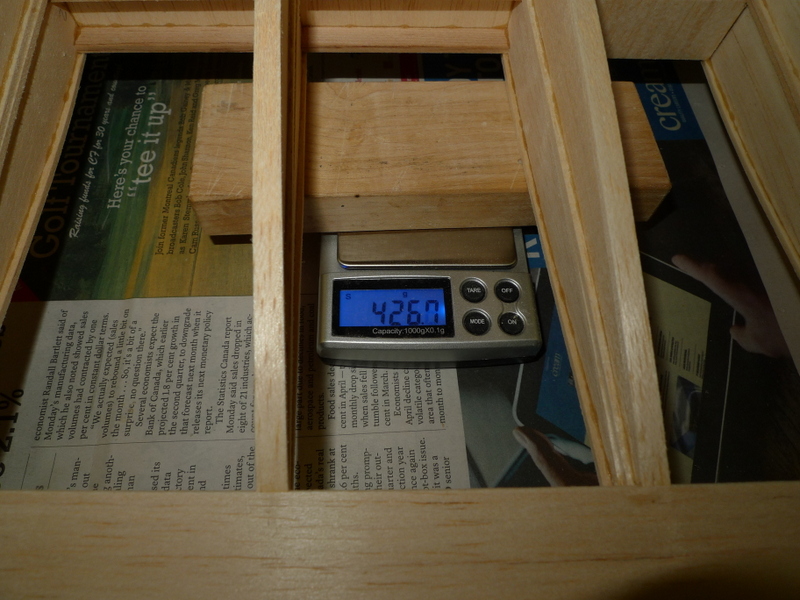
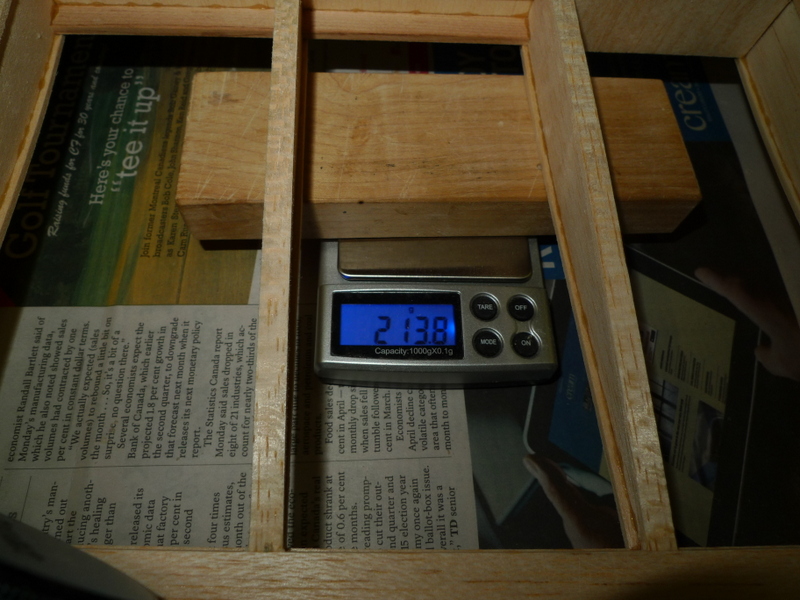
Right wing panel, and the fun begins 393 Grams, I’ll be able to compare tomorrow when I get the other panel up

May 15
Weights, after todays adds, 9 G difference , that’s a 1/3 of an Oz or so, I’m sure I’ll be able to sand that out later.

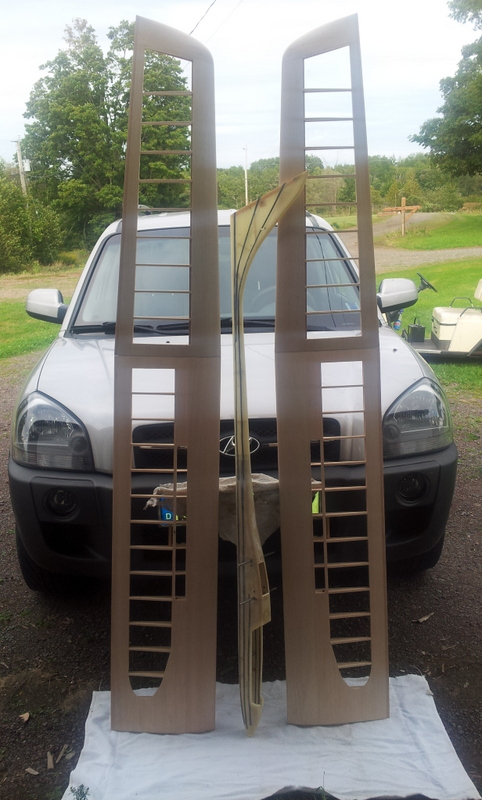
Both main panels stuck together and out for some fresh air. Up against my B of T , you can see how massive these wings are gonna be. I believe the Bird of Time is 117″ or so wingspan
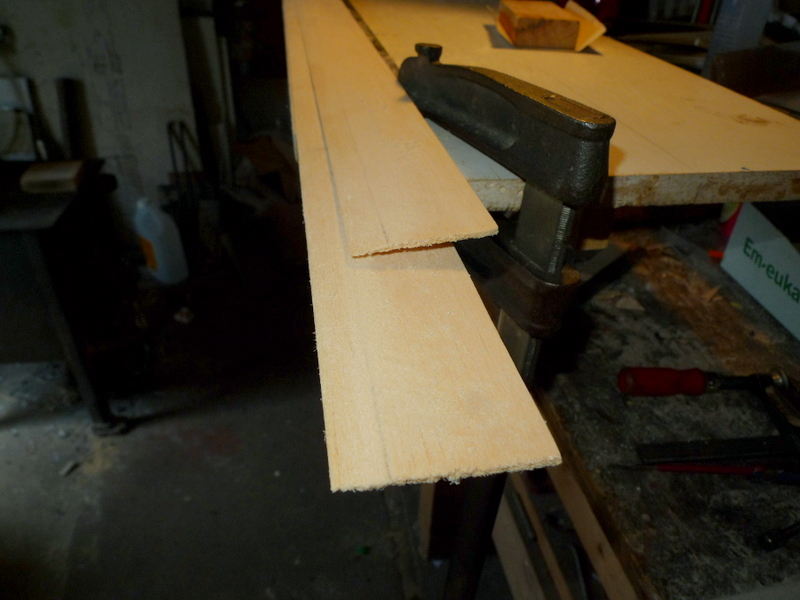
I set a straight edge against a sheet of 3/32 x 4 x 48, which I have to cut twice to 1 7/8 wide for the top TE pieces. There’s quite a wow in the edge, thankfully there’s enough width so I can cut this out
Ballast tubes in place, they are cardboard and hold a brass tube which is later filled with titanium, uridium, lead whatever in order to ballast this puppy. The inner ends are capped with balsa, and still need to be pinned as a failsafe..

May 16


May 17
Some fuselage detail
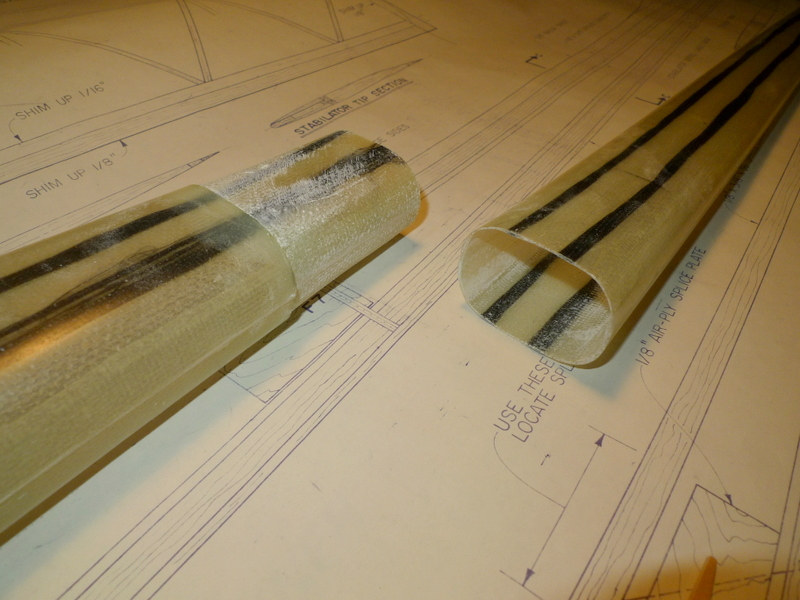
The fuselage is in two parts and the joint required considerable sanding and fitting to get a good fit.
No holes are present for the wing interface or for the horizontal stabs. That’s all details that need to be measured and measured twice as there are no do overs with this.
Everything needs to be square and plumb and vertical and horizontal, as well as perpendicular, as test pilots and others can spot misalignment from 10 paces 🙂 🙂
Besides planes that fly crooked are just not quite as pretty.


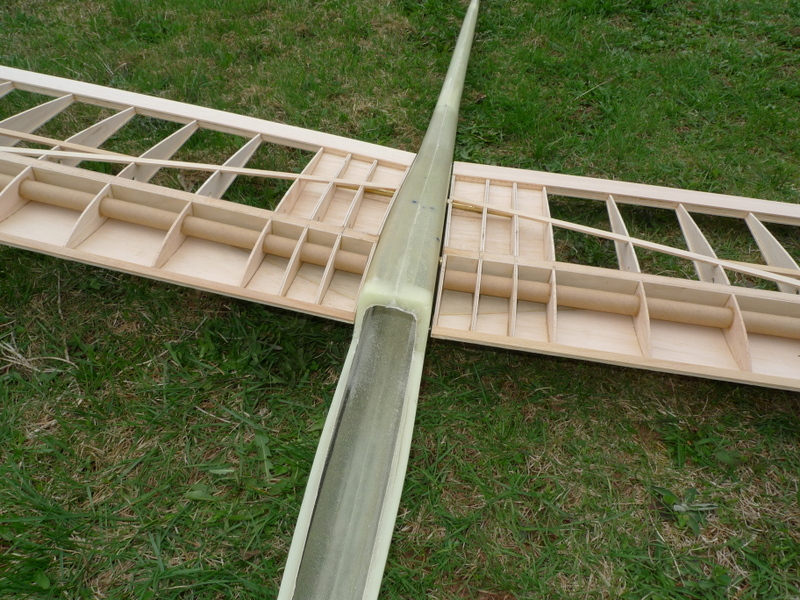
I am really pleased the way the wings fit up to the fuse. The wooden fuse for this sees the top surface of the wing flush with the top of the fuse. The FG fuse has a radiused corner there maybe 1/4 – 3/8 radius so the wings are not flush with the top of the fuse.
Minor difference, it will fly better


May 18
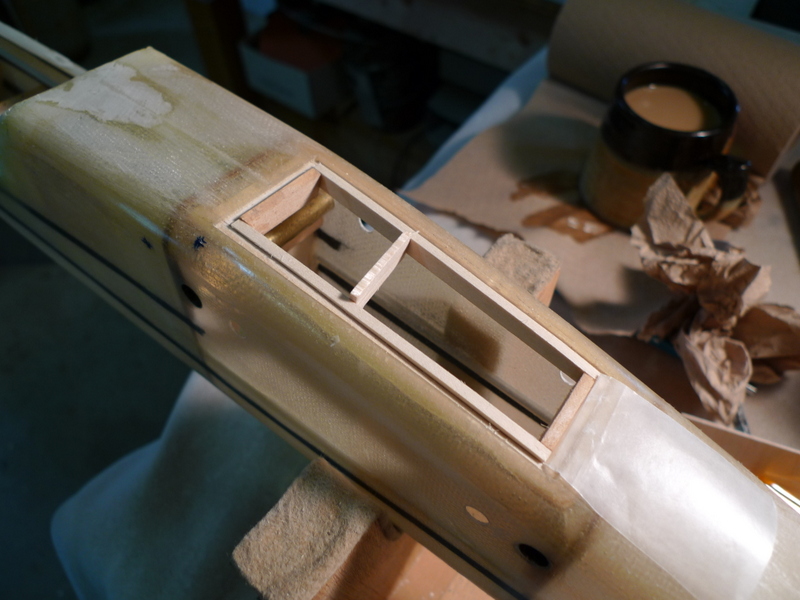
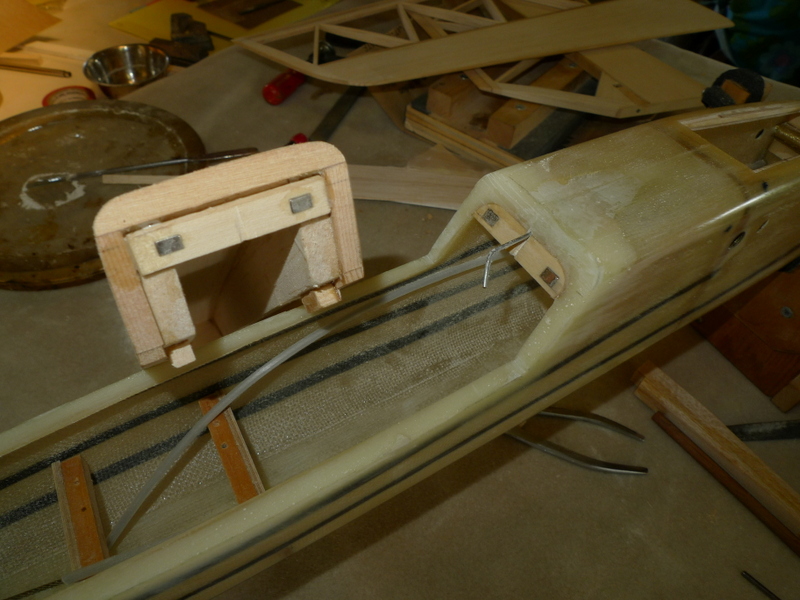
The wings are drawn tight to the fuse and held there with a couple springs. These springs are located between the two wing rods, and access to these thru the canopy opening is not possible.
So, I’ve cut a opening which will later get reinforced on the underside. I will fashion a hatch cover later from 1/16 plywood

1/8 ply formers are needed at each of the wing rod tubes

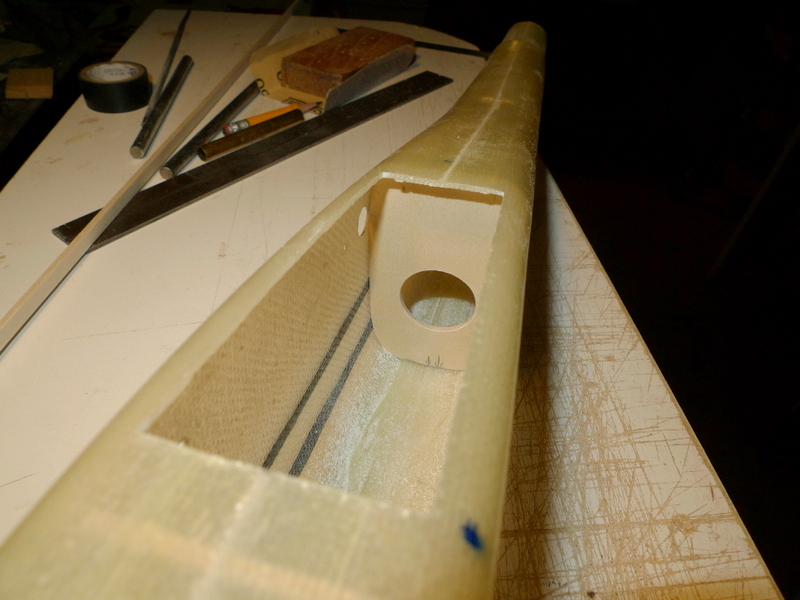
Also a couple formers to support the servo tray.
May 19
Opening frame

Servo tray formers and servo tray

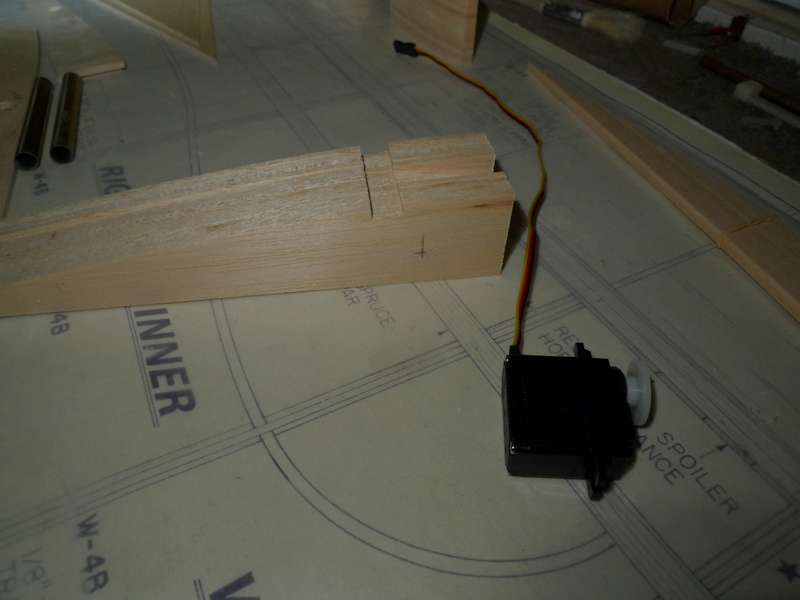
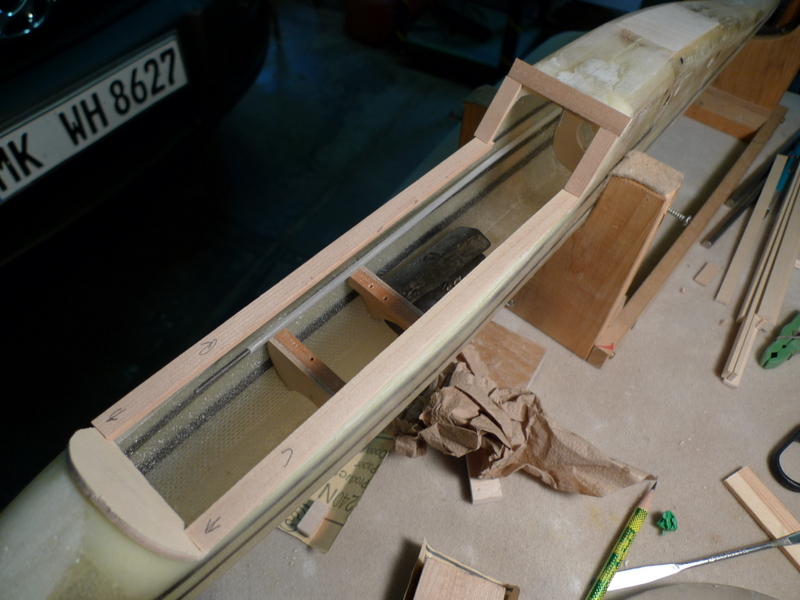
Tail boom formers, made from lite ply, needed to support control cables for the rear tail feathers.
System needed to put these in place along with the nylon tube as the fuselage halves are put together.

May 21
Shear webbing on one of the tip panels

Stab cable drive end
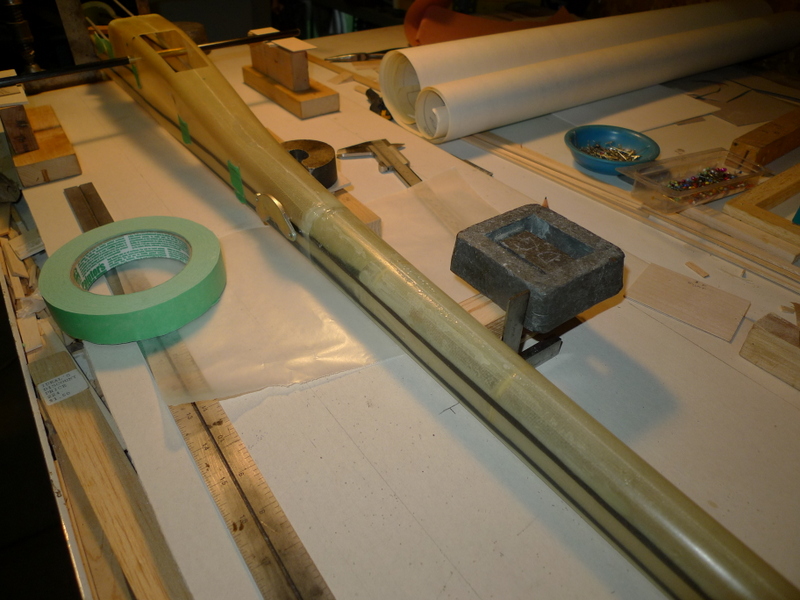
Securing pushrod tubes to the fuse, there’s a bulkhead every 6 inch, and glue every 3 inch
Interesting :):)

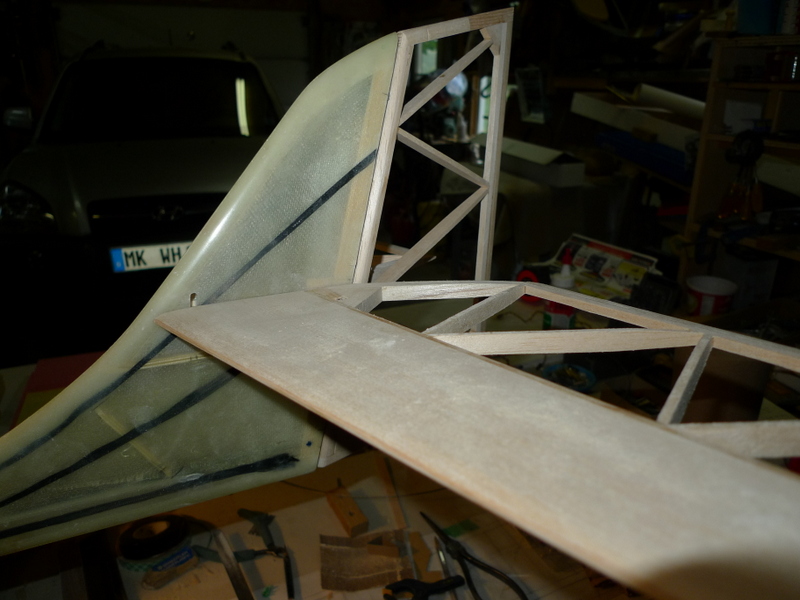
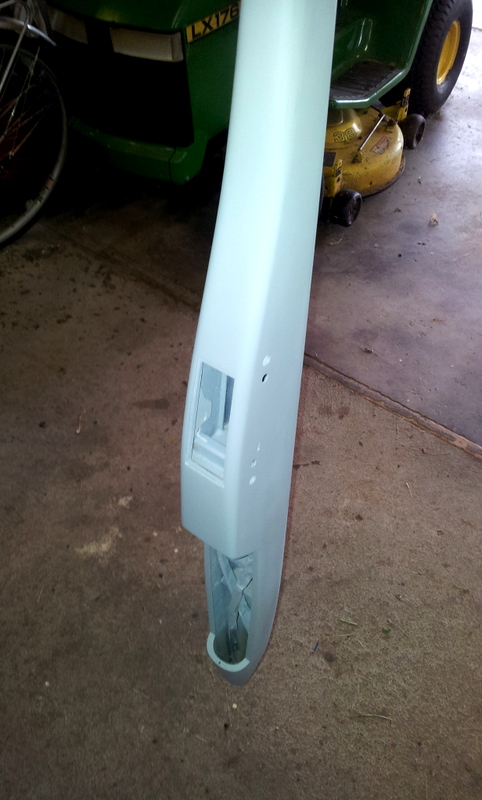
Fin opening, fin post and hinges will be added later.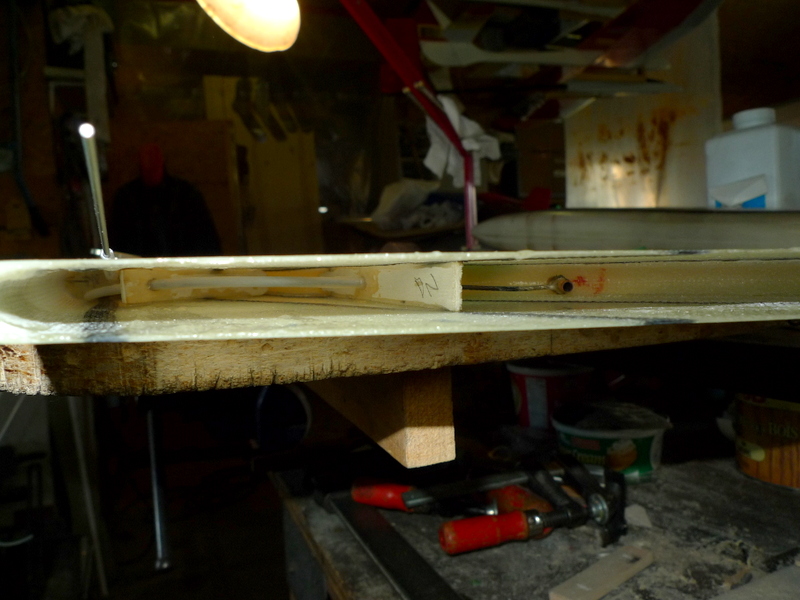
May 22
Left and right tip panels at root with wing rod tube in place..
Needs to be filled and capped and root balsa rib needs to be added

Rear fuse section, slowly making my way to the joint with former placement
May 23
Top panel balsa root ribs and ply ribs

Leading edge requires shim to conform to lower rib profile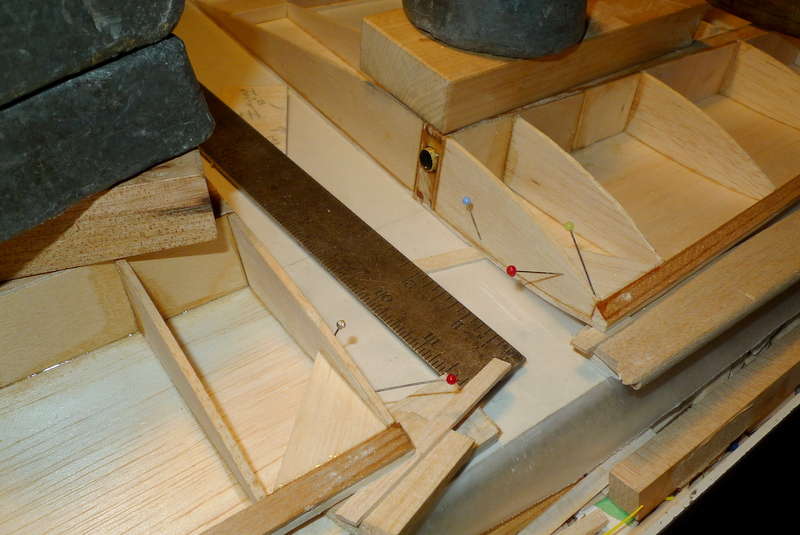

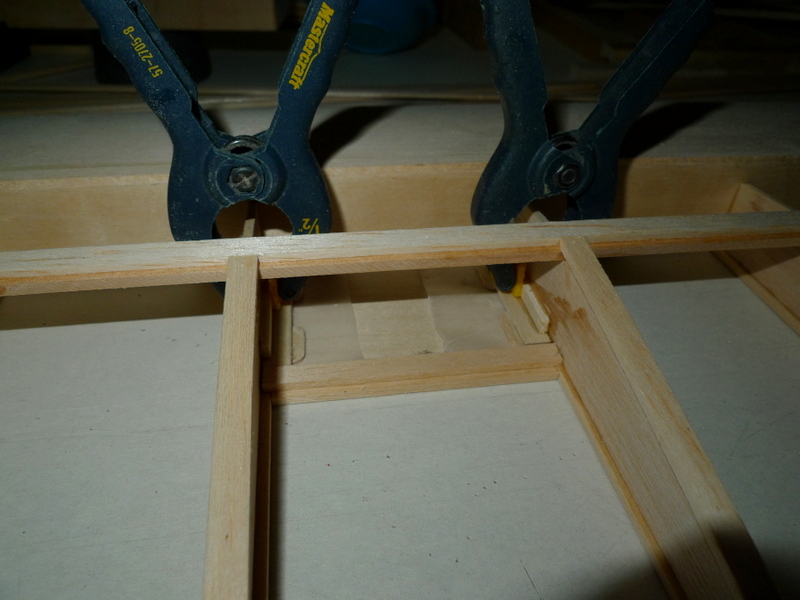
Careful sanding is needed for a good fit of the two panels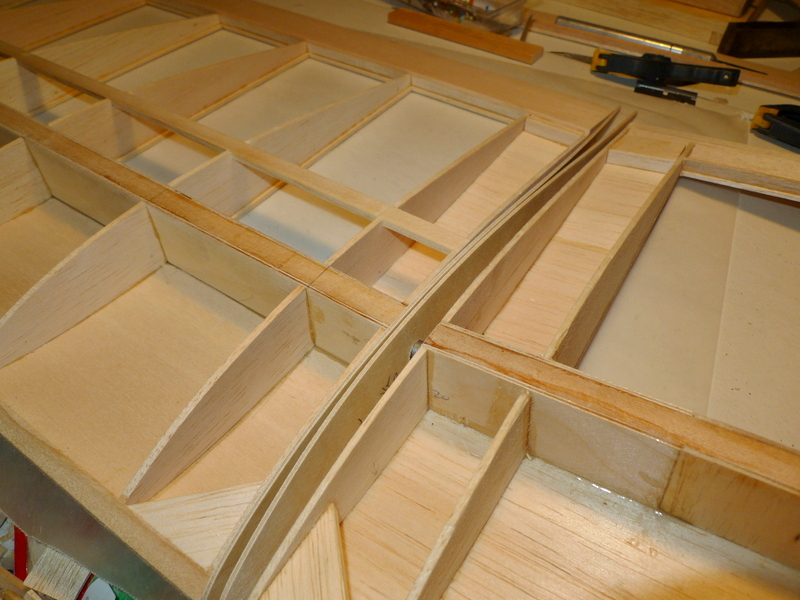
May 24
Left tip panel join, and ply ribs
one view shows rear shear web on tip in 3 places the other tip panel view shows it in four, plans call for 3 places.. :):):)
TE sheeting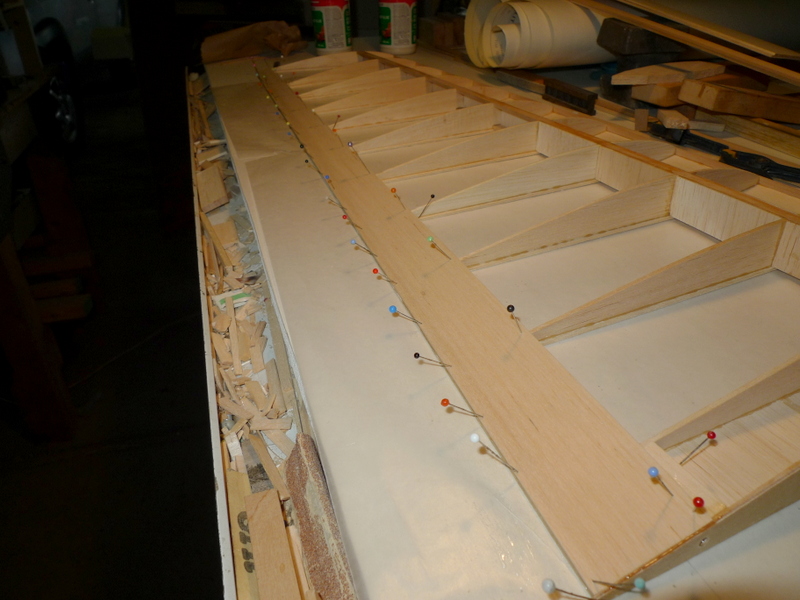

LE sheeting down and secure
Tip block gets marked and shaved prior to glueing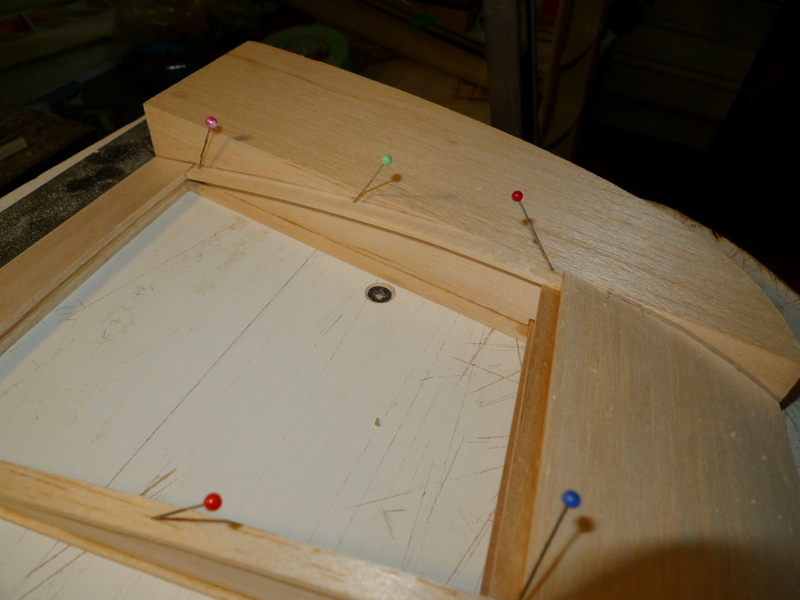
Tip block and profile template
Rib cap strips
May 25
Tip blocks

Tip root top filler sheet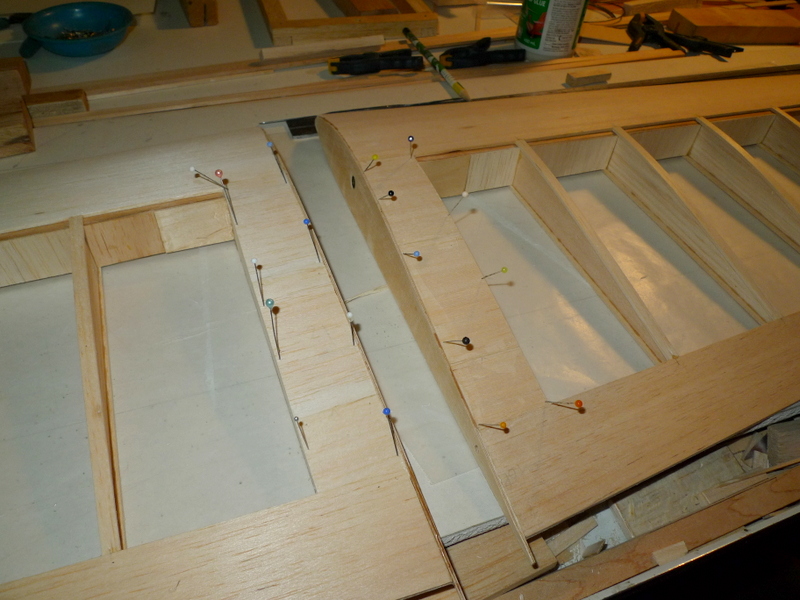
TE spruce

after a little shaping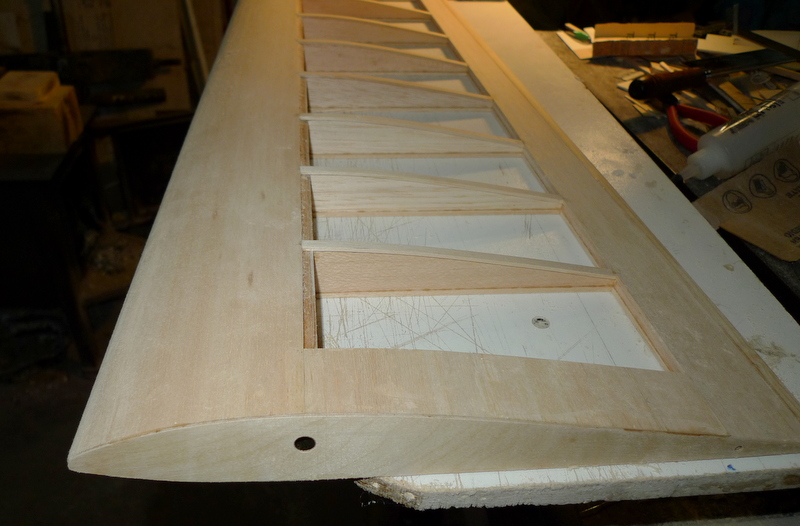
May 26
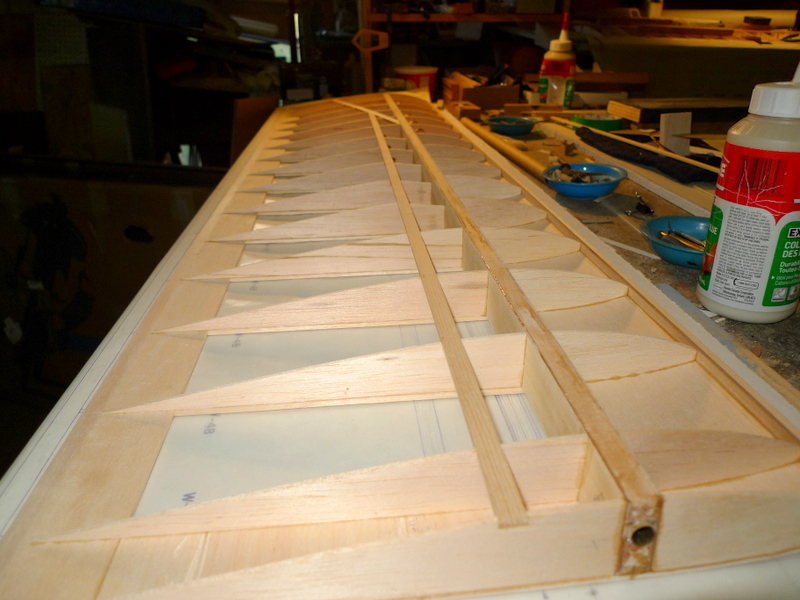
Top sheeting , main panels


May 27

May 29
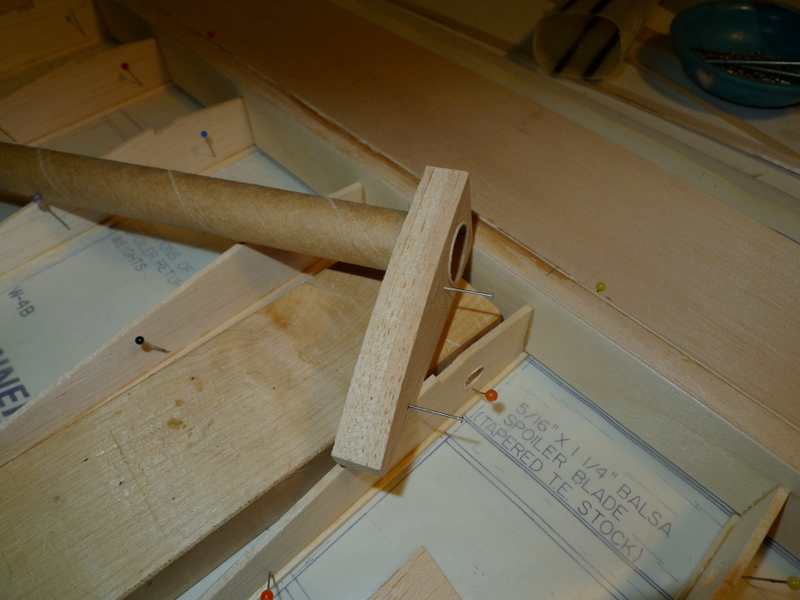
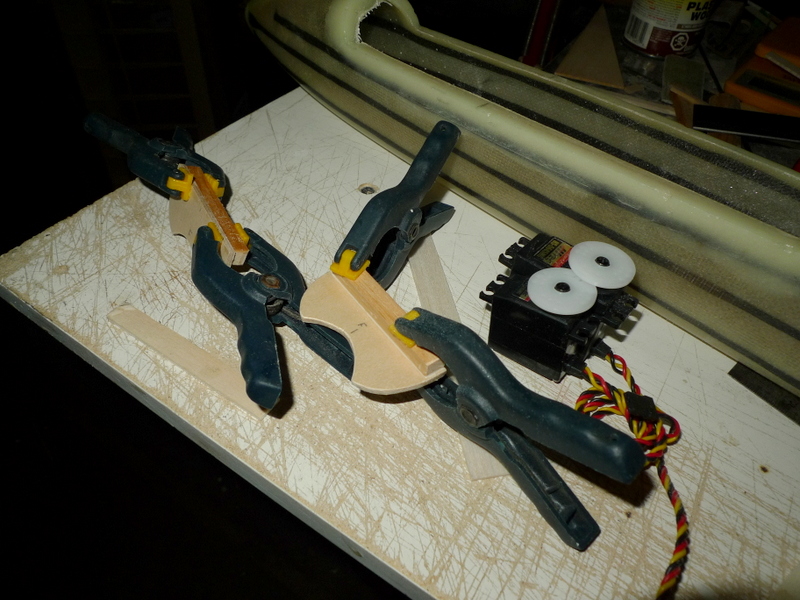
Spoiler magnets and stop/adjusters
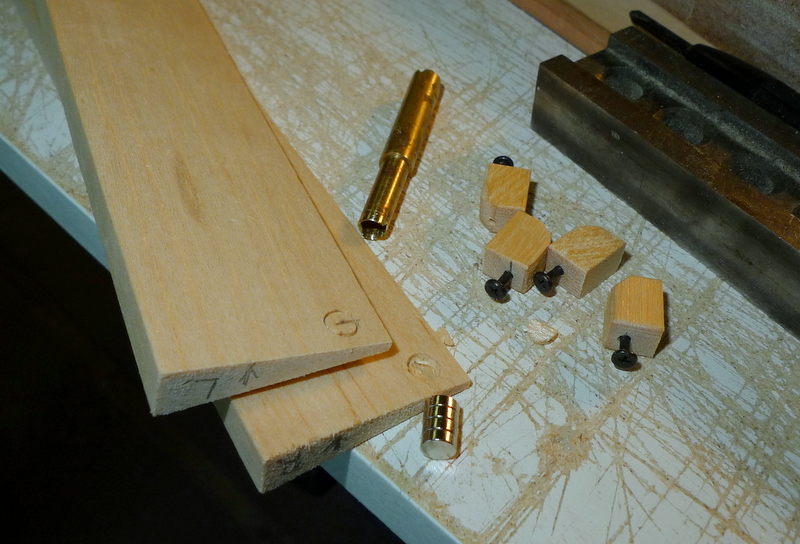
Adjuster being glued in from underside

TE Spruce capstrip set to be glued 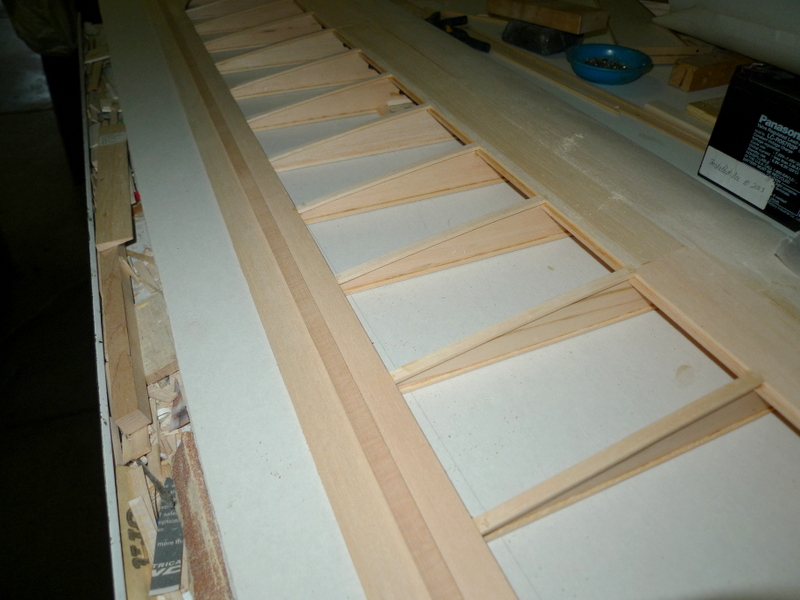
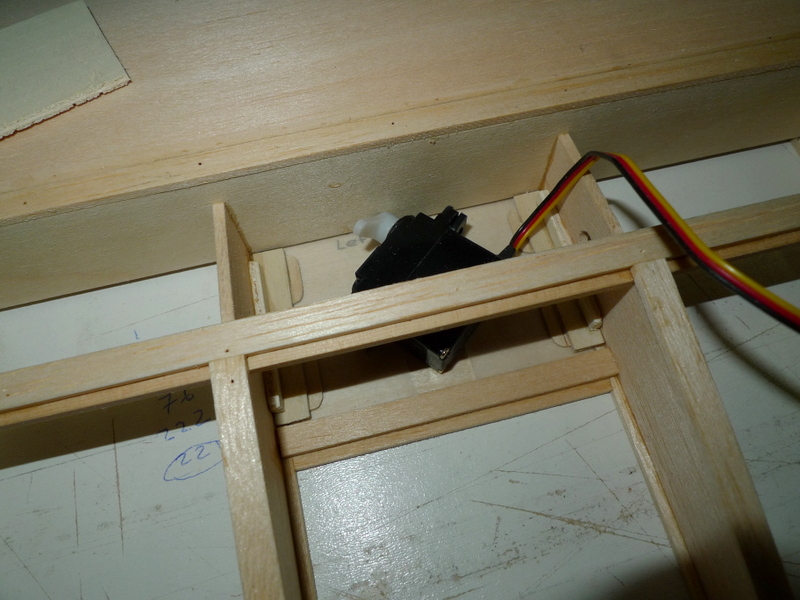
Clean spoiler servo bay and spoiler , right main panel
June 1
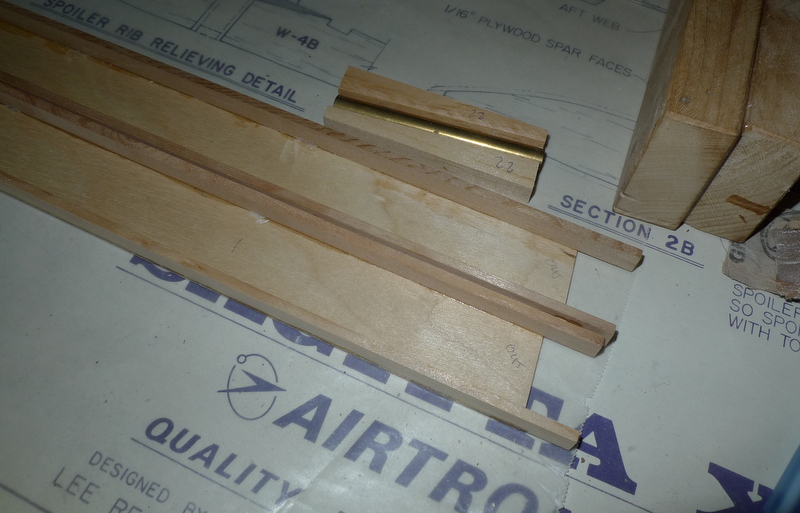
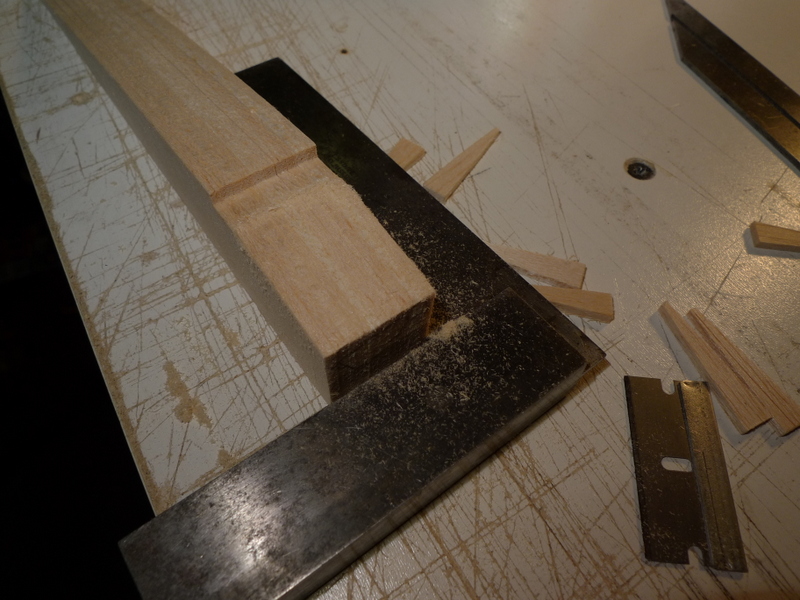
Sooner or later ya start running out of lumber. There was a lot in this kit, but other then the canopy I need no more lumber. Shaping up next and what better then to start with the 4 spruce trailing edge caps. They need to be tapered to what Renaud describes as a sharp edge.
I have in the past tried planing , sanding, taping and filing , planing and sanding, and always seem to come back to my machinist clamp with a strong USA made razor blade.
I set the blade at the app. angle and just extended far enough to get to the edge of the cap where it meets the balsa.
I then use it up against an edge for support and carefully scrap the material away. Finally I can use my sanding blocks for the finishing touches.:):)


June 3
Fin tail post and stab pivot block


Fuselage halves setup, aligned and glued together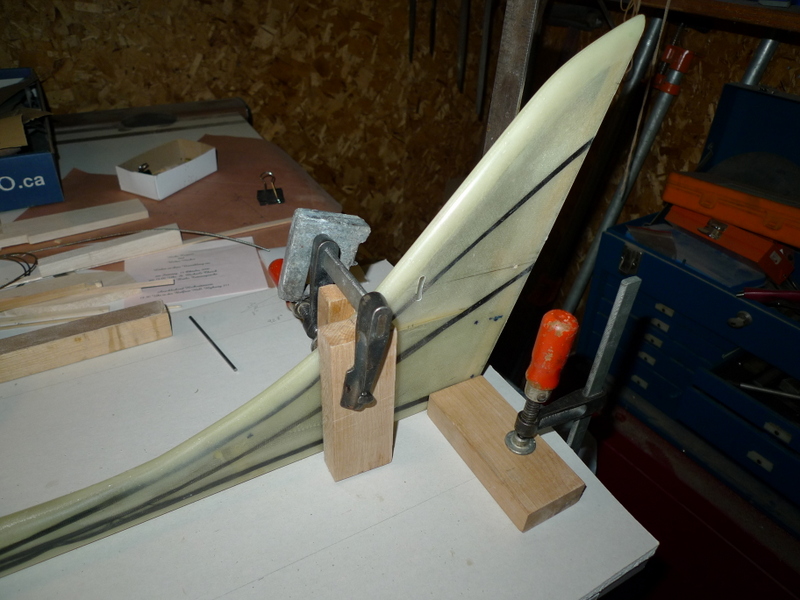


June 4


June 5
June 7
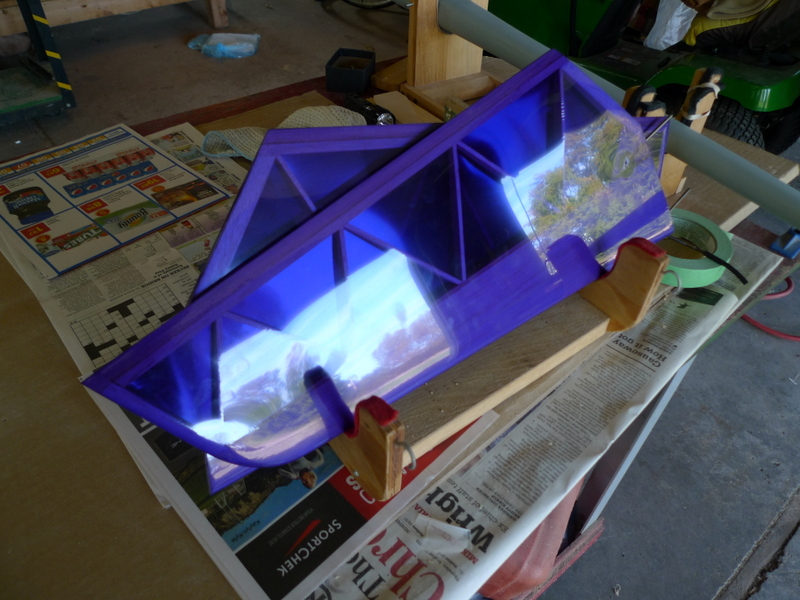
Hatch and Canopy build


June 14
added some lead and battery to balance at recommended CG
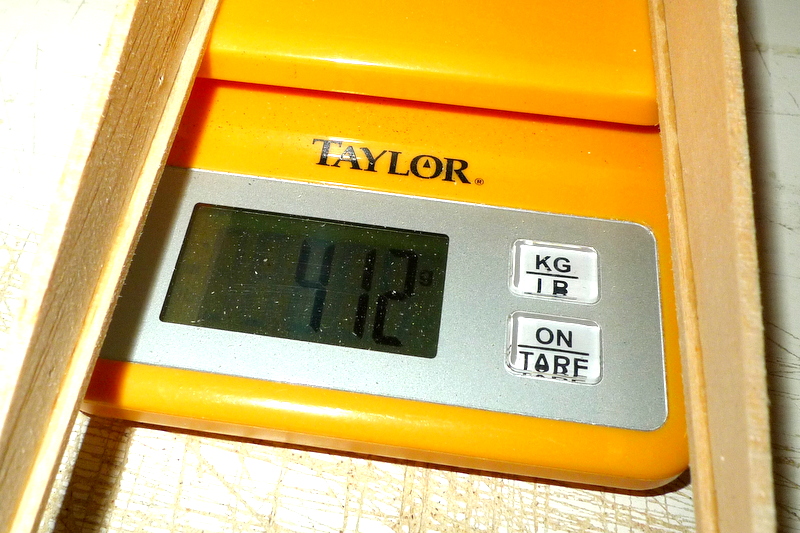
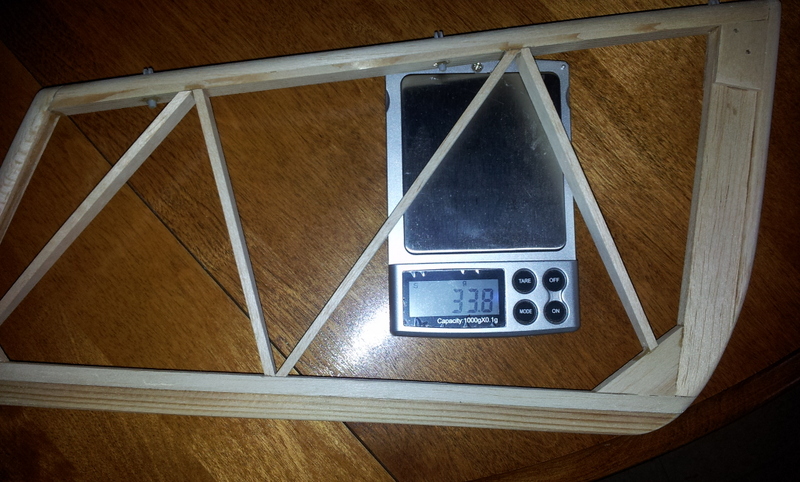
Plane weighed 3340 G


June 24
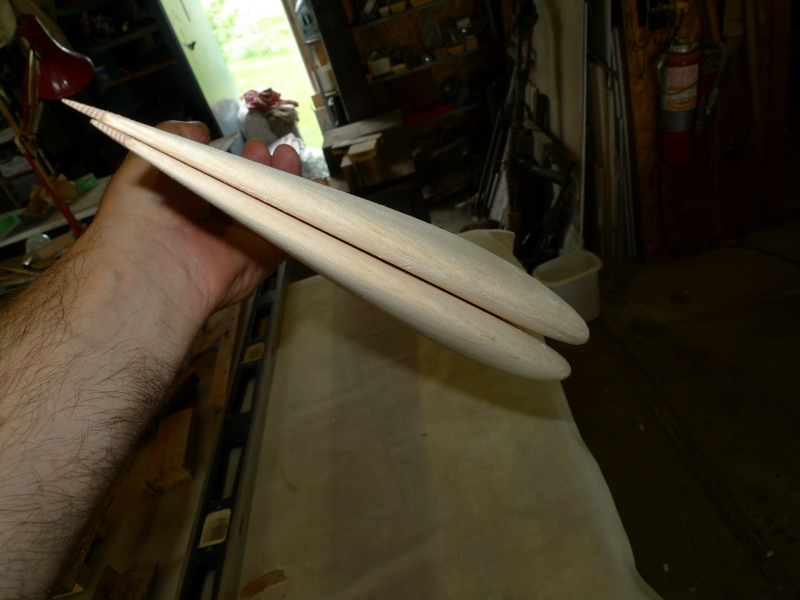
Wing Tip Panel weigh in.
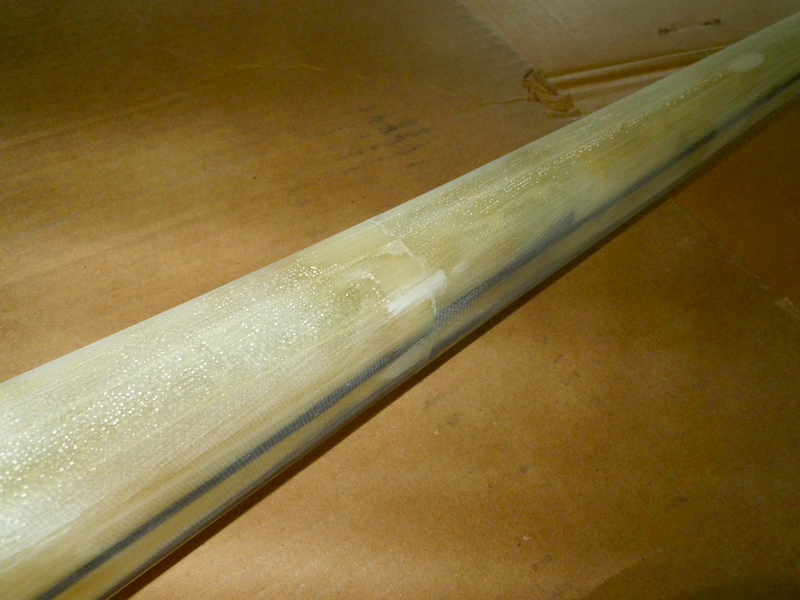
Sanded and ready for covering

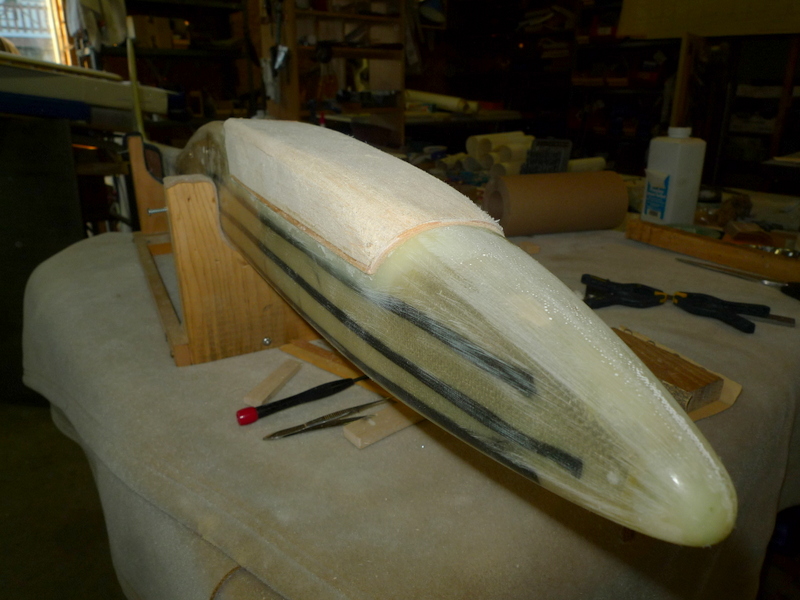
Aug 12
FG fuselage sanding and filling of voids. I’ll get a coat of primer on and that should show other imperfections


Sept 10
4 sheets for the inboard panels top and bottom
4 sheets for the stabs and 2 for the rudder
Looks like blue, (flash) actually is a really nice violet

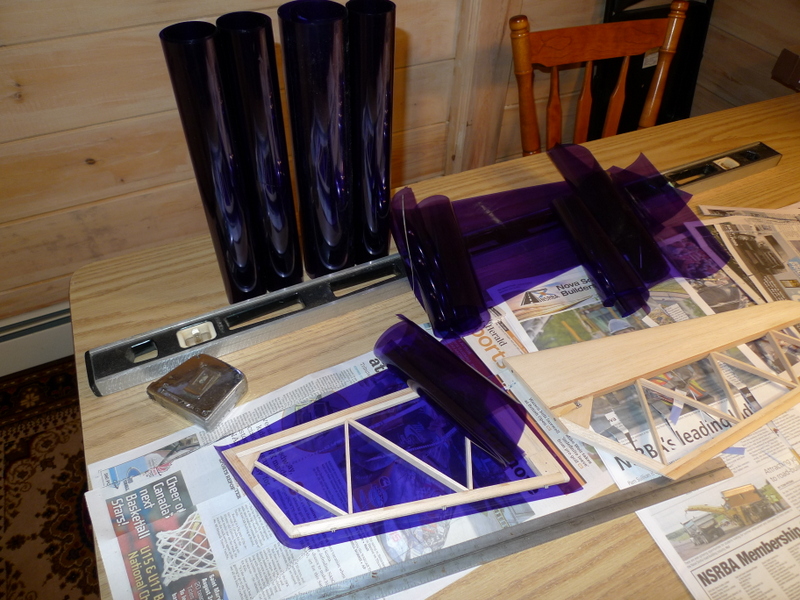
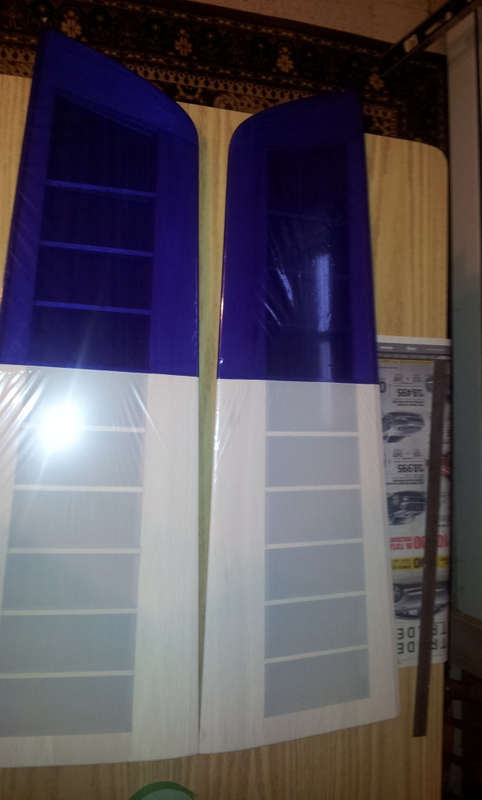
Tip panel bottom scheme
Top fully violet

Top panel, white with violet, should be bright

Sept 11
Before and after vertical stab weight, starting to get heavier 5 G in the tail is 15 to 20 in the nose
Maybe I should reconsider covering this :):)

Sept 15
Wonderful kit, great parts, but a lot of sanding and fitting to get the wings to this stage and have them look the same.
A leap of faith, I hope the darn thing flies straight.
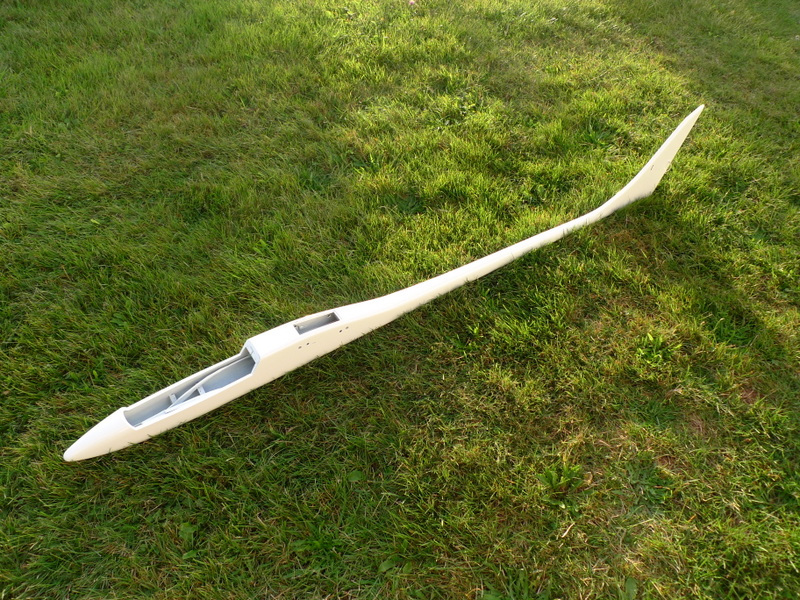
The Fuselage was a little out of my control but appears to be straight as an arrow.

Sept 21
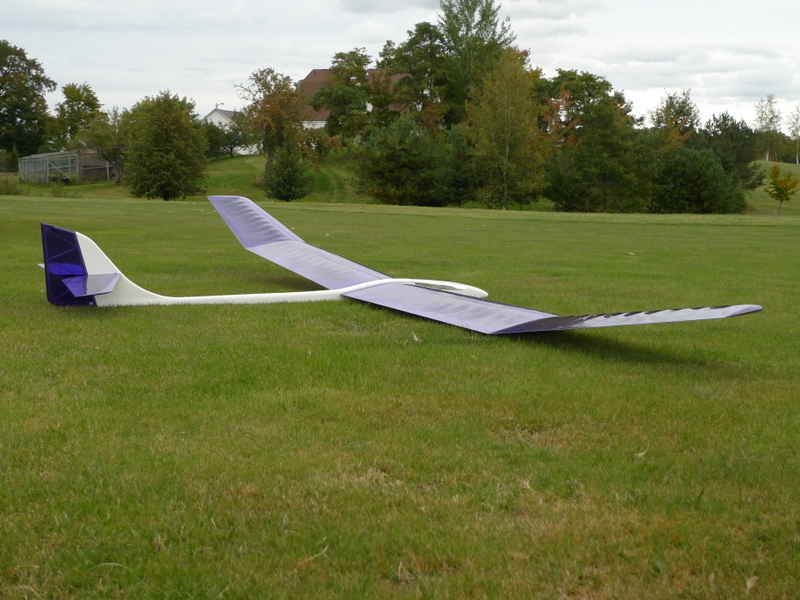
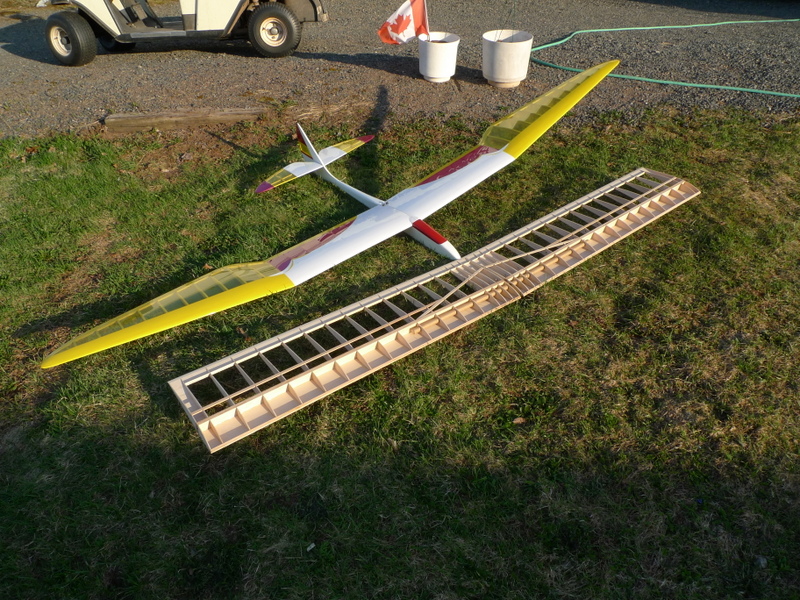
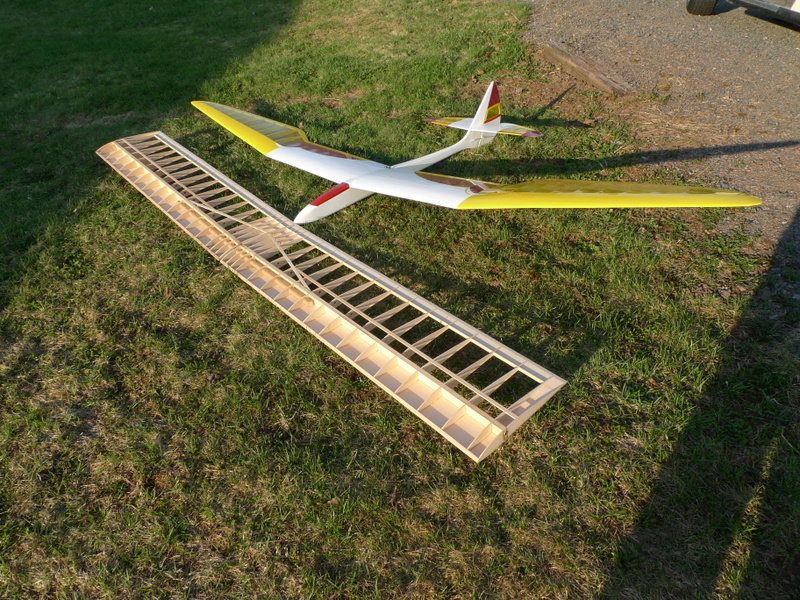
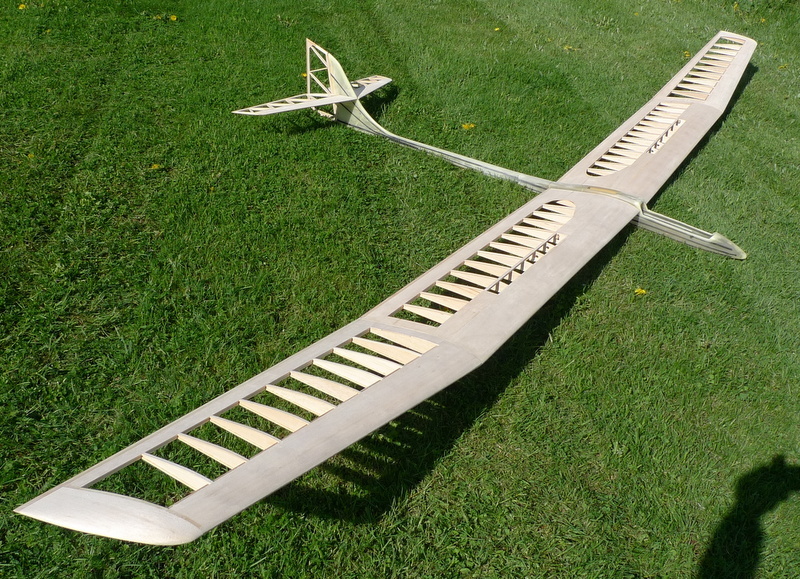
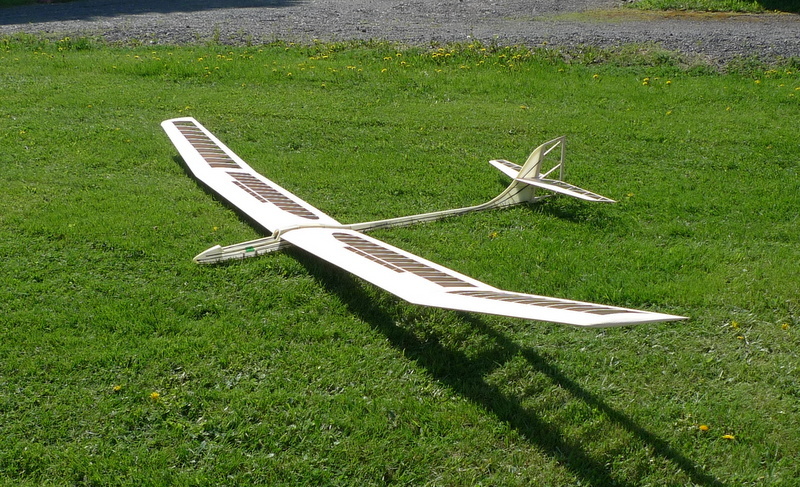
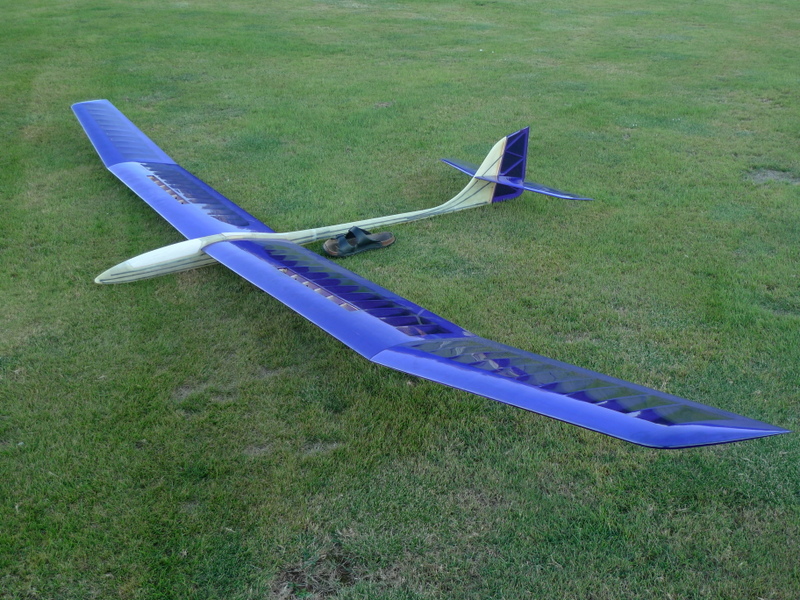
After a couple covering sessions, I took this beast out for a photo session, it is huge


Sept 26 2015
Near the end , I’ve already added the second coat of primer to the fuselage, and in the process filling a multitude of pinholes.


I have a few more pinholes to fill, and then onto the third coat of primer.
In the mean time I’ve added the servos to the spoiler bays and extended the servo arms. Surely this build is nearing the end.


Sept 30
Soon time for the big dance , 3rd coat of primer is on
Oct 05 2015
Brass Stab pivot tube in place, always a bit of a gamble measure from wing tip to stab tip ,set the stab level with the wing and glue, this always sums up the build in my view. :):) Is it level with the wing , square to the fin.
Sometimes it’s in the eye of the beholder , or the builder.
Lets see if it flies?
Shiny stabs
Oct 08
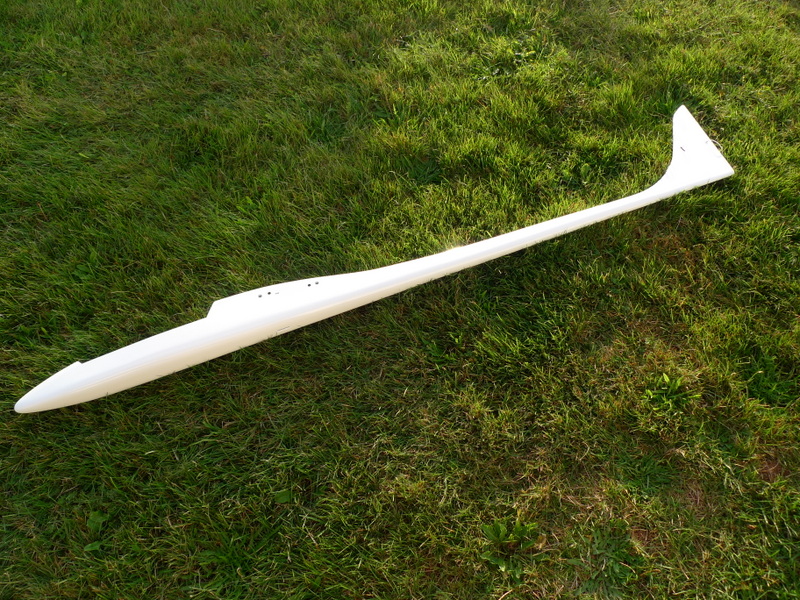
Final coat of white finished.. Looking sharp


Next up fuselage fit out, servo and pushrod install and completion