11,566 total views, 5 views today
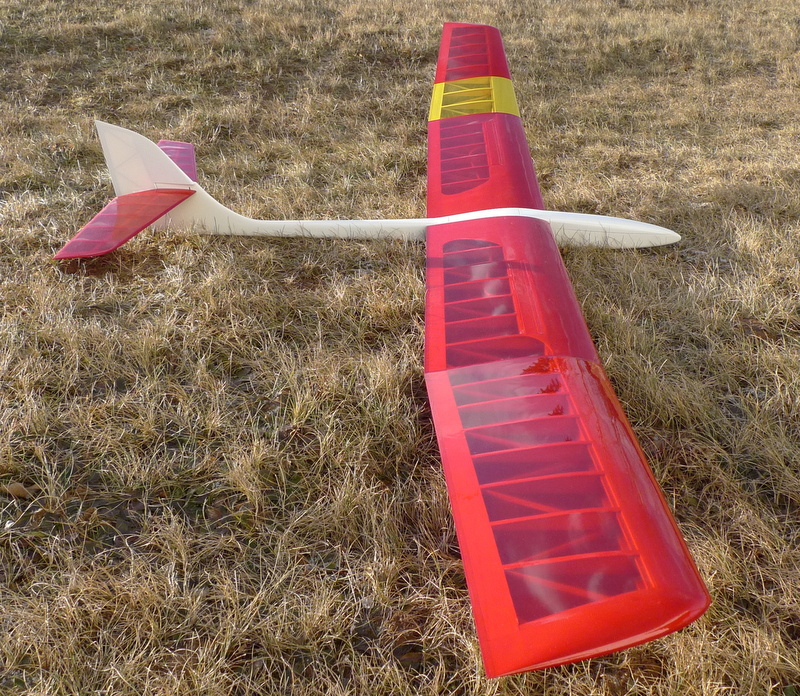
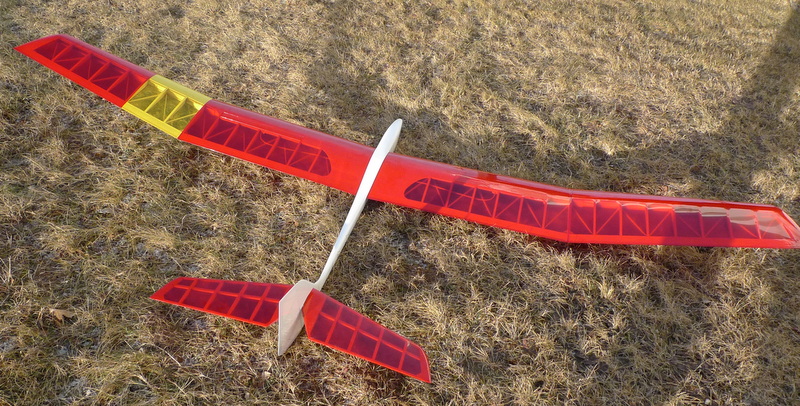
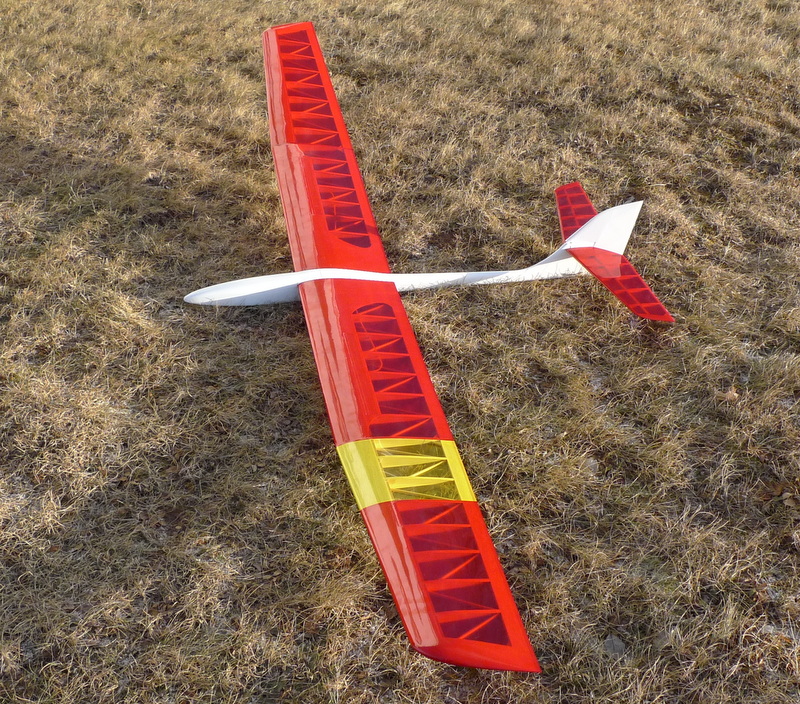
Jan 28 It’s a bit chilly outside, but took the opportunity to put the Sagitta 900 together and snap a few pictures


Jan 05
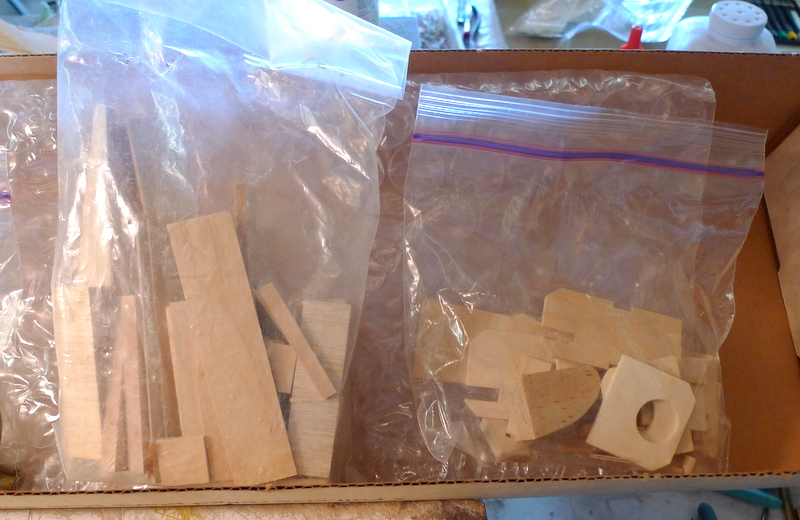
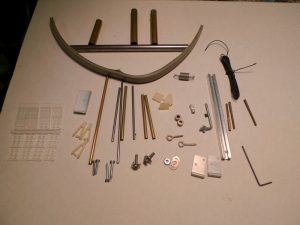
All the bits and pieces have been taken care of
install servos
install rubber landing strip
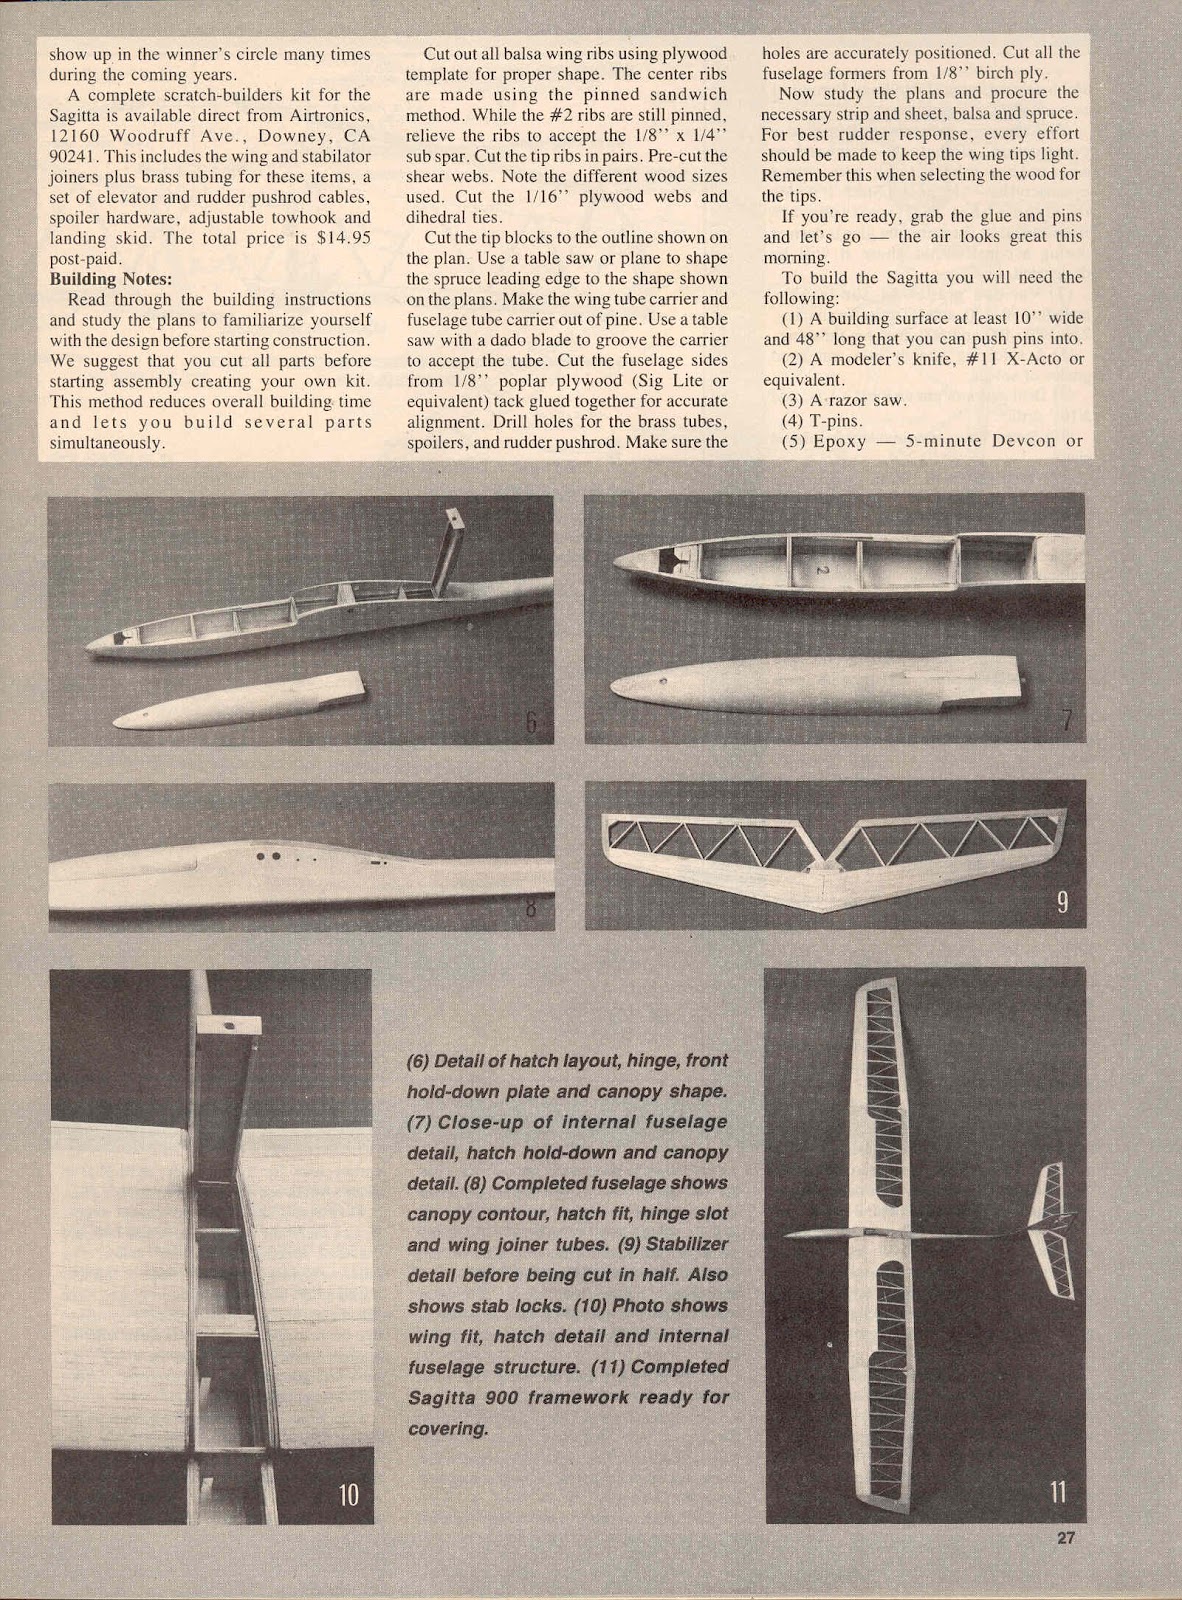
install 2 eyes to secure wings
Dec 28
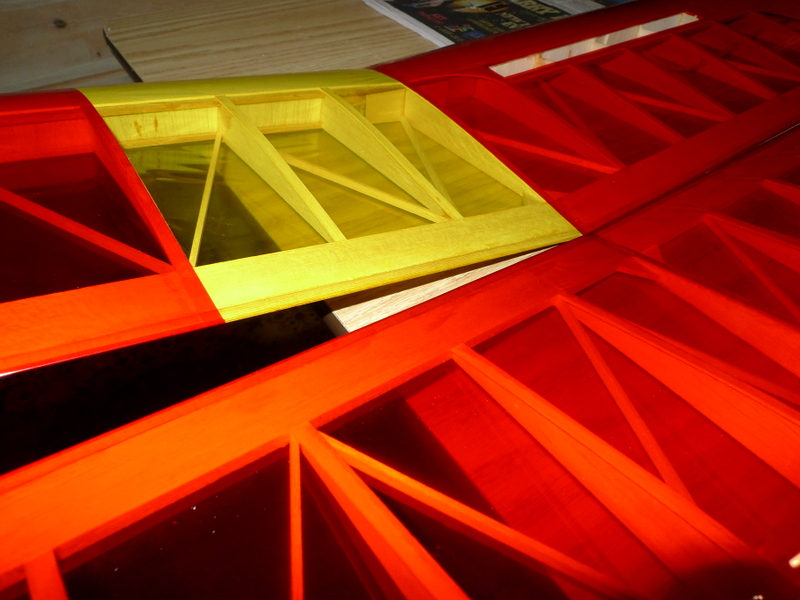
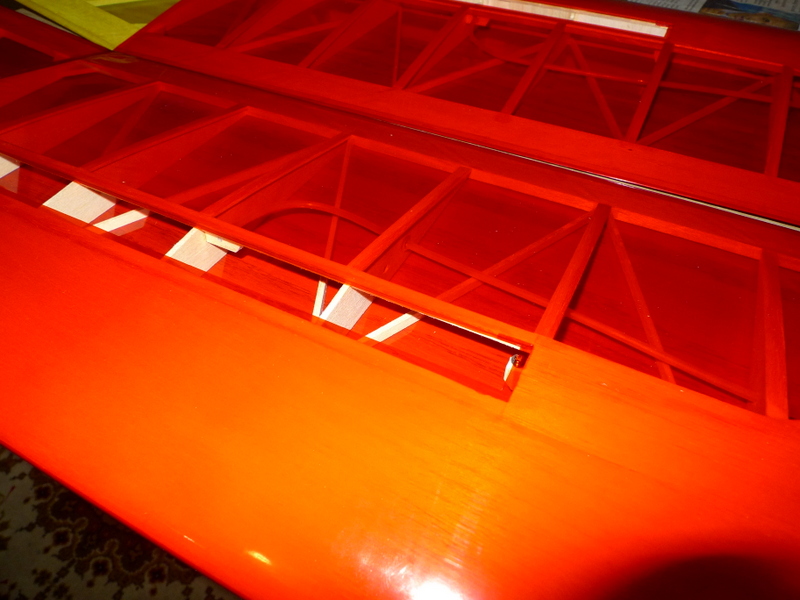
A splash of red and yellow has been added to the wings. The spoilers need fitting and covering. Soon this will be complete. 🙂


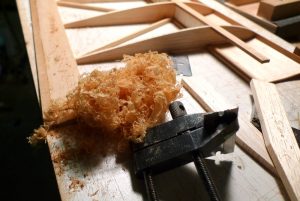
Dec 15
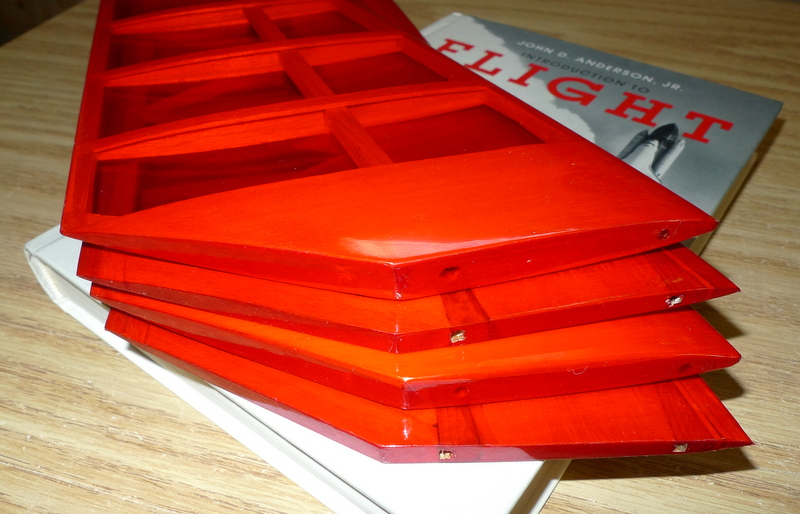
After Paint I can say that each coat of paint on the fuse adds 4 – 5 Grams. all up less then an once for Complete Paint,. Likely heavier then Ultrakote, but more Durable I would say Red, yellow . white Ultracote will be here tomorrow, so soon the wings and tail feathers will get covered


Nov 16
After 3 coats of paint and sanding I have added between 4 and 5 G per coat, the weight now is 285 Grams. I sand with 100 to 120 grit and a block, the closer you get to smooth and flat the more effort it takes.
Water paper would also work, but this time I’m sticking to garnet paper, and cleaning it to prevent clogging of the grit on occasion.
Is paint really that heavy :):)


Nov 09
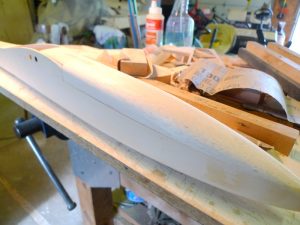
Sanding, sanding other project, today though I got a 1st coat of Paint on the Fuselage.
Weighed the fuselage, servo cover and hatch as well before painting. Weight 271 Grams


Oct 18
Option
Oct 16
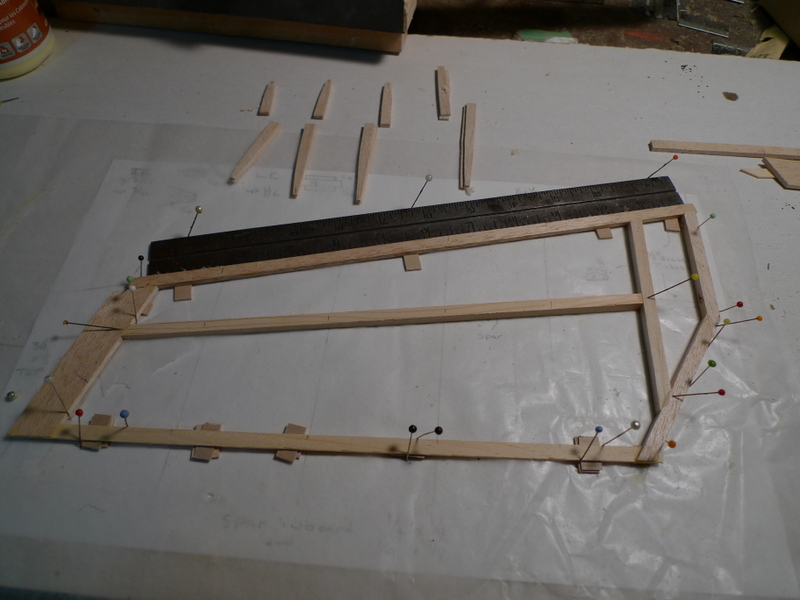
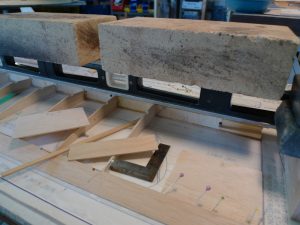
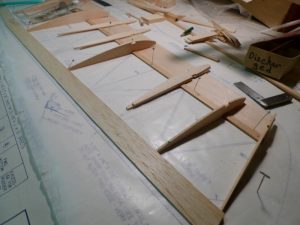
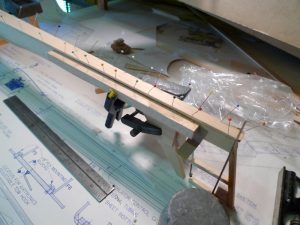
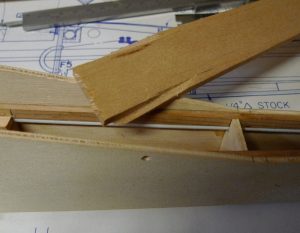
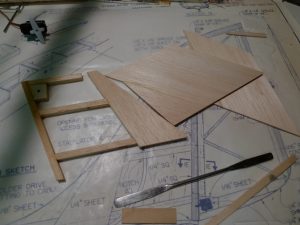
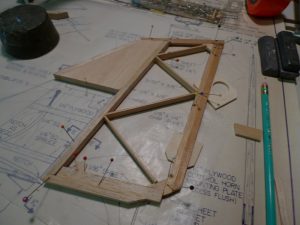
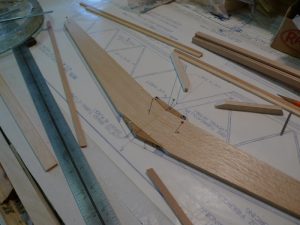
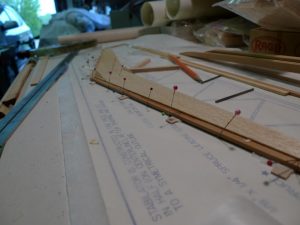
Some more of the build at sanding stage now, little else to cobble together. Have built a set of stabs as well which are almost double the stock stab set thickness.

Stack of stuff no batteries or receiver 947 grams

New stab set 32 Grams .

Stack of pieces, 947 Grams

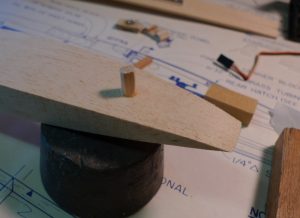
couldn’t find a set of these anywhere so fashioned a new set
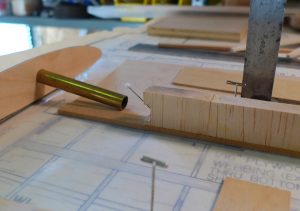
a little heat formed these bends nicely on the spoiler string tubes

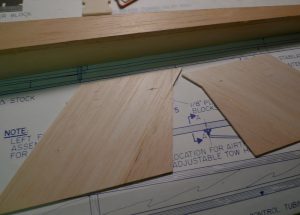
have to fashion a set of stabs a tad thicker then those with the kit.
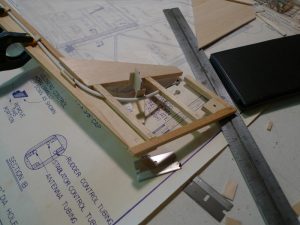
a frame with some sitka on the TE and some hard balsa on the LE, I will sheet the root with some 3/32 balsa, cap some ribs and see how that works

kit of spoiler stops, and magnets


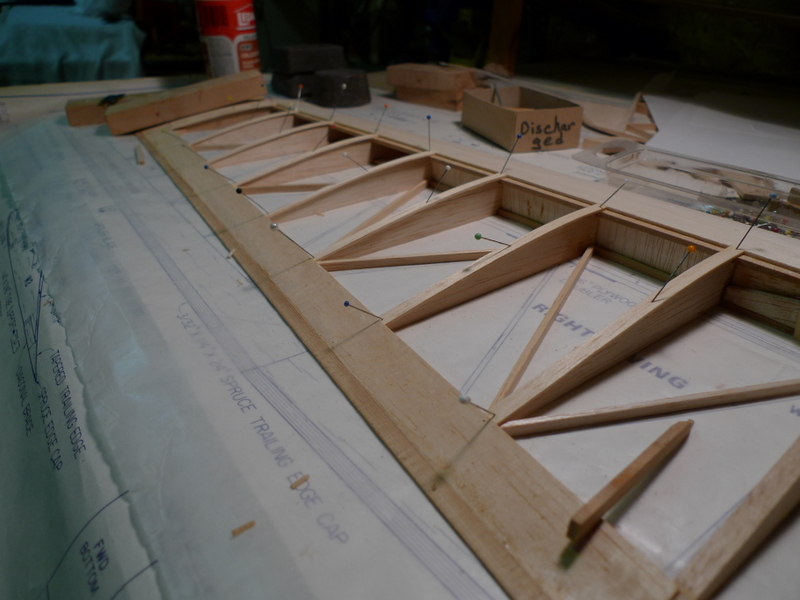


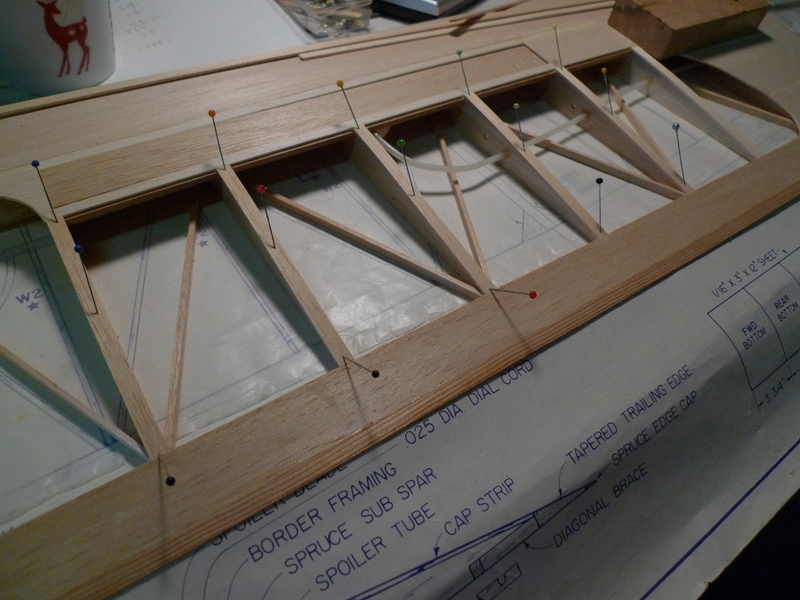
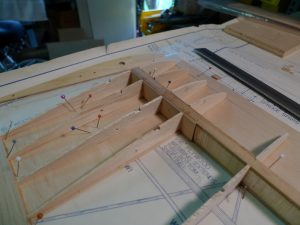
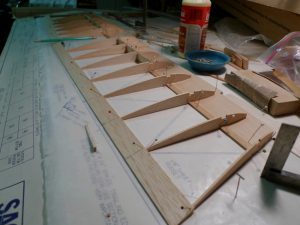
Sept 28
Trailing edge shaping, getting a taper like that of the 1 x 1/4 balsa in front of it
Wing rod tube pine carrier, root angled in and tube down

I added a bit of a notch to the 3/8 web filler to accommodate the wing rod tube length
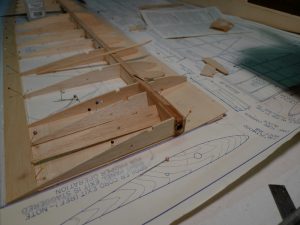
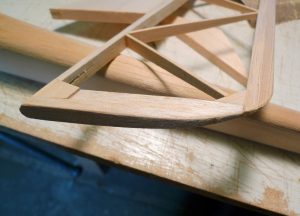
4 ribs on the inboard end need to be cut to fit on either side of the spar

lower diagonal brace ends get a double bevel trim before getting glued into place
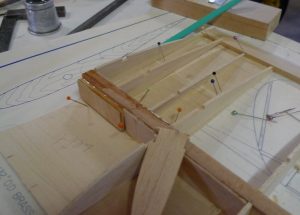
wing root to fuse fit

the rear shear web doubler is higher then the front one and sits flush at the bottom with the lower rear sheeting

I extend a line onto the lower edge sheeting , inboard end to aid with placement of LE spruce


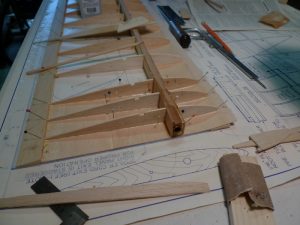


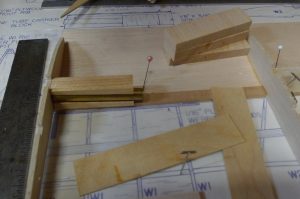
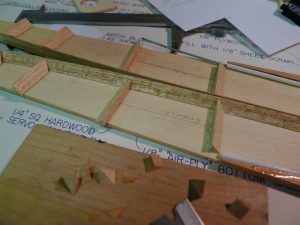
Sept 24

Wing rod tube, block, and spar doublers. A complicated collection of pieces

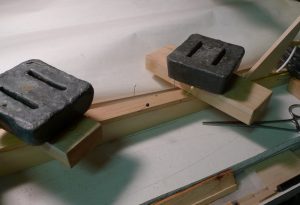
Rather the pin the lower spars down in correct position, I just placed them against a straight edge, and glued the lower d tube sheet to the forward edge. This allowed me to place the unit in the proper location and pin thru the balsa rather then the spars. As long as the unit was pinned in place straight the ribs would later pin everything down tight to the board


———————————————————————————————————–
Sept 21

Forward fuse bottom sheet, with the center line on the inside and the former centers all marked alignment is a little easier
bottom balsa 1/8 sheet

3 ribs each side get notched for spoilers


————————————————————————————————————————————————
Sept 16

Top 1/4 fuselage deck in place, notched to fit between fuselage sides
notches on underside

tow hook channel centered and appropriately placed for/ aft
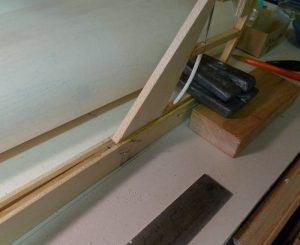
fuse weighted down for placing of rear top sheeting
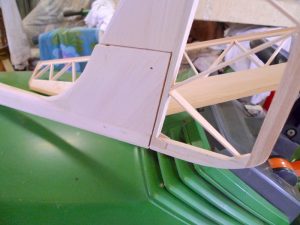
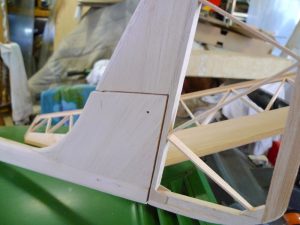
fin/ fuse interface, angle top sheet to fit

top sheet in place and weighted down
3/32 fin side sheeting
Fuselage top sheet

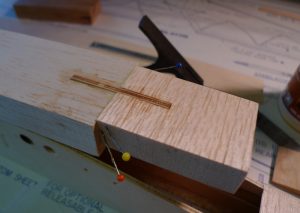
fin side sheeting marked for pivot pin as well as control rod arc opening

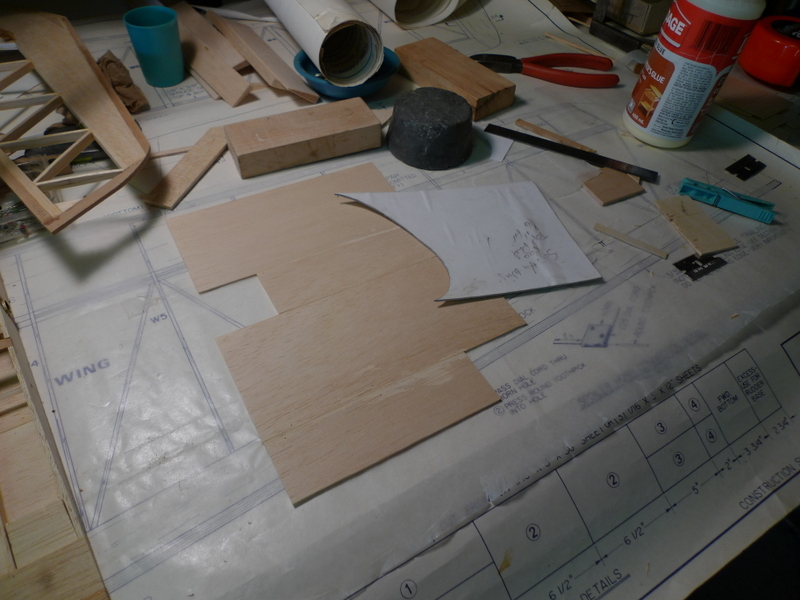
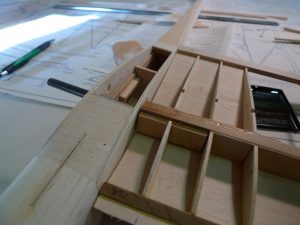
Spoiler servo access hatch pieces

Access hatch framed and fitted

top sheet filler

1/16 ply sheeting on access hatch

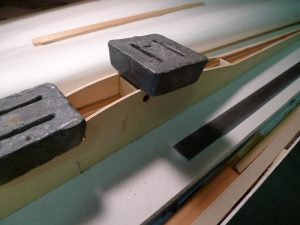
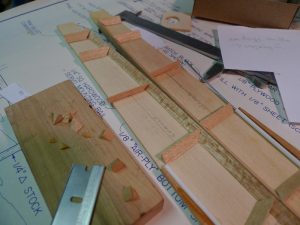
wing spars 1/8 x 3/8 with weights marked

canopy rear , I like to add a piece of 1/8 ply here for wear
canopy rear tongue

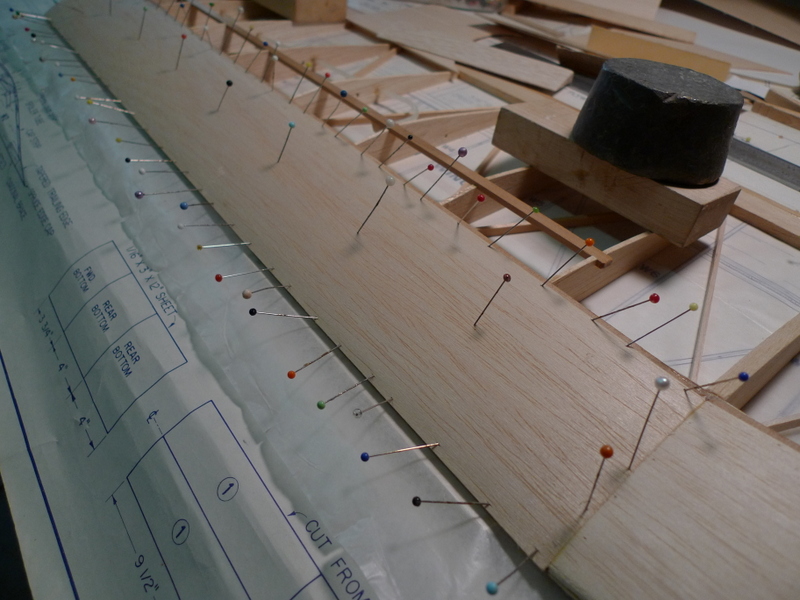
wing sheeting 1/16″ as well as weights

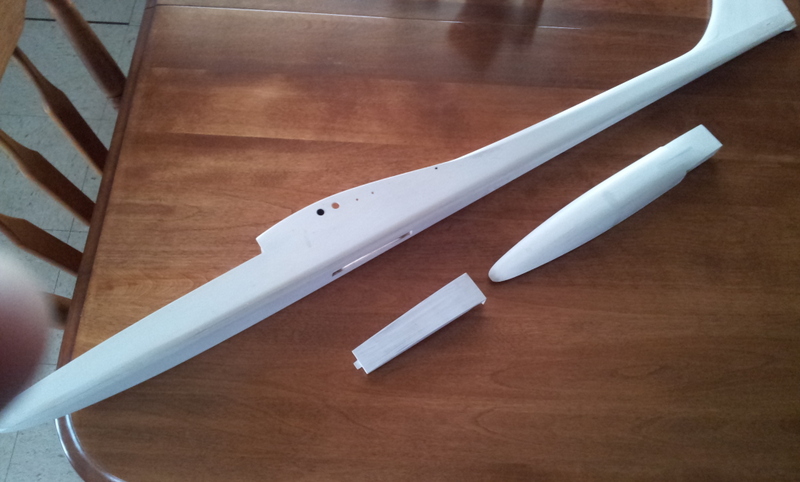
nose, needs a little shaping
1/4 dowel for retainer screw
1/4 ” balsa plug

some shaping
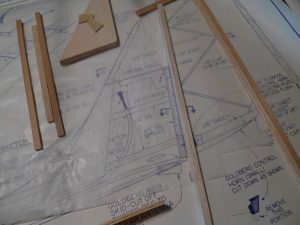
Sept 04

forward formers in place

Tow hook rail, and mounting plywood

Servo tray rudder and stab

Rail support pieces glued together


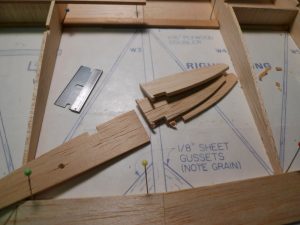
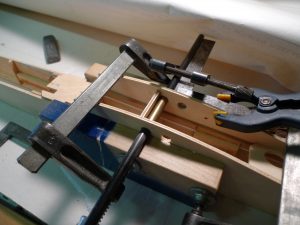
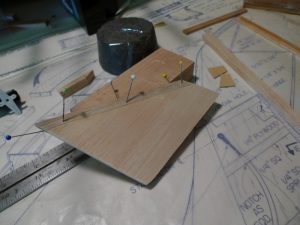
Sept 03
Fin frame and 3/32 fin sheet. It was a bit of a mystery initially as I thought there was no fin sheeting. Turns out the 3 – 3/32 trapezoid pieces are scabbed together to get the shape for the fin sides, I’ll add the holes and slots later
Fin frame glued to right fuselage side

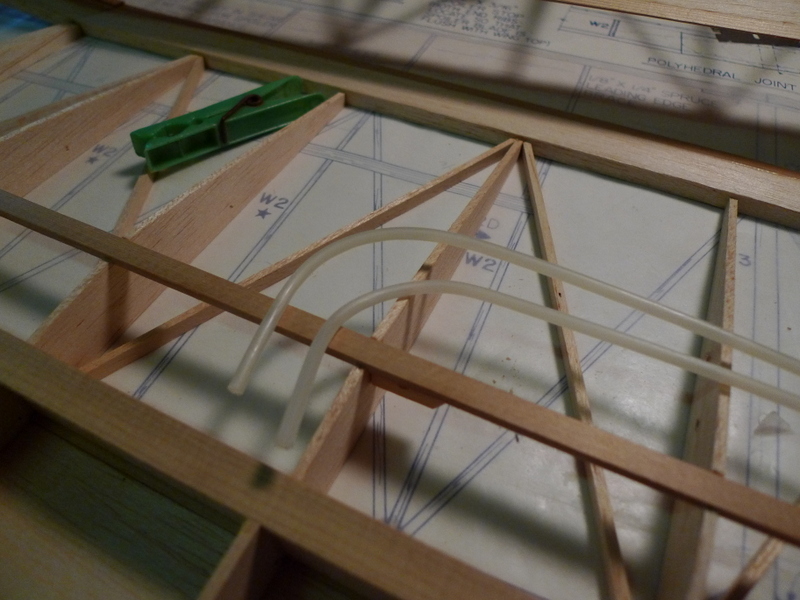
adding the stab control tubing
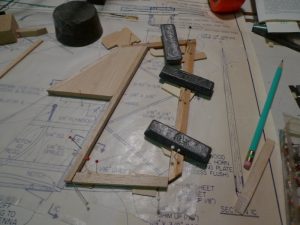
Former gussets from 1/4 tri stock
Tri stock gussets are glued in place to the lines which were previously added to the inside of the fuselage sides

Glued and pinned in place
Former F5 wing rod tube, former gets placed and glued, sdquare to both fuselage sides, with fuses sides held flat to build surface
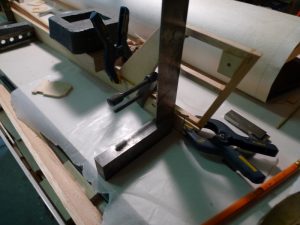
Fuse at rear gets glued together and aligned perpendicular to build surface
Former F7 added and fuse square and straight

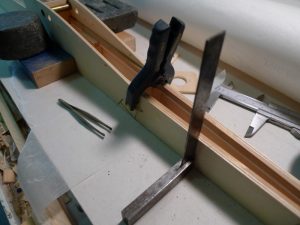
Nose bock, I have hollowed it out somewhat for lead
Nose block glued in , line at middle above line on board, I also have lines on bottom center of all Fuselage formers

Nose block clamped
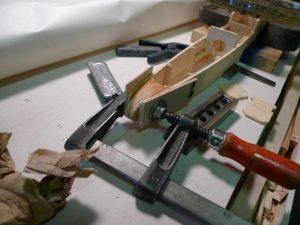
Aug 27
Rudder Build

Laying out some of the sticks, the trailing edge and LE are laminated balsa and spruce

The 3/8 wide rudder post gets glued to the forward rudder sheet


The forward bottom fuselage sheet has got a nice twist in it, so it’s something I’ll have to watch for. If I line the edges up I’ll have a banana


May 03 2016
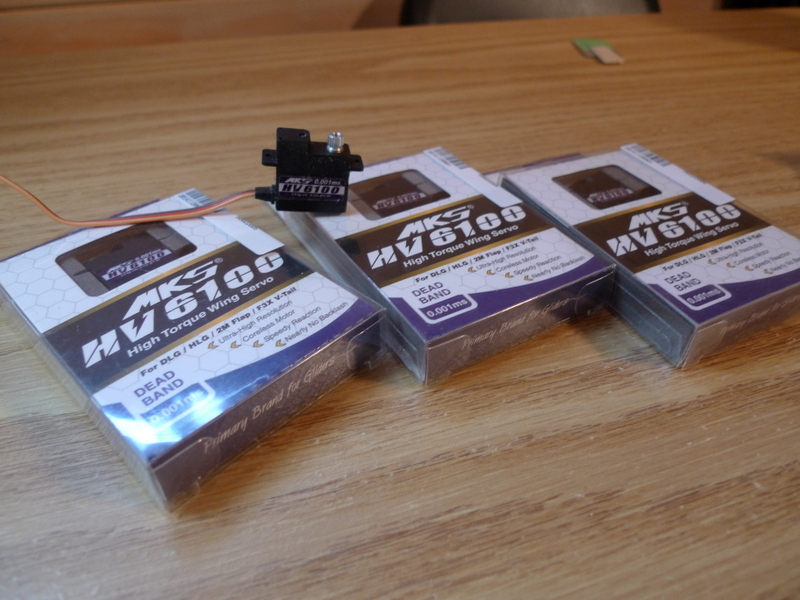
MKS servo, they’re supposed to be great and reliable, 3 servos rudder, stab and spoilers.
The Airtronics Kits are great Kits, and getting harder and harder to find
This 900 will have MKS HV6100 Servos all around, with a single servo to activate the spoilers via dial cords
Colors will be white, red and blue 🙂
Thinking 1 tip with red , white and blue stripes, as symetry only adds to the confusion when flying.
American flag ish possibly!
Above 1000 ft who cares, the gallery is no longer watching, and all colors become one at that distance, but on the ground especially on the top this pattern should be really pretty
There’s gotta be a picture somewhere, when I find one I’ll add it in here.
Also consideration will be made to build a second set of stabs with some more thickness then the stock stabs.
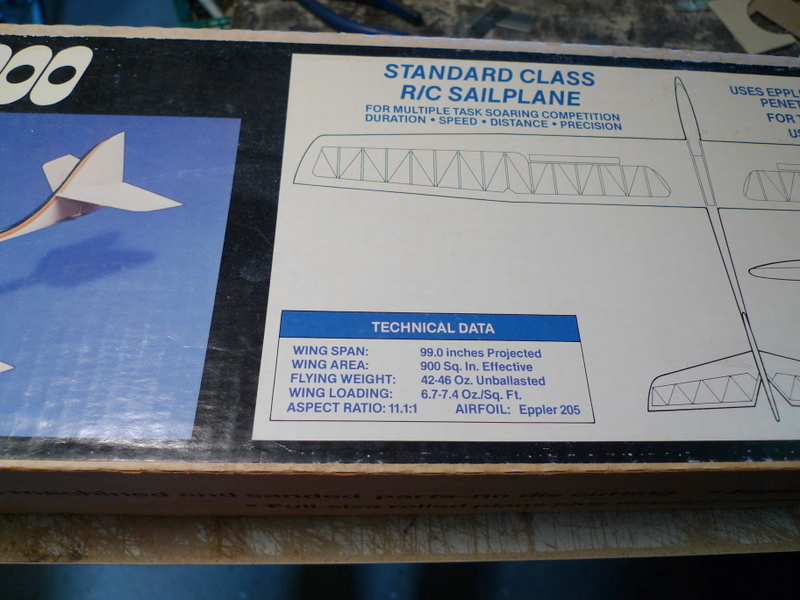
First Flown in the Late 70’s
Amazing for a plane designed in Aug 78, and first flown in 79 on the 10th
anniversary of the Apollo 11 Landing
Just 8 days later Skip Miller set a best time on a F3B course of 9.39 seconds
The design surely has endured time, and when you find one at a field near you there’s usually someone having a look at the pretty lines.