Any new work and pictures is added to the bottom along with a Date they where Posted
Oct 24, Deep Cleaning all Pieces
did I mention CF strip on the upper spar
CF tow lower spar
triangle gusset from nose block back to former at wing rod tube, fuse bottom I like to round the corners here
CF pushrods.
will look at getting the elevator pushrod to exit within the walls of the fuselage
removable, bolt on stab is in Order
jump in with your Build Ideas
Sept 25
More Pictures soon, still time to grab a Kit and join in , chime in with you Build Details, Pictures, queries and ideas.
Instructions mention extra ply root ribs for side of fuselage, will cut them from 1/8 lite-ply as couldn’t find them, 1/4 to 3/8 Inch fillet
some formers for fuselage are numbered, will sort thru to ID their location, tabs will need a bit of thinning to fit slots
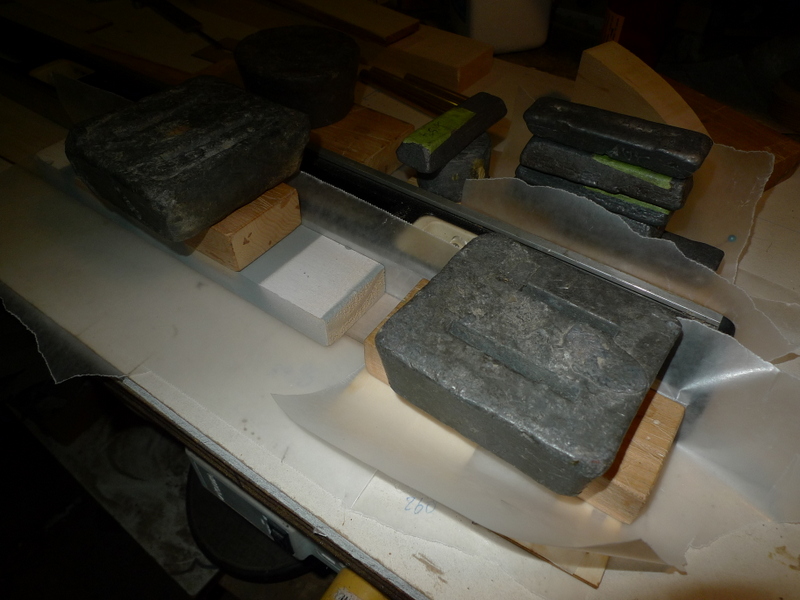
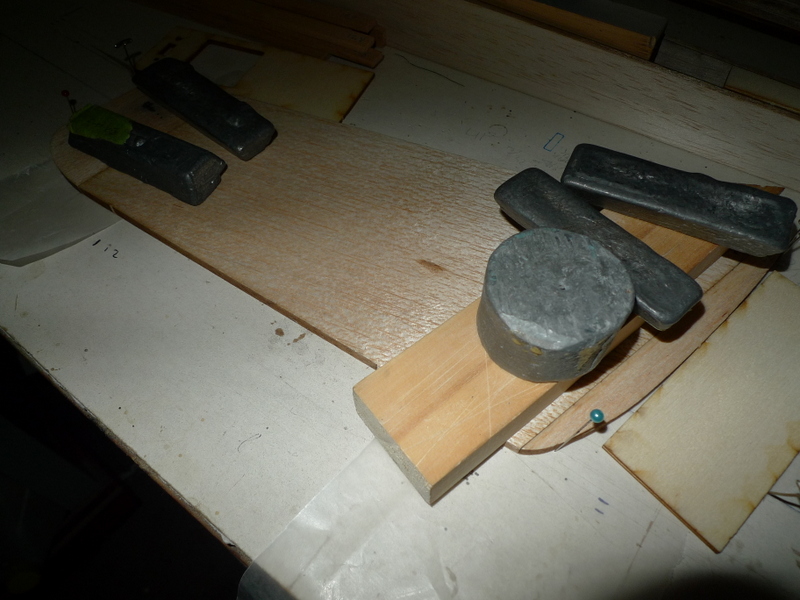
will add hole to nose block for lead
found spare set of 1/64 ply doublers for stab
ribs are all numbered, still looking for some reference to these numbers elsewhere on the plans or documentation
UPdate, Aug 28 2018
there’s appears to be interest in a parallel Build with a fellow Builder in Ohio
woo hoo,
UPdate, May 31 2018
This project is still a go just need to clear some other stuff from the Deck. Apparently these Kits are hard to get now, that surely will create demand
May 21 2017
Well here we are 2017 May already, have had a chance to look thru this kit and so far I like what I see, everything nicely packed. I might add though that the spars don’t fit into the rib notches, there’s at least 1/32 ” in the difference. In this day in age with Laser cutters I would have thought that getting these notches to fit the spars would be a pita.
I will file the notches wider, and I reckon they will have to be deeper as well, to suit the spar material supplied.
The one other item I have learned to watch for is warped fuselage sides. They are laser cut from a sheet and I have seen the straight edges top and bottom get a twist as much as 3/ 16. If that is one way on 1 side and the other opposite it makes for quite a challenge getting a straight fuse.
Stay tuned 🙂
Dec 17 Unpacking a Oly III Kit, nicely done
Oct 18 (S)
Painted white fuselage and canopy
canopy and hatch ?
1450 LiFe Battery Size( L w h )
6110HV x 2 Servos Wings
6100HV x 2 fuselage
Violet transparent
🙂
wonder about the Silver though.
white vertical fin and rudder
all white fuse and canopy
another OLY III for comparison
Oct 18 (S)
Painted white fuselage and canopy
canopy and hatch similar to Sagitta 900
1450 LiFe Battery Size( L w h )
6110HV x 4 Servos
🙂
🙂
Oct 12 (S)
Yes, tape on wings
(built up wing saddle on fuse) requires longer wing rod.
+ servos in the spoiler bays
You could simply run the spoiler servo lead inside the fuse –
I would simply plug the spoiler servo leads to leads from the Rx.
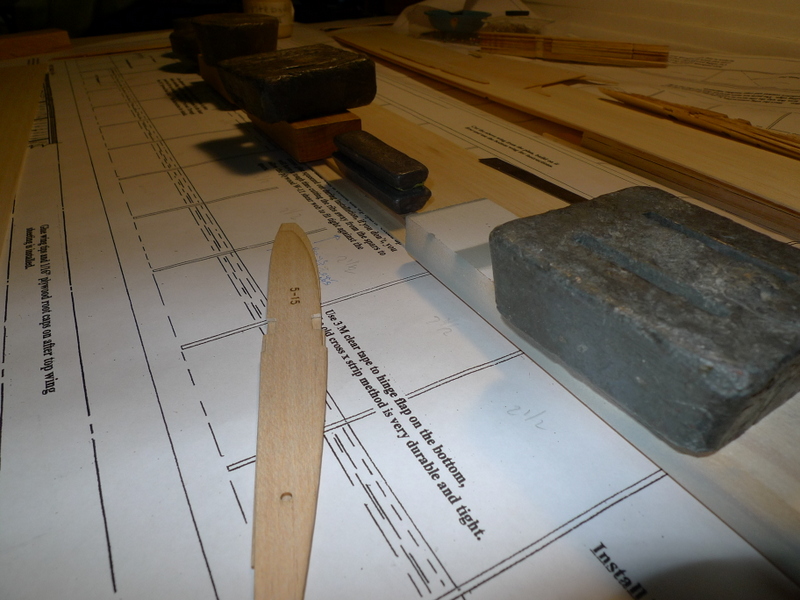
Build Moving Forward, Dec 04
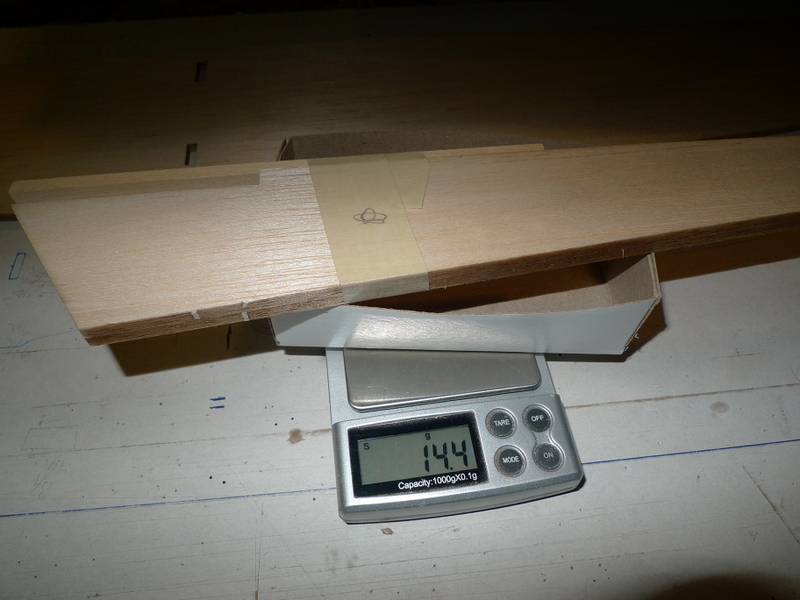
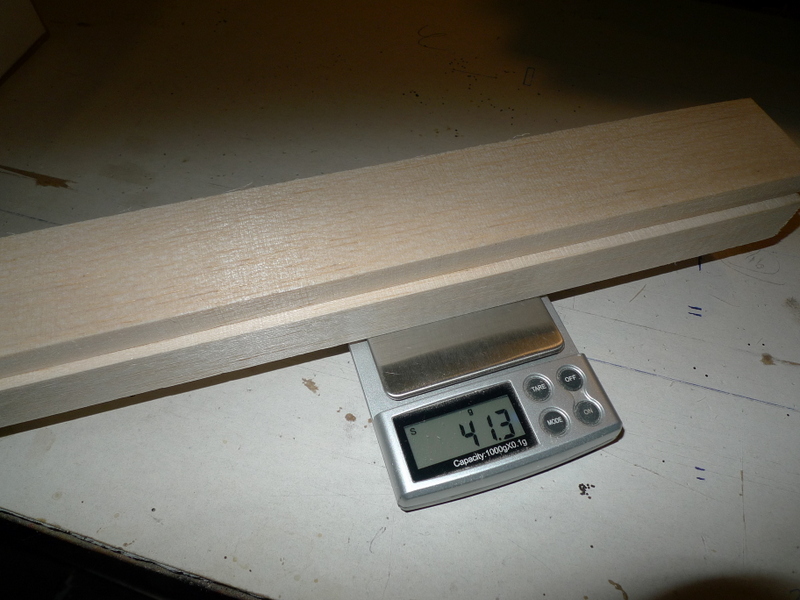
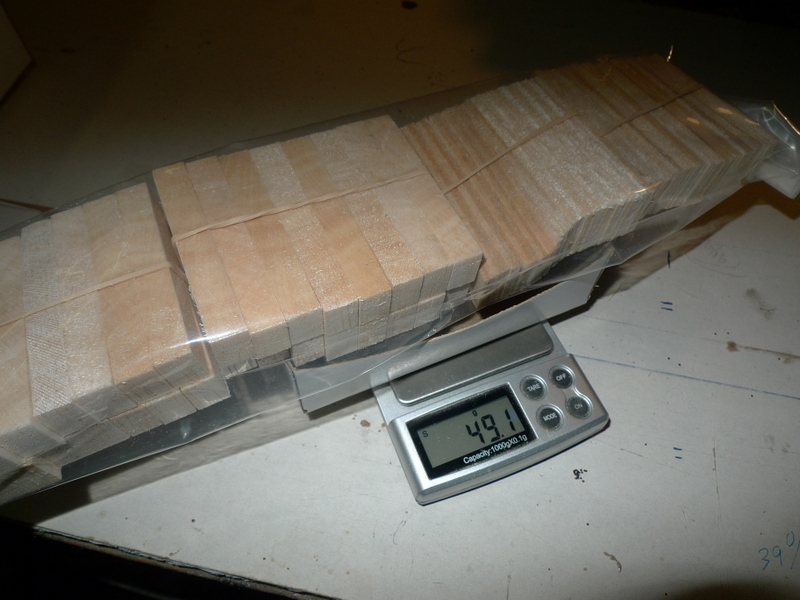
Took a minute to weigh some pieces and get some thoughts on what direction to head
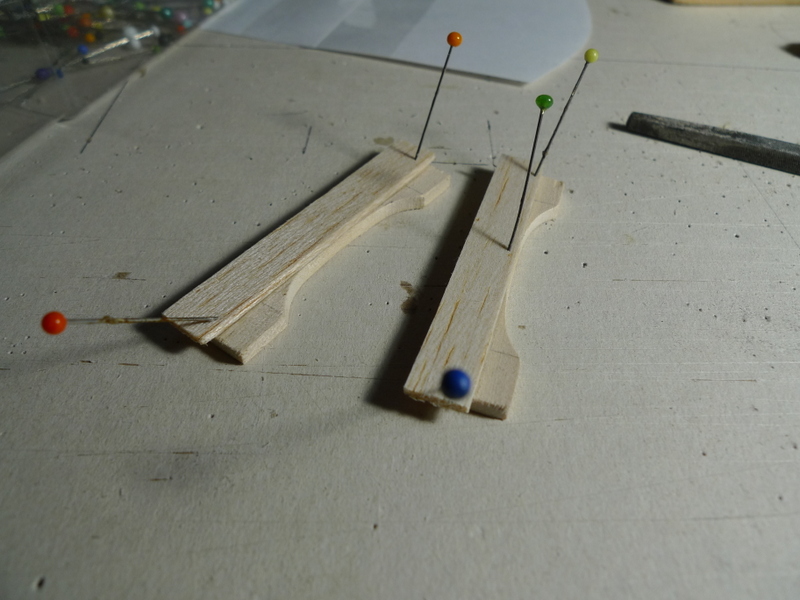
Stab
elevator
tip pane ribs
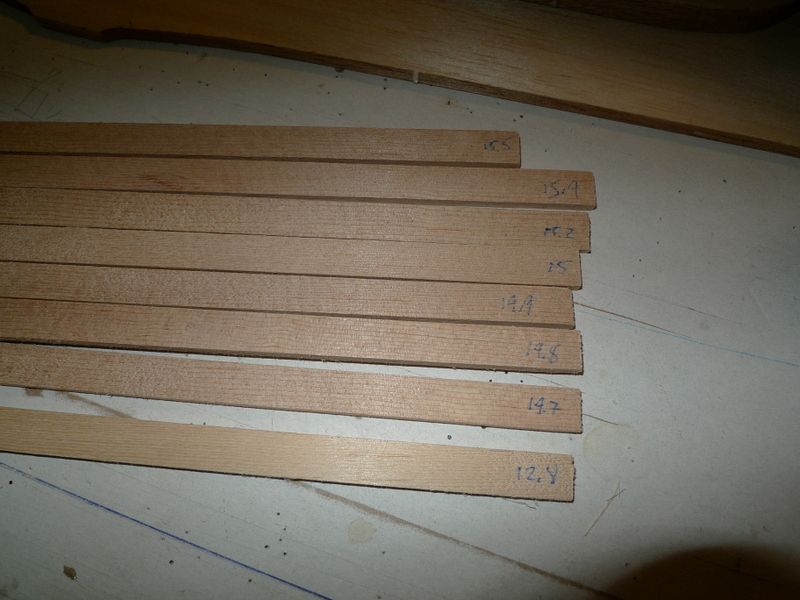
1/8 x 3/8 spars I have marked the weights
wing panel LE Balsa
trailing edge , can’t remember?
wing tips
fuselage sides, rear top filler, etc
fuselage lite ply
spar ply doubblers and panel joint doubblers
Canopy and canopy aft Balsa
Some more weights
rudder , fin , stab doublers, I found spare doublers as well
Nose Block, will hollow out Later
Balsa shearwebs
Misc Hardware
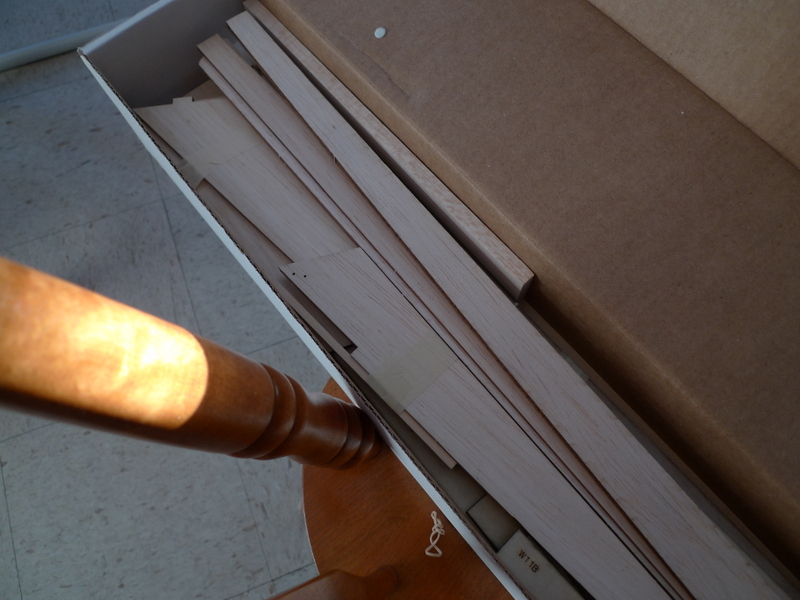
Lite ply sheets
Lite ply fuse sides
fuse formers, removed from sheets need more holes , up down?
rear fuse ply doubler
forward fuse sides, and doubler, aft sides are balsa
glue with bottom edges aligned against level, and checked for straightness
forward ply aft Balsa, watch for warps in lower edge of rear balsa, it needs to be straight
Ready for ply doubbler
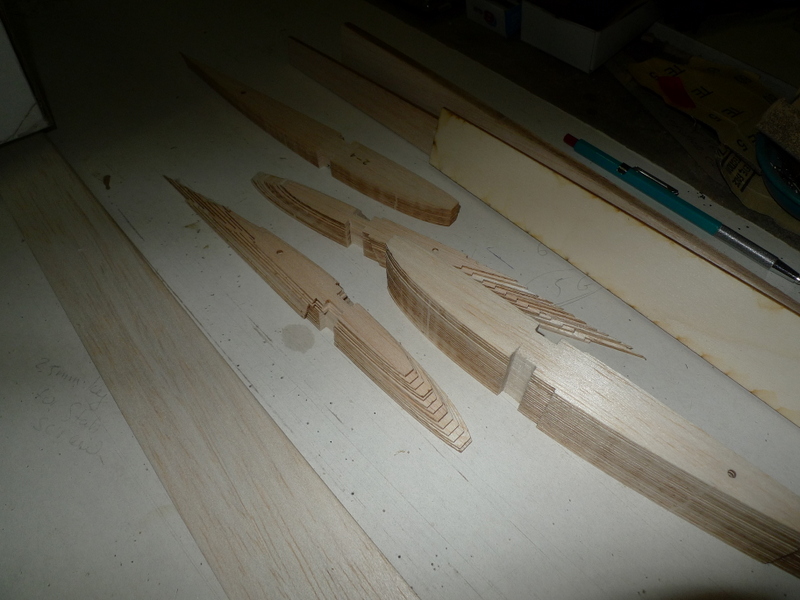
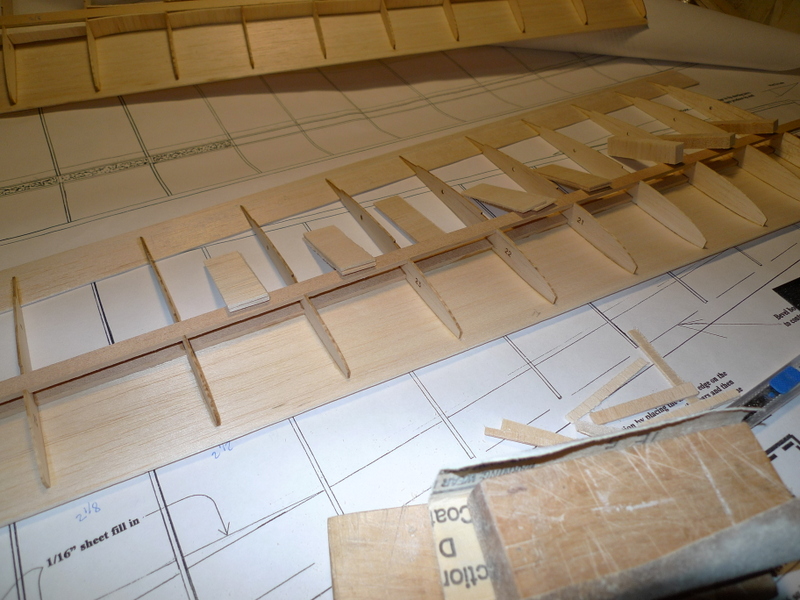
Some More Fuse Build, a Look at the ribs
I just stacked both sides with doublers and glue in place and weighed them down, Once the ply doublers are in place I’ll see how all the formers fit
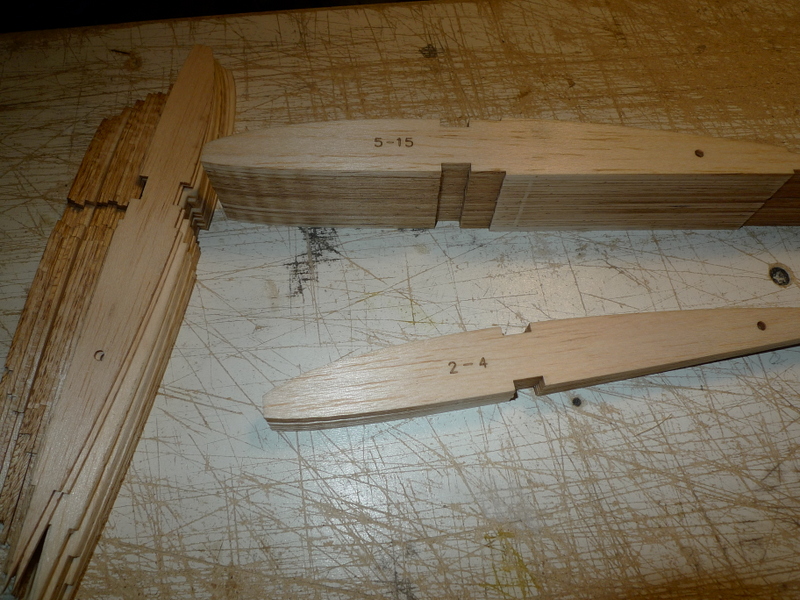
ribs , 5-15 is ribs 2 thru 15 panels
No notches for spoilers, and the root balsa rib has a hole for wing rod tube
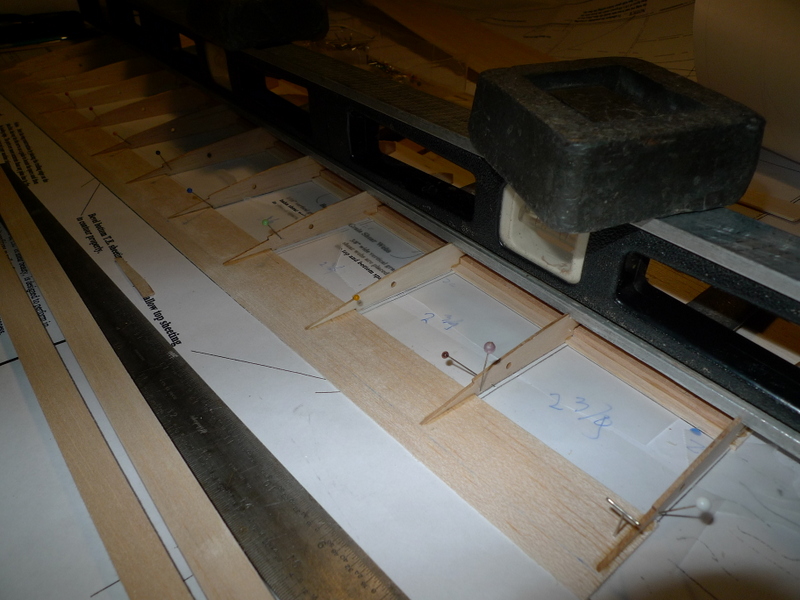
tip panel ribs
more ribs
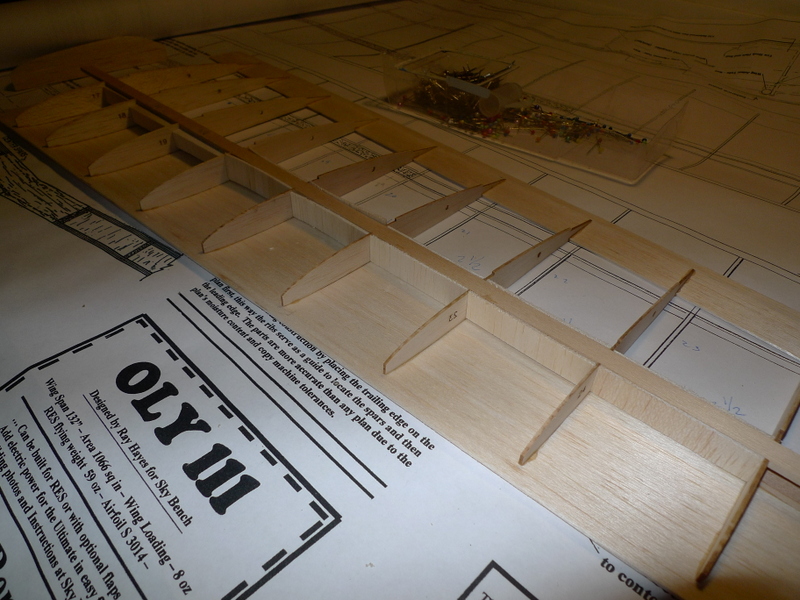
ribs 5 thru 15 and 2 thru 4
spars a strong 3/8 inch , perhaps 1/32 over
spars a strong 1/8 thick, they need to fit the notches
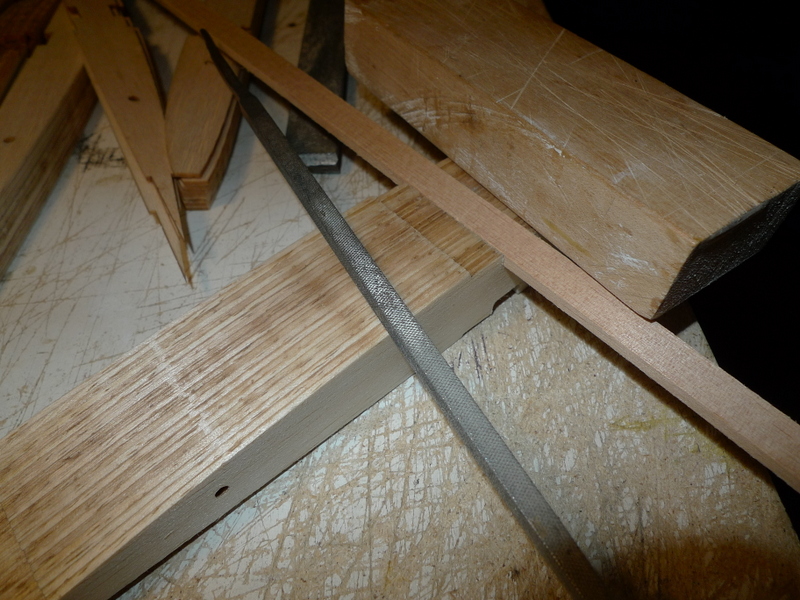
got them stacked and now will file the spar notches
same for the tip panel ribs
Ok, these look better
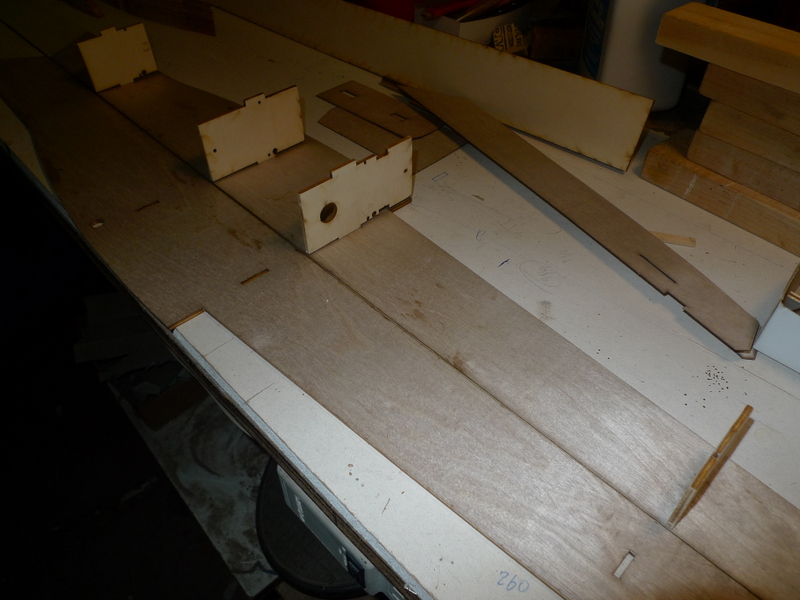
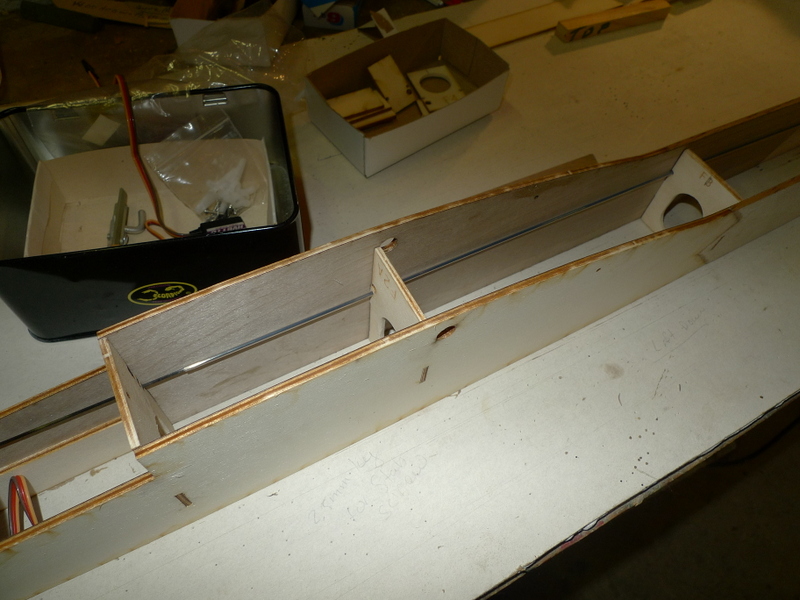
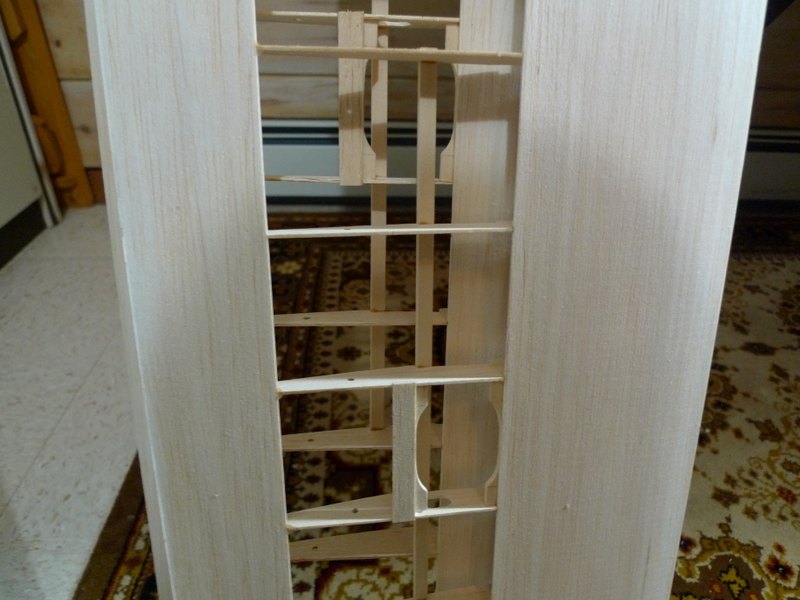
Fuselage sides and formers, whats Up, where do they go, get it right
DEc 14 , Getting things right
nose block and fuse pushed together
formers appear to fit this way, dry fitting clears up a lot of things. Not going to use the tray as servos have different size
more glue
doublers at Rear?
nose block lead room, a bit of a guess, I may not need it later though
rudder, top and bottom get some sheet
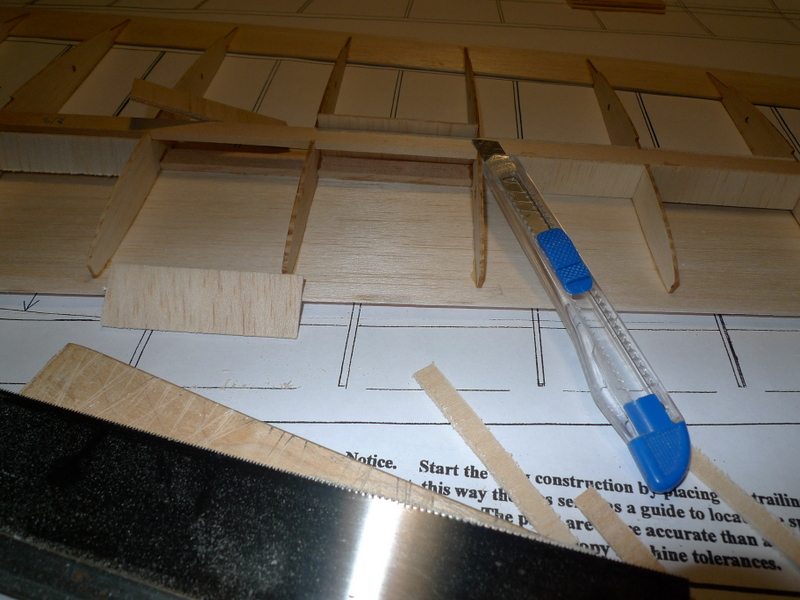
wing panel trailing edges, used top and bottom 1/16 sheet
wing panel ribs spar leading edge
tip panel start, rear of lower TE sheet is cut straight to start
Number 27 is not the last rib, I had to look for number 28 🙂
fine measuring , no more questions
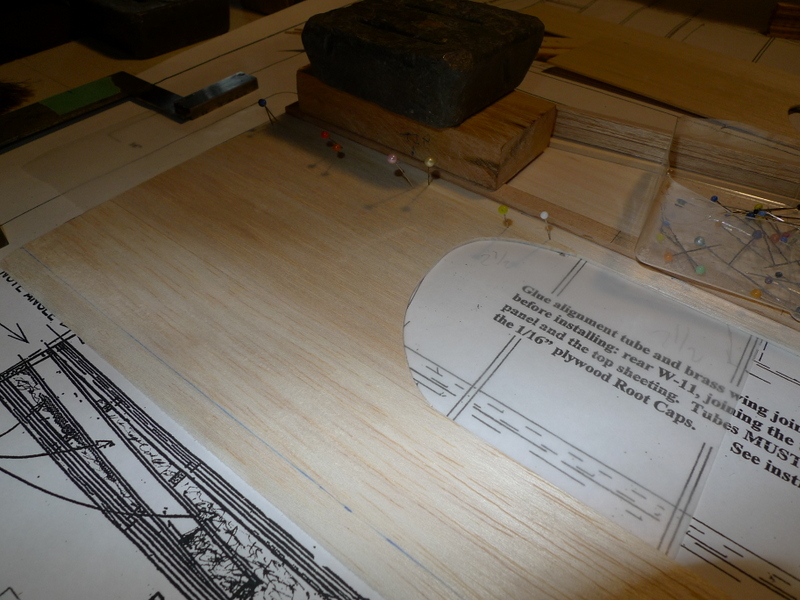
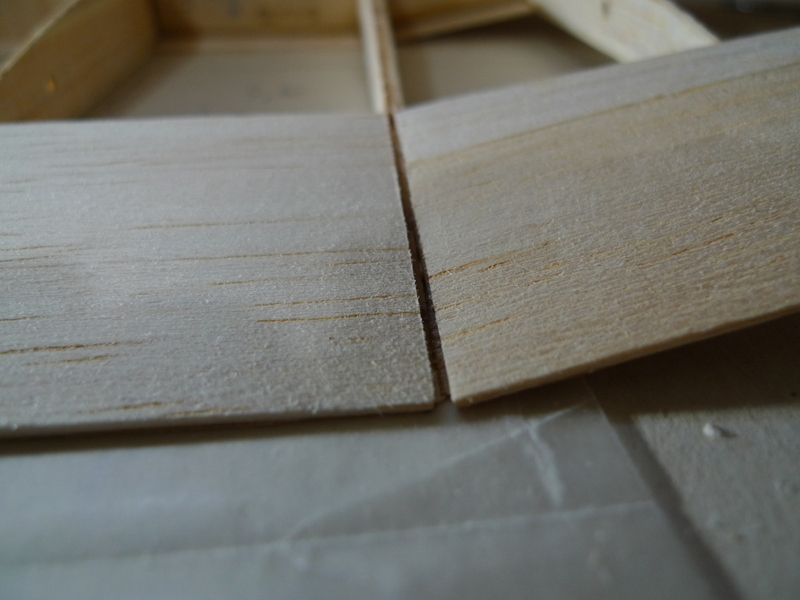
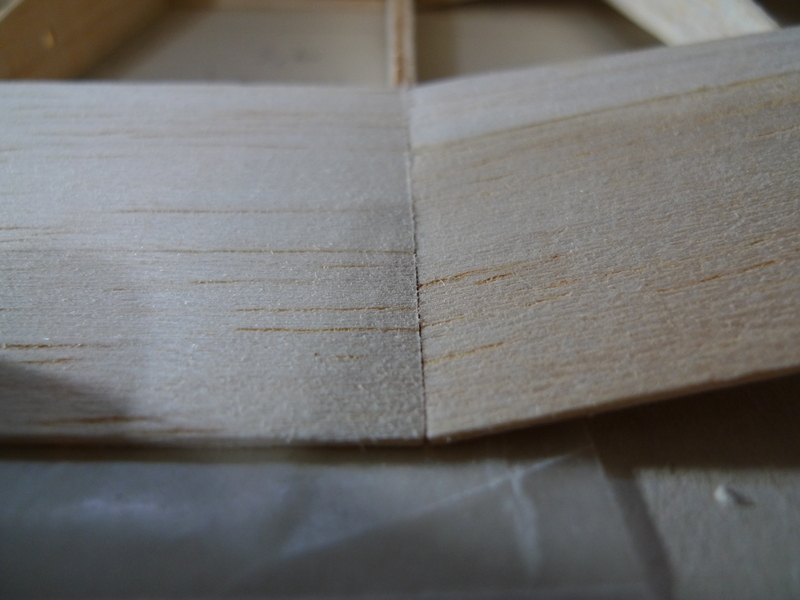
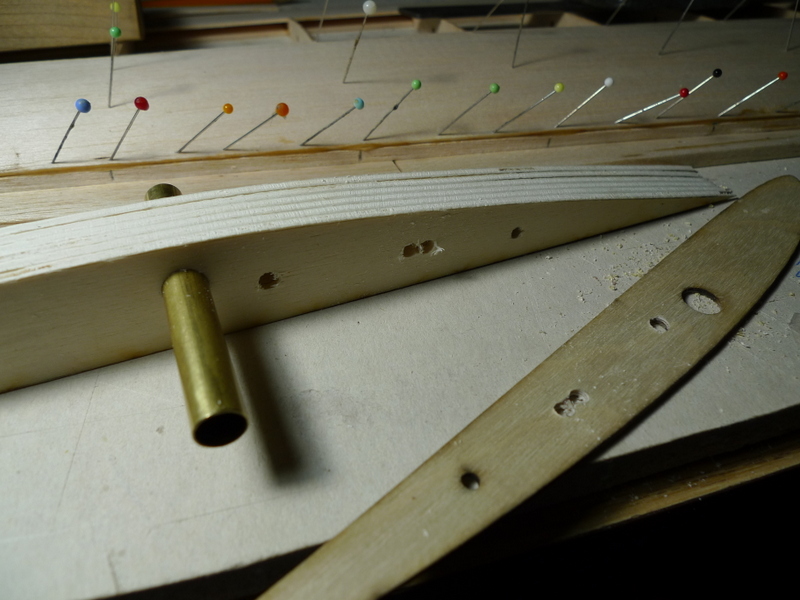
Pins, is that spar glued to the sheet , and yes, it is not parallel to the rear edge. Kind of a gottcha moment here.
so
So are the spars in one plane or the rear edge of the d-box sheet, will have to check that out before I join the inner and outer Panels. Long wings, you going to build joiner boxes and a Joiner
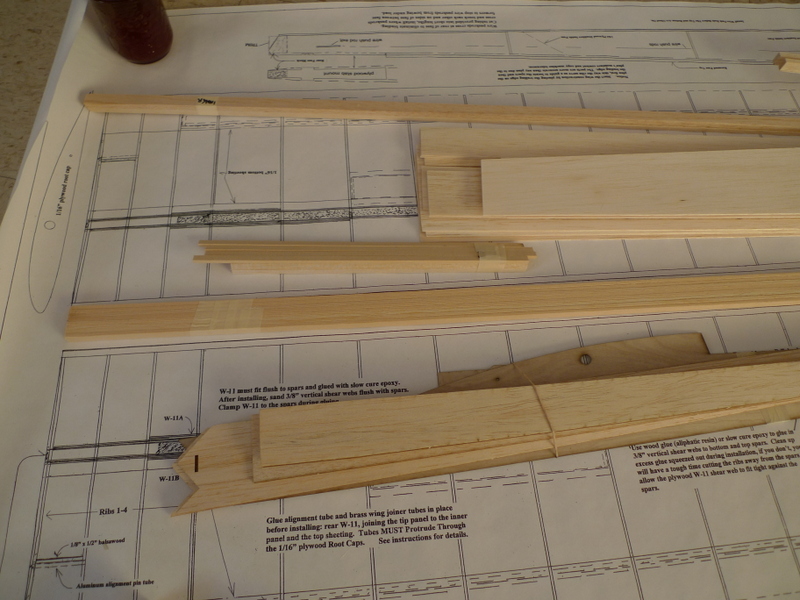
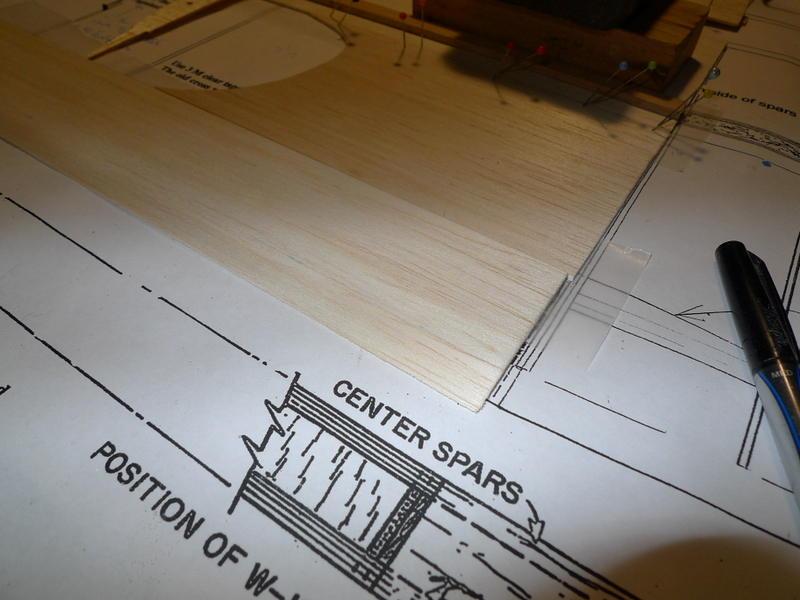
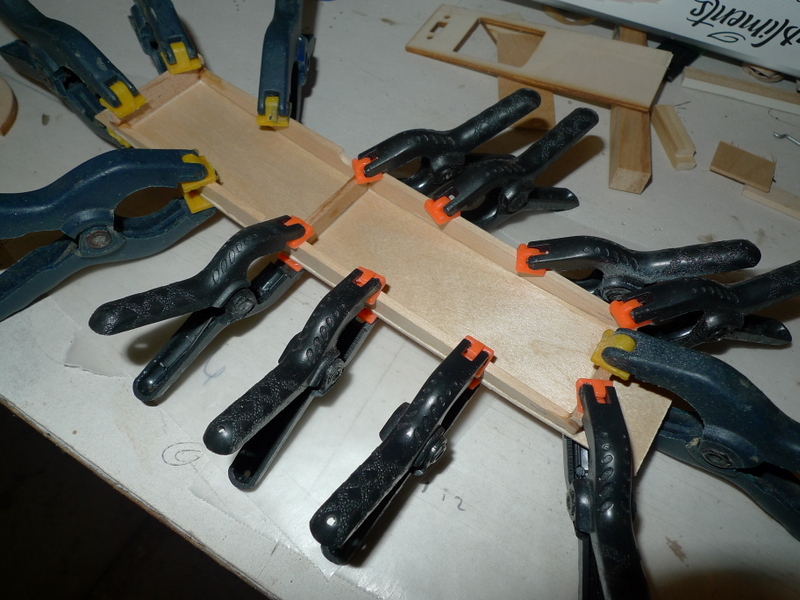
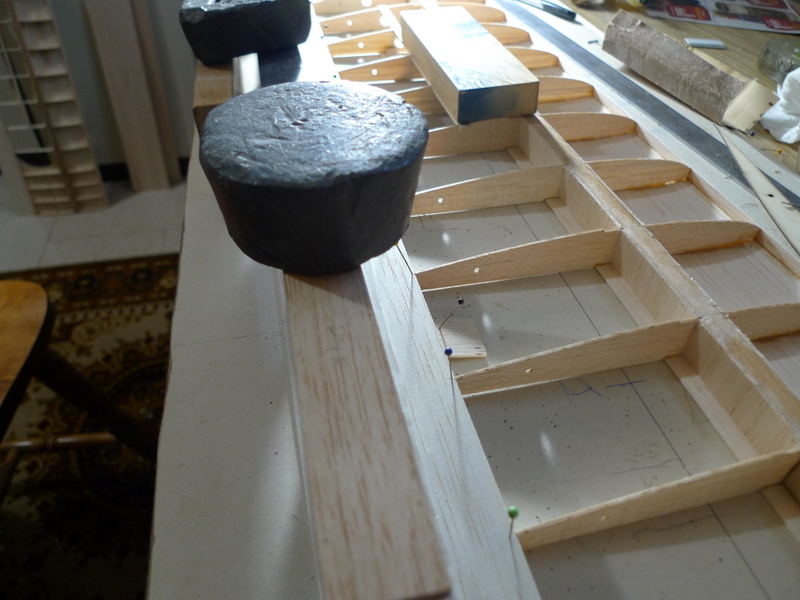
DEC 18 More Wing Panel Build, Inner Panel, with CF strips and Tow
CF strip at top and tow at bottom on inboard panel spars
lower sheet and spar, spar glued in place and then I pin it down
lower rear trailing edge , I like to bevel it before I place it on the board
here is the spacer I use between for and aft lower sheet
forward sheeting with lower spar in place
spar located and glued in place
straight edges all around, I like to draw the lower dbox sheet with spar affixed back to a straight edge before I get started with the rib placement
placing the lower sheeting, I like to use a spacer and repeat with the other side panel
one rib at a time, have a piece of aileron stock under the LE of the lower d box sheet, and that way I can glue the full lower rib edges.
making sure the lower rib edges are down flat to the board
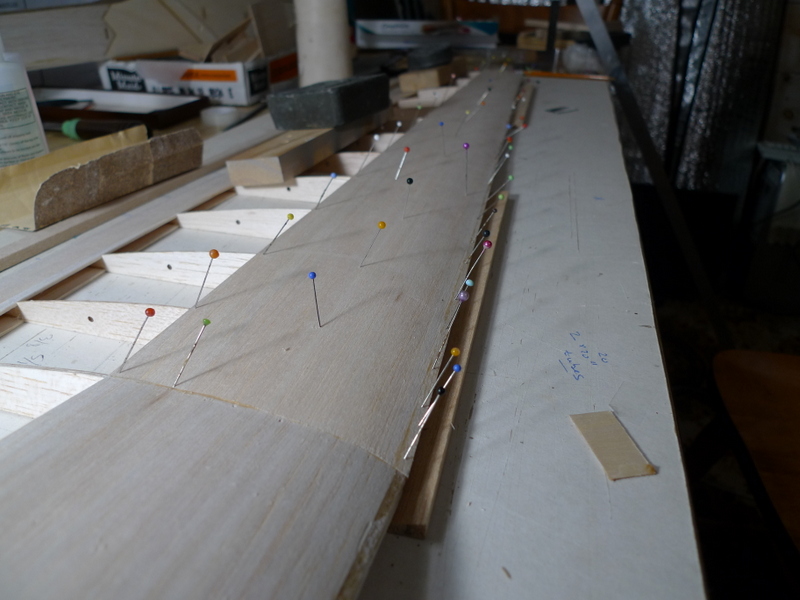
Dec 28
ribs
Wings
I like to bevel the TE sheet before adding the ribs
the inboard lower filler sheet, a clean round and the other side is here somewhere
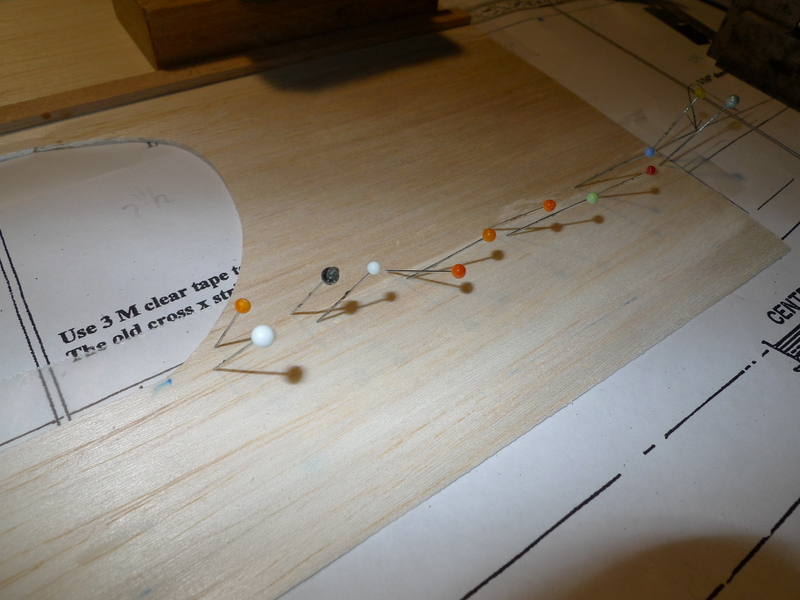
some pins get the two edges down tite
added some marks for the ribs here, to get them located later
left inner panel lower filler sheeting
left panel and lower inboard sheeting
more left lower sheet
upper spar in place
forward ply spar doubler
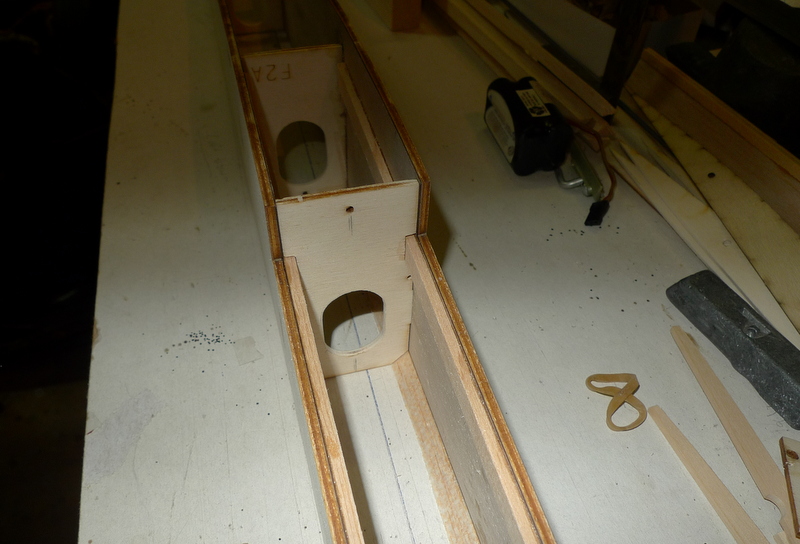
More Fuselage
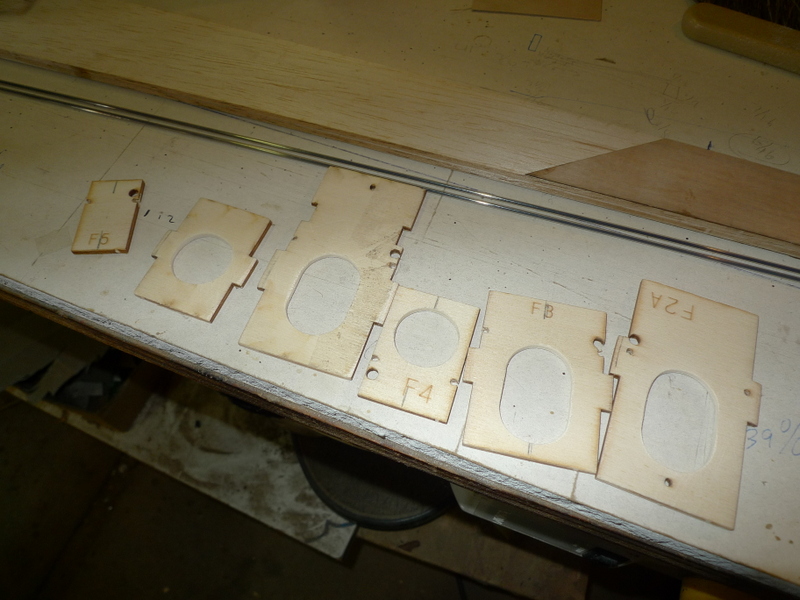
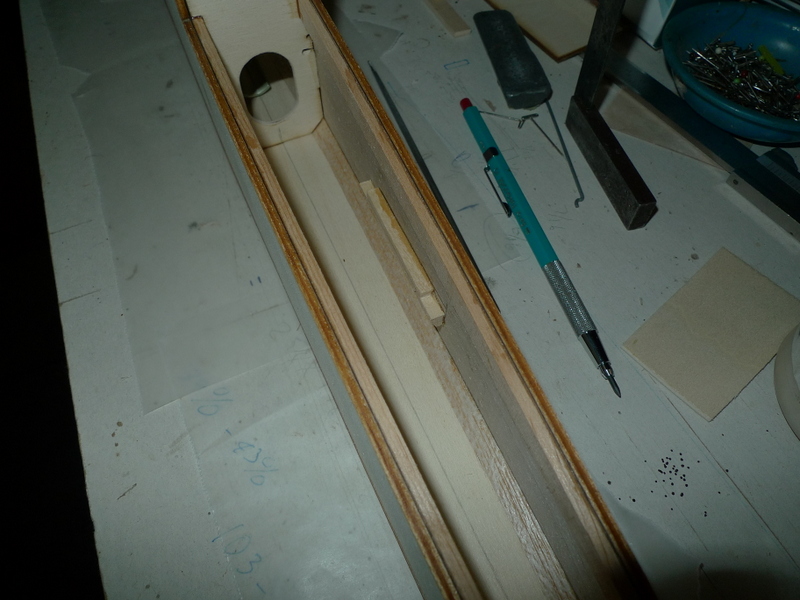
Fuse formers, I have the orientation in order, and as part of the diet plan, making holes bigger
Holes cut and cleaned up
HV 6100 servos, and big holed servo tray, I am going in a different direction
still dry fitting, and the pushrods should go thru here
there’s a spare hole perhaps for a antenna guide for 72 MHZ
Root ribs from 1/8 lite ply will be added to the fuse 3 pieces each side. Longer tube and wing rod in order though
OK, this should work, but will fillet nicely once this gets glued together
the tabs and corresponding slots needed some slight clean up to slide together
canopy opening doubler fit to fuselage formers
OK, this should work
I want to round the forward bottom corners, so I have added a lower 1/4 x 1/4 fillet
All good
Fuselage Cover, really
Lower fuselage ply set , aligned with premarked centerlines, and marks on formers.
I don’t use clamps here just some weights
ply doubler for tow hook
I had previously notched the bottom corners of the formers to allow the lower corner tri to pass thru
I needed some filler here to get the top of the nose block wider to suit the width of the fuse once the balsa gets added to the side
fuse hatch frame and 1/32 ply cover
This cover turned out clean, and will need some accoutrements added later to keep it attached to the fuselage
Going to clean up the tail and get the horn for the elevator in the center of the fuselage
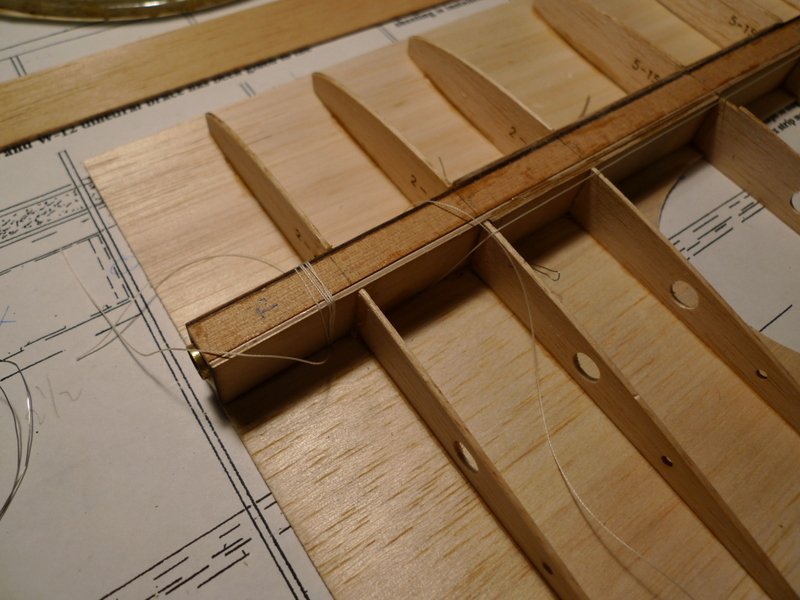
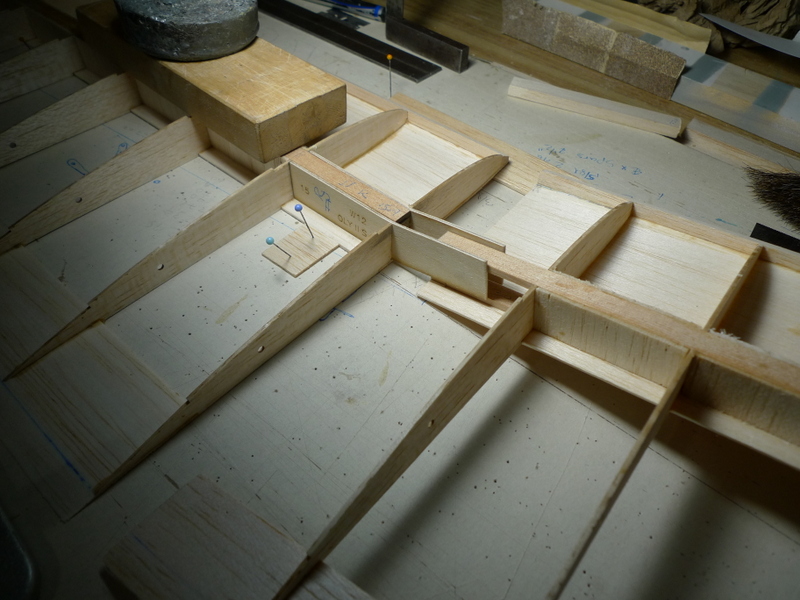
rear doubler for the inboard end of an inner wing panel
soon, panel join and top sheeting
More Photos
rear doubler in place, there are two actually
left panel second doubler, I added a doubler at a tine
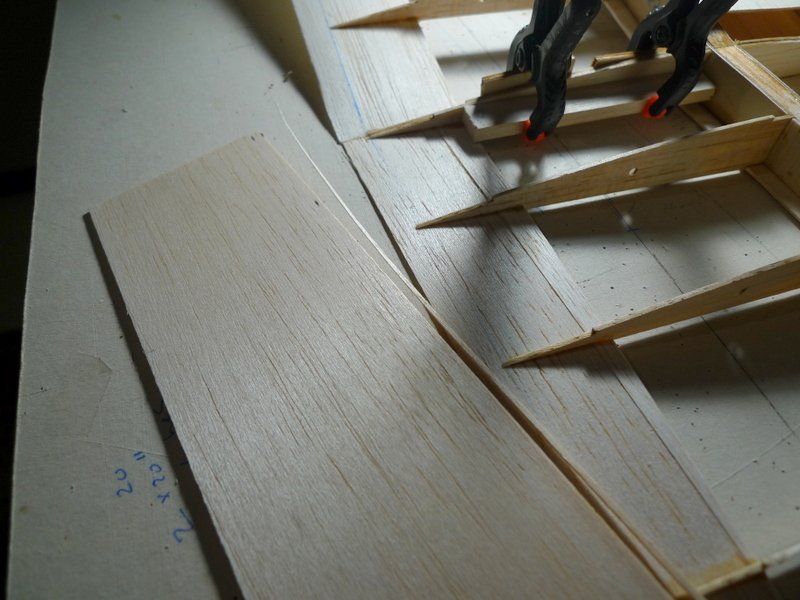
pull wires so I can weave some thread thru later to wrap the spar buildup
wrap sheeted undersides should go better with this setup
OK, here I have some thread thru
a couple loops to get thread moving in both directions
this should do it
3 bays each with a wrap
These lines will get tied off and I will spread a bit of epoxy over the lay
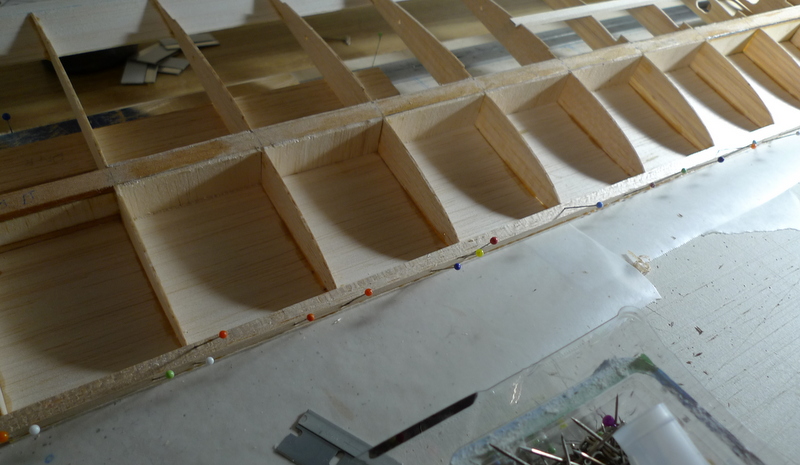
I have shaped the leading edge to tie into the upperside of the lower sheeting
the upper edge of the leading edge is also shaped to a large extent before it gets glued in place
I’ll set this aside for the glue to set up
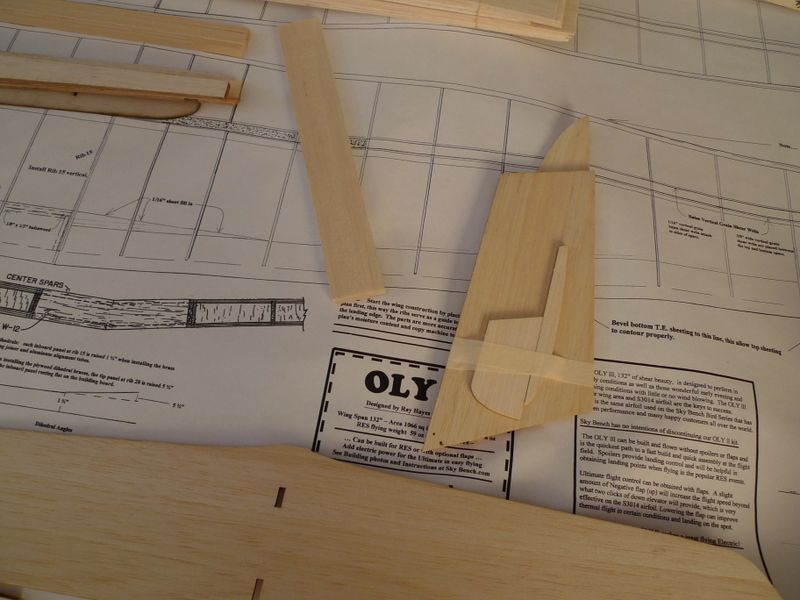
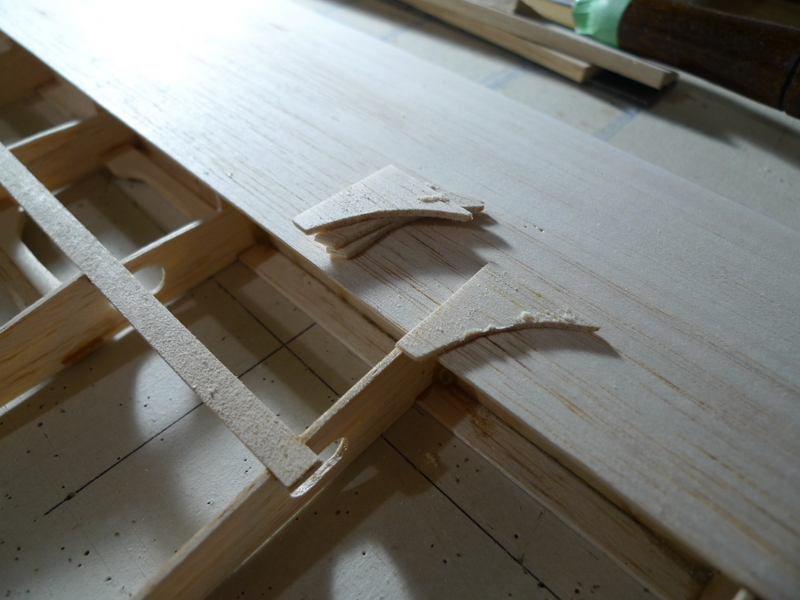
working on the tip to inner panel join
tip panel block up, and aligned over a straight line on the board
spoiler servo opening framing, will pick up the ply covers later
spoiler oping frame
spoiler opening frame
spoiler opening frames in place
spoiler and spoiler sub spar
join at tip panel
tip panel joiner doublers
prefit and ready for epoxy
I will drill a couple holes and run a CF tube between the spar fillers
this should be close
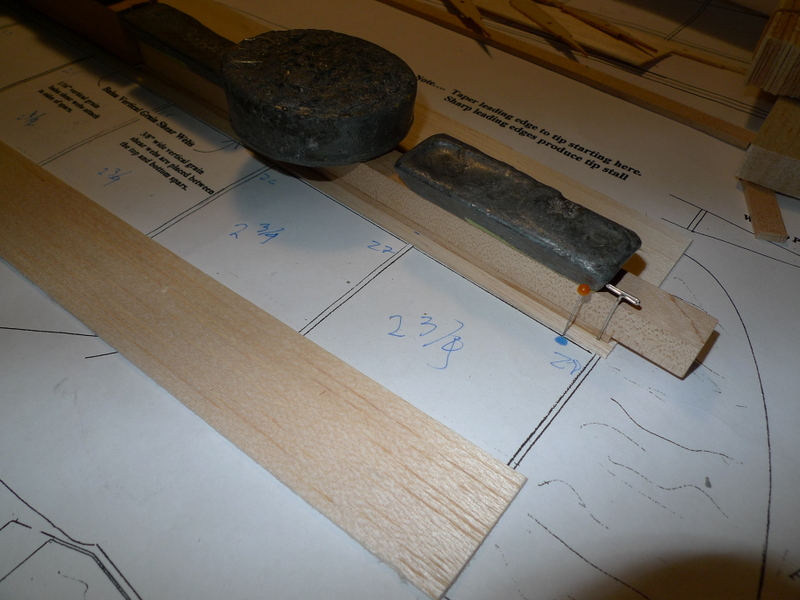
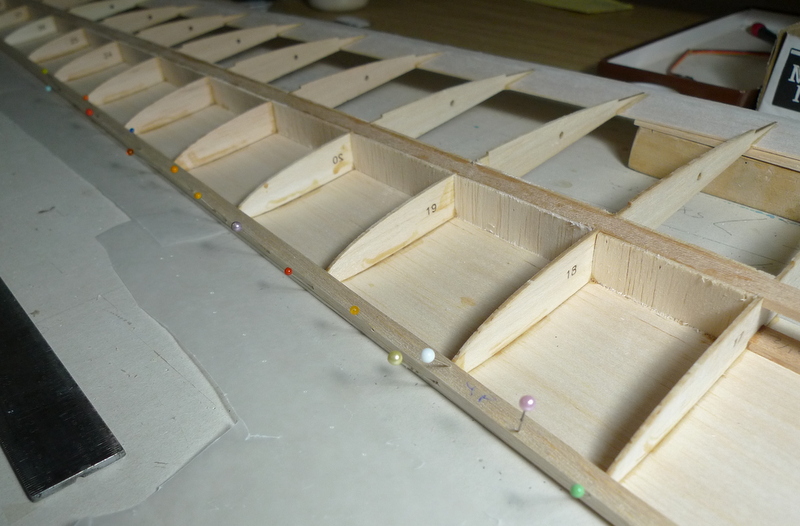
tip shape
wing tip block
On this Day
leading edge top sheet, with a sliver removed from the rear edge to get it straight
about 1/16 or so wide at the middle
here I have added a strip to the forward edge of the top sheet, to make up for the shortfall as a result of setting the sheet over the top of the LE rather then butting it up against the back
trailing edge top sheet, epoxy used at the bevel, and titebond over the ribs.
a level place over the top after will get the sheet down straight
level and weights in place over the trailing edge
pins at the forward edge where the TE meets the ribs
a closer look at the end
a fillet is added top and bottom, where the tip panel TE sheet meets the inboard panel
Feb 13
Some time later, not a big fan of balsa aft fuselage sides, especially when they are accurately laser cut. Trees move, and this balsa is no different
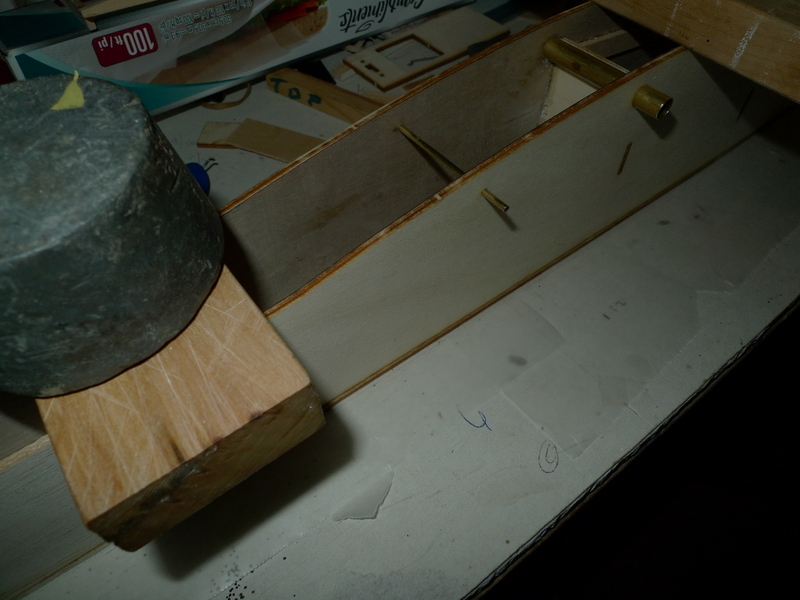
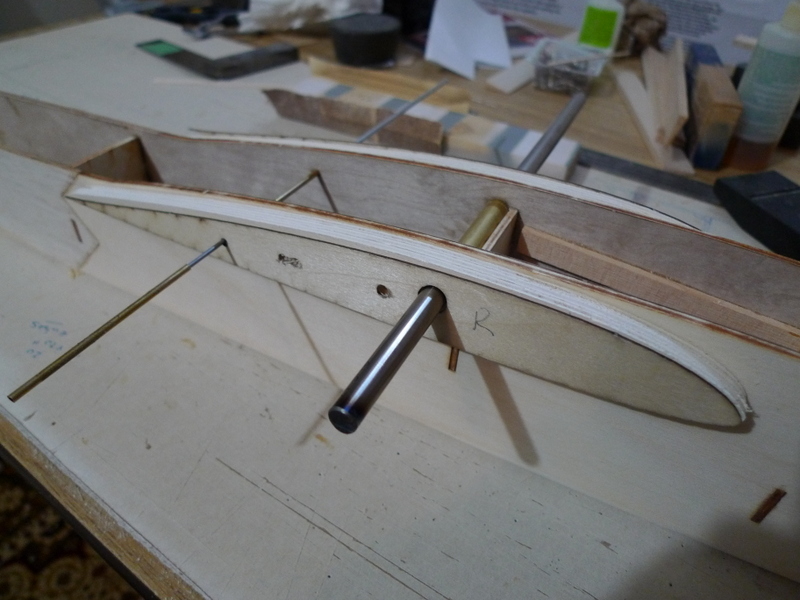
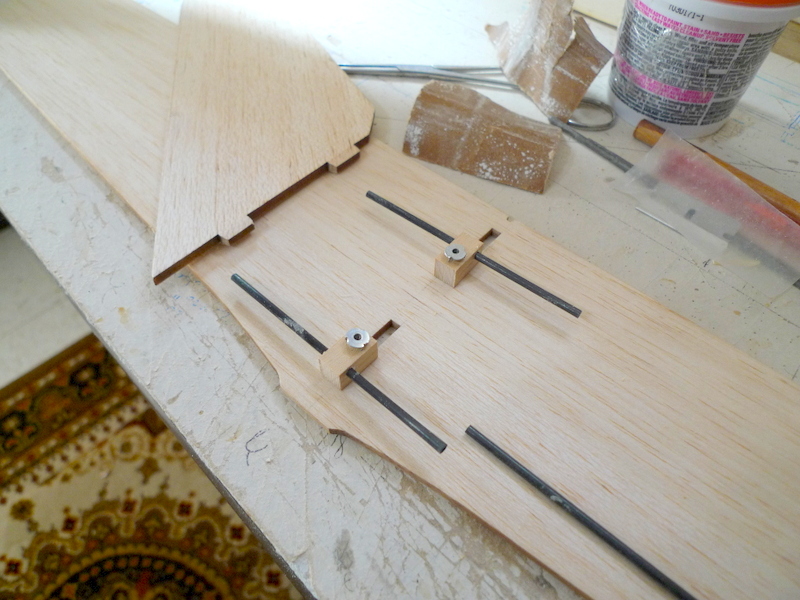
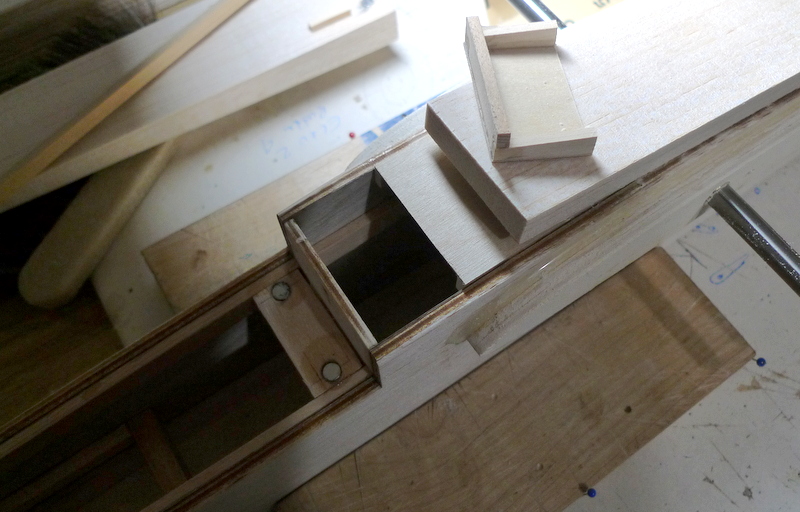
wing root transition 3 pieces 1/8 lite ply at each wing to fuse connectionsome CF tube as a spar system for the stabthis 1/64 ply was included in the kit to use as doublers at the stab centertubing and t nuts, needed for bolt down stab, and center re inforcingwooden interface locksneed more blocks to secure the fin2-56 screws up thru to get the lock in the fintip block holesthey are supposed to mesh with the wing openingsa bit of weight reduction as well
Mar 03
rear of canopy
magnet latch hold down
xxx
Hatch, and forward end will get filled to add meat for a better transition from the canopy
new hatch forward frame member
canopy aft, and bleeding it round into the fuse at the wing roots
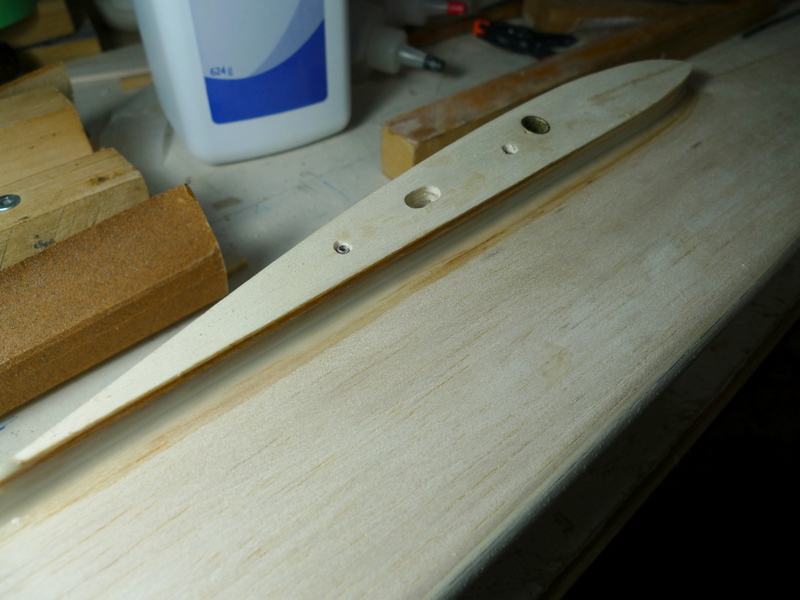
Nose shape, still needs some work
here is the sum of what I have done to bolt on the tail group
Mar 17
wow, 2 weeks since I was last here, I have since added the top sheeting , added some fillets into the corners of the boom and got some more detail work done with the canopy and the hatch.
canopy forward edge where it meets the nose block
Canopy rear, as well as forward end of hatch
rear edge of hatch
wing root filler and fillet, needs to be cleaned up and sanded
underside of canopy, left right stops, and forward pin locater
Rear canopy fuse magnets as well as pin for forward edge of hatch
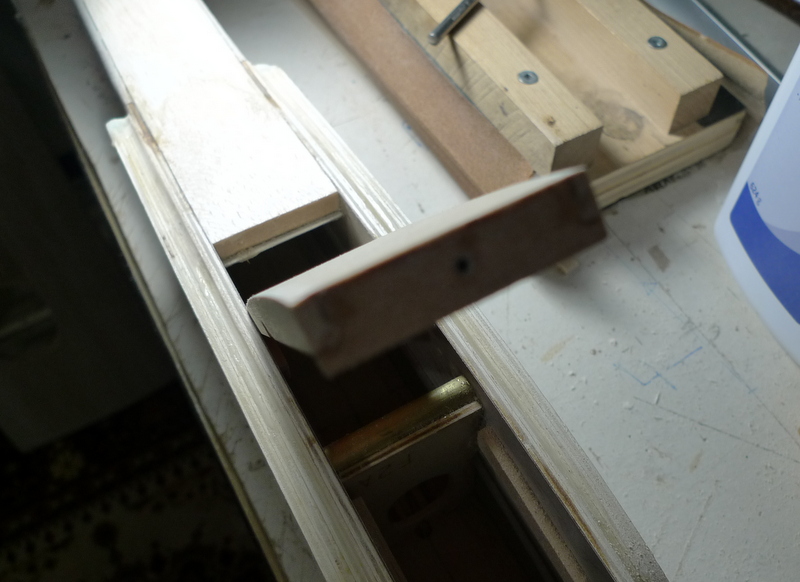
by rotating the pin up, pulling forward, you can release the forward edge of the hatch to remove it
pushing down at the rear of the hatch flips the canopy out
forward edge of hatch
underside of both canopy and hatch
Rear hatch hold down
🙂
May Day 2019 May 01
Final days of the Build, Paint, covering, controls, some stab work and of course sanding. I also put some effort into CG at this point, so putting the plane together is also part of the package
set up with 5 cell eneloop, this gives me an idea where to safe some weight, It’s the tail as usualservos set at wingslooks like I still need to clean up where the wings meet the fuseleft tip panel, these one piece wings are quite long and care needs to be taken with handling especially at the trailing edge where there is no vertical filler sheet between the top and bottom sheetinner panel, I rounded out the root filler sheet top and bottom I prefer this over square transitionsfin and rudder knock outs, this took 20% of the weight outstab also needs some knock outs, as well as a bit of a spar aftera bit of a cardboard template will get the same knock outs on the other sidethis should workwhat color huum, who knows, white , yellow , violet, stripes 🙂I transition the holes aft into the moveable part of the stabyes, nothing exciting here, just a white verticalThe fuse after a few coats brushed on and sandedfillets,rudder clean up, off to coveringfin also gets the white treatmenthere we goviolet on the inboardthen blue, and a Yellow tipstill need to run the iron with the sock over, then I go over with the trim iron on the ribs, and more closely on the edges, then another pass with the sock on the big iron
May 05 2019
misc hardware I still need to get in placeservo tray 2 x 6100 servos hereaccess hatch between wing rootsstab mount, holes for screws to secure stabs, and clearance holes for 2-56 screws that secure fin to H stabthe 6100’sunderside of h stab with 2 screws 2-56 ready to goscrews secure, t- nuts in the other two holes accept the screws that come up thru the boom from the undersidepushrod exit4 40 screws used to hold stab in placewhite for H stabviolet voila whitewing set