4,128 total views, 1 views today
Mar 04
4 coats of white brushed on, with a final spray


Feb 1o

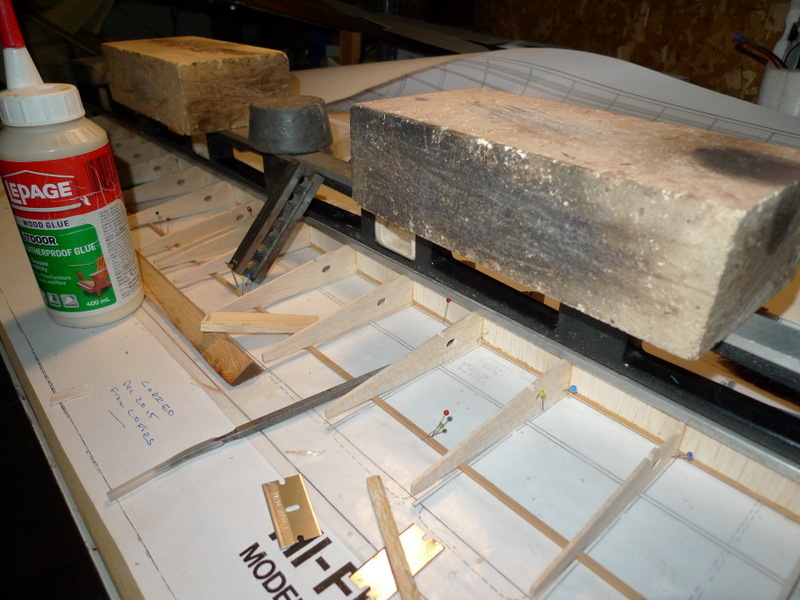
Canopy bottom frame from some basswood

🙂
Fin and rudder yellow.

More yellow

On the scales 1080 Grams, still need paint

Tail feathers , no symmetry
Feb 05
Spoilers I have decided to make some built up spoilers rather then use a piece of TE stock

Spoiler servo opening and cover

Top LE sheeting in place on center panel

Tip panel joiner box gets wrapped A tricky job, I hope it holds up
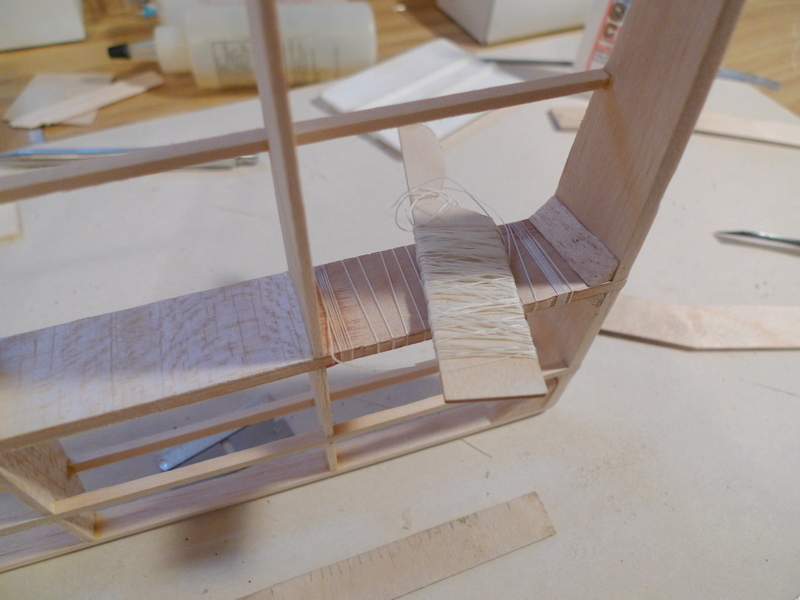
another joiner box wrap, I’ve wound some line off the spool onto a smaller stick to pass it between all the wood structure

Tip panel 57 Grams prior to covering

Tip panel covered

spoiler bay

nose taking shape, I have added a canopy tray as well

another view

Fuselage rear wing bolt down support

Fuselage tail feather bolt down supports
Lightened canopy tray

canopy tray

I’ll add a pin at the front and a couple magnets towards the rear
Jan 25

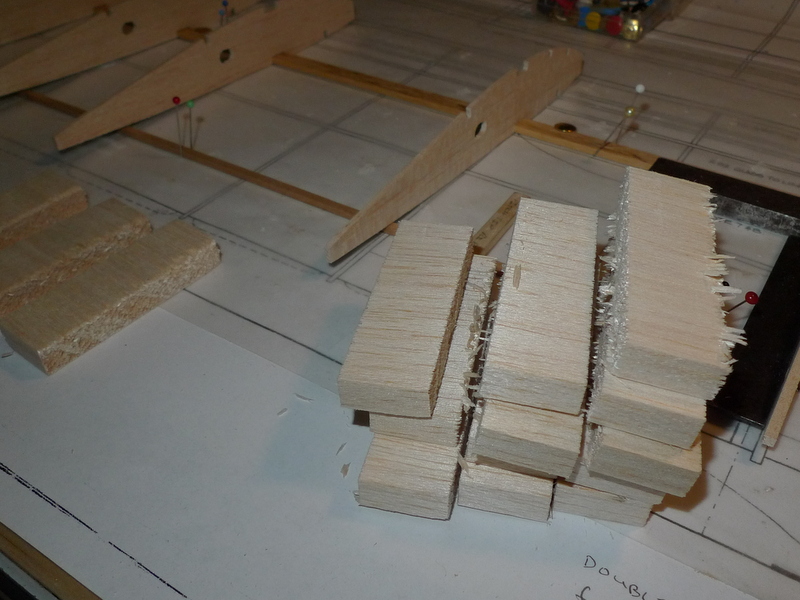
tip joiners, 4 pieces of 1/16 ply
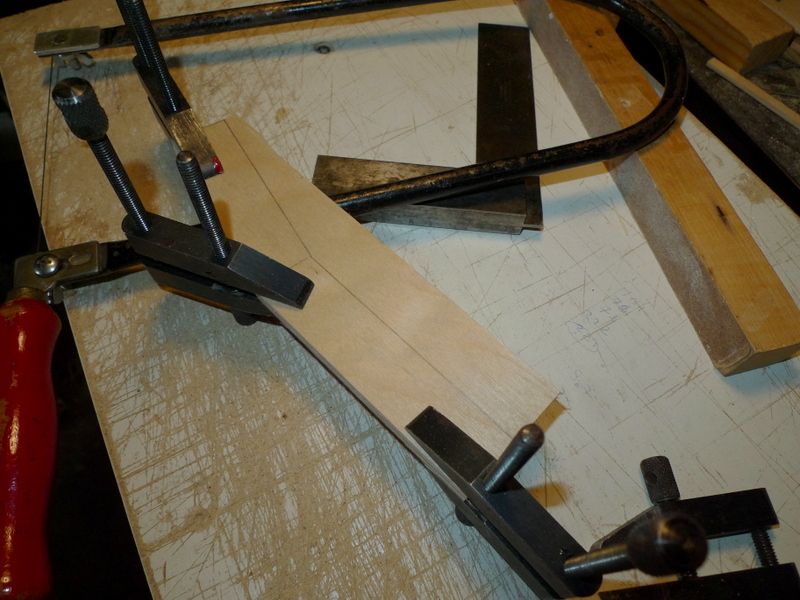
clamped together for cutting

I sanded some relief to add a CF strip

set together prior to glueing
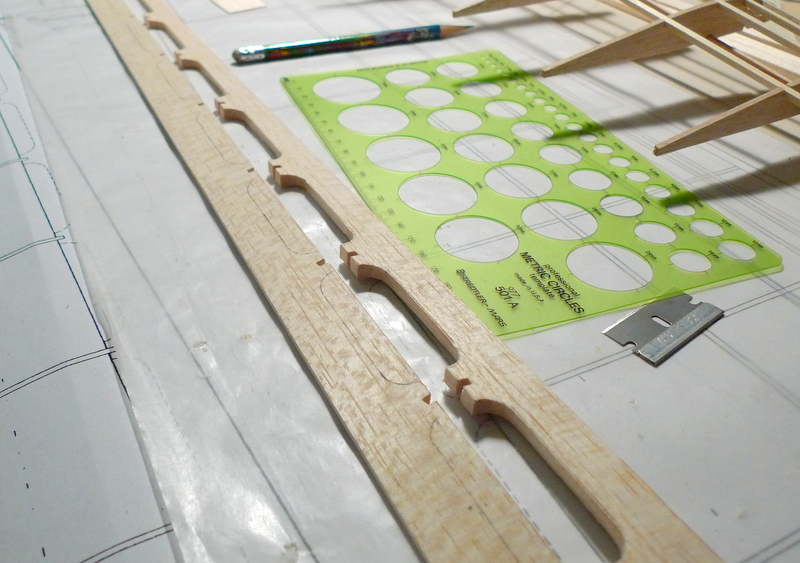
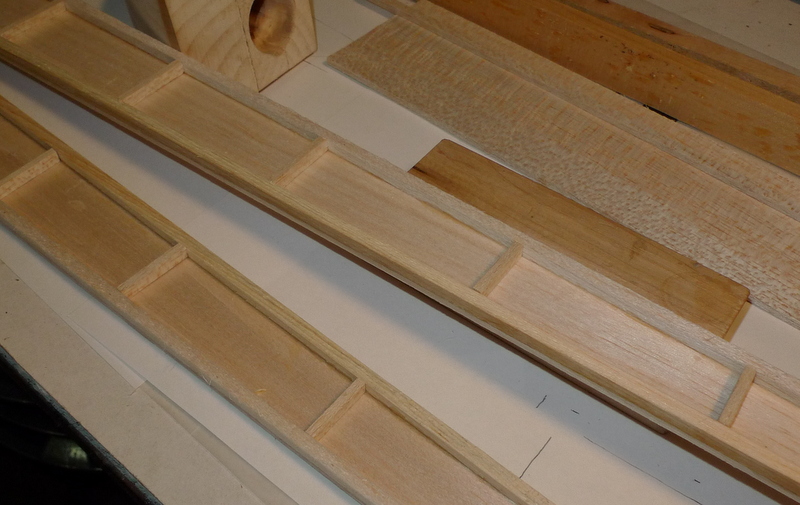
5/16 x 1 1/4 TE for main panel with notches for ribs
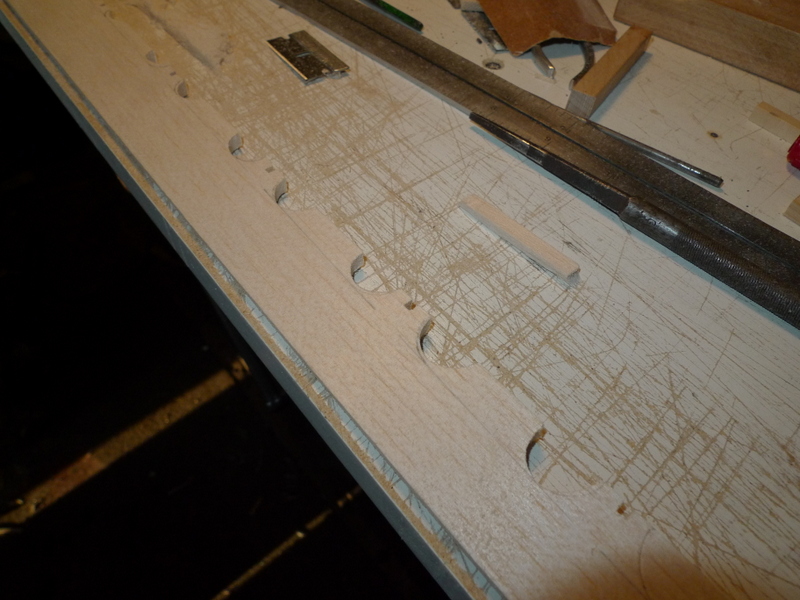
adding the scallop, I start by marking and filing the corner radius

TE added to the panel

and glued and pinned

main panel joiner box fillers and caps

left tip and main panel, TE requires some sanding to match

1/4 ” dowel for securing main panel to fuse

main panel trailing edge bearing block

center 1/16″ sheeting on main panel

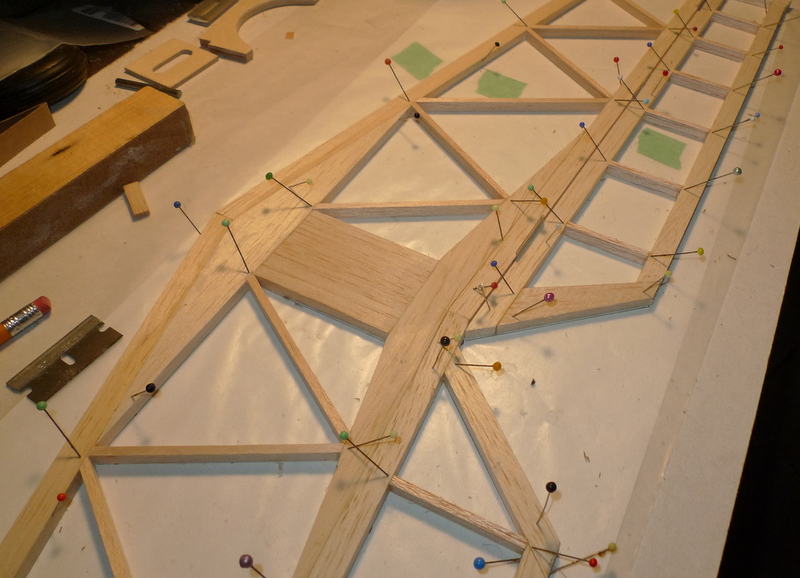
put the wing together

I’m going to add a pin at each tip join for alignment

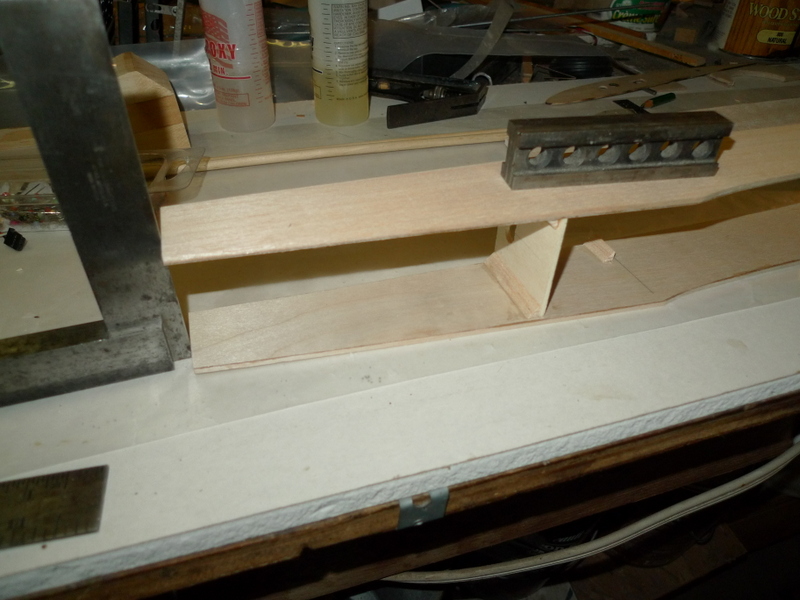
fuselage with wing LE bulkhead in place
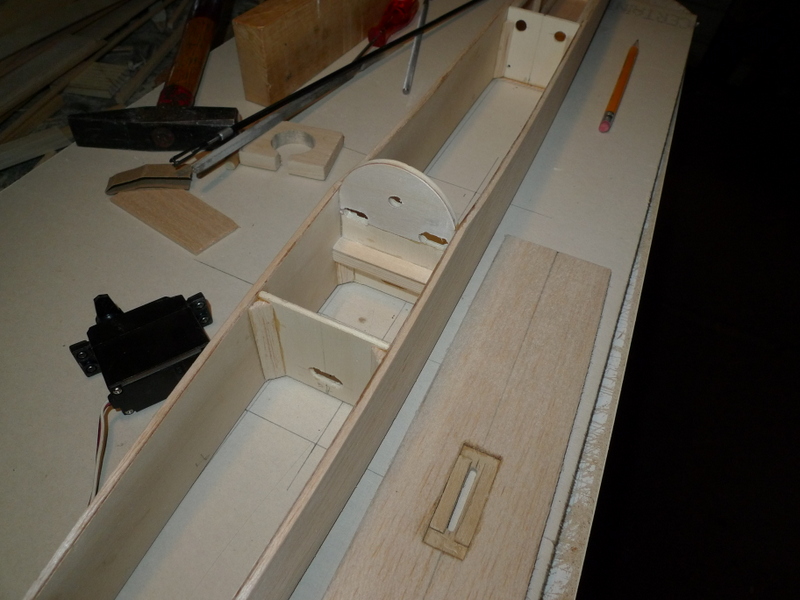
R and E servo bay with one mounting rail in place
forward bottom fuselage sheeting in place and glued

wing tip alignment pin and aluminum tubes

I’ve added a 1/8 ply reinforcement for the tow hook

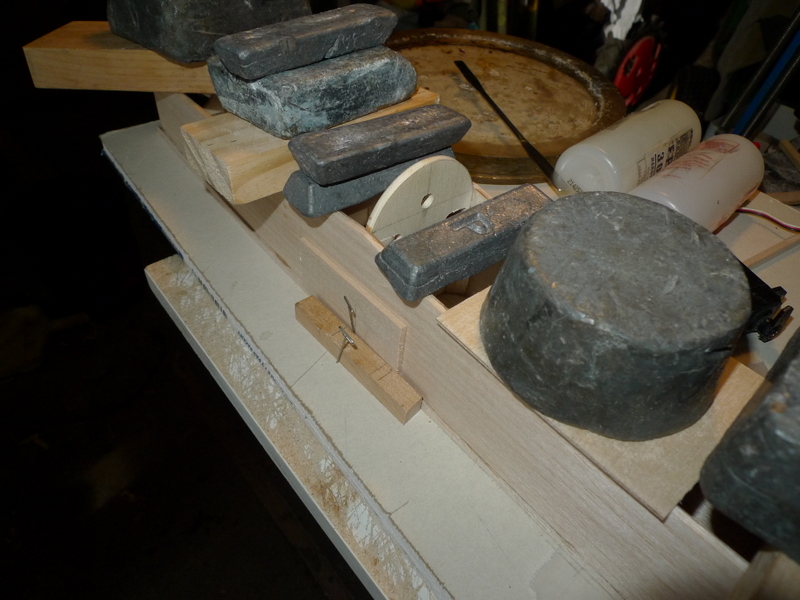
before I add the nose block I poured the lead in case the weight is needed later
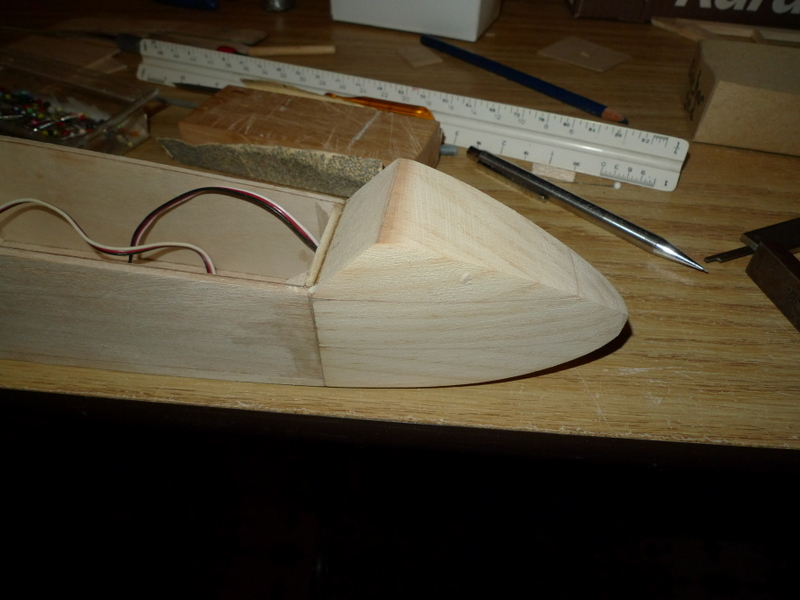
nose block in place
Jan 09
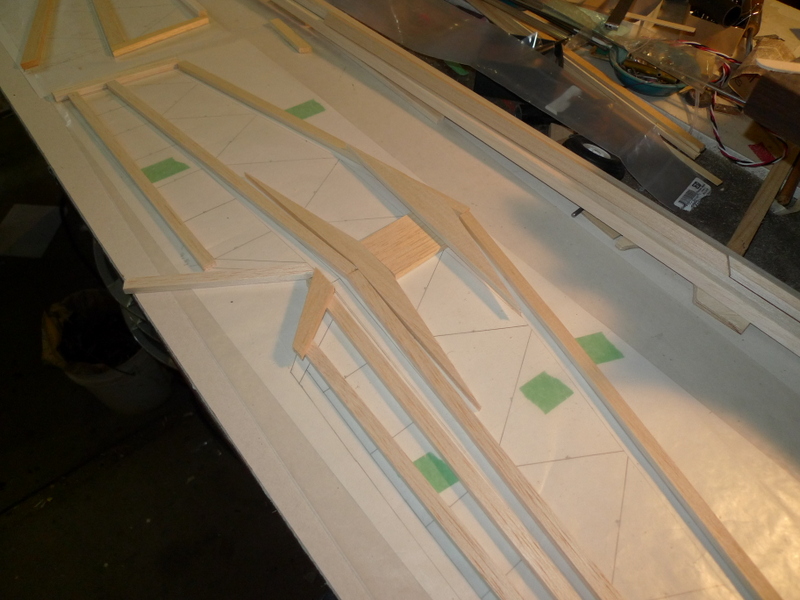
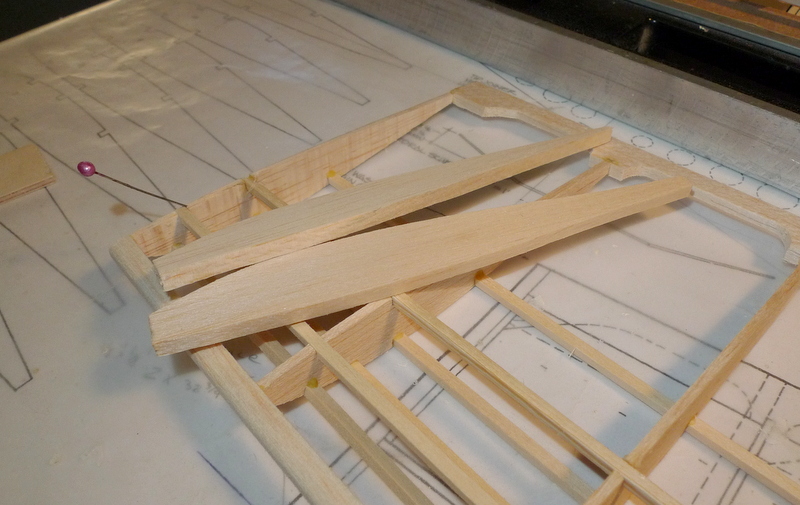
shear web fillers, I cut then all out of 3/8 balsa , some may like to transition to 1/4 and then 1/8 as you proceed to the tip

step by step rib, shearweb, glue. Usually I mark the spars and set the ribs first.
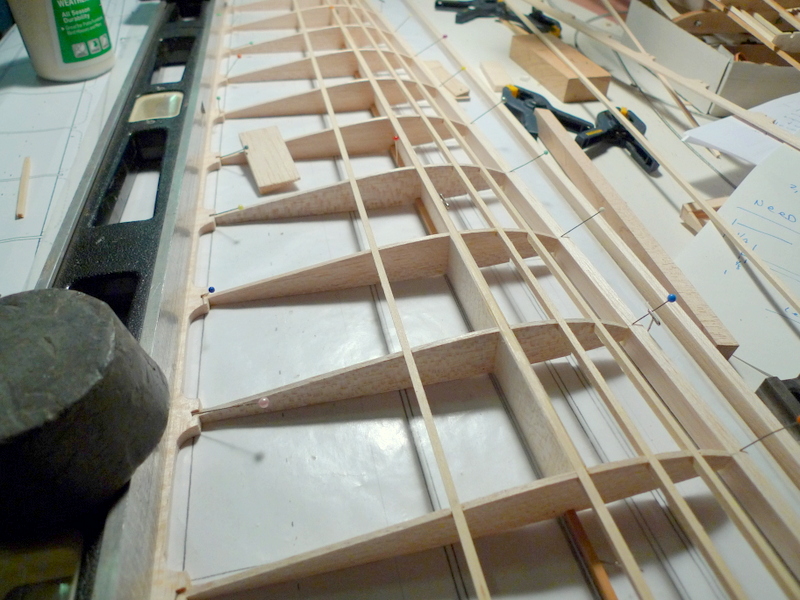
top 1/8 x 3/8 spar stick in place

Here is a more rigid wing, with the notches cut in a couple ribs for spoilers. I am going to build some built up spoilers
Jan 07

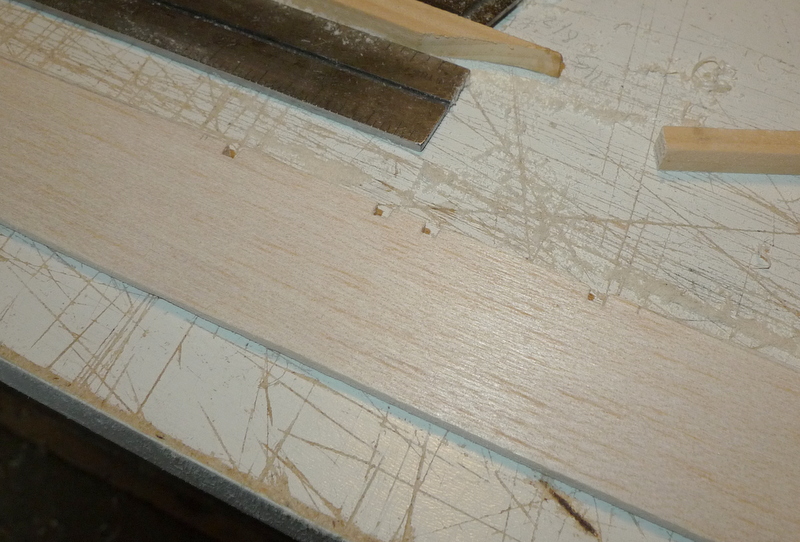
Trailing edges marked for tip panels

1/64 ply for tip joiner box caps
marking scallops on trailing edge
left tip panel

trailing edge in place

1/4 x 1/2 leading edge balsa
3/16 balsa tip caps

adding underside turbulater

58 Grams, is that light, don’t know

both tip panels

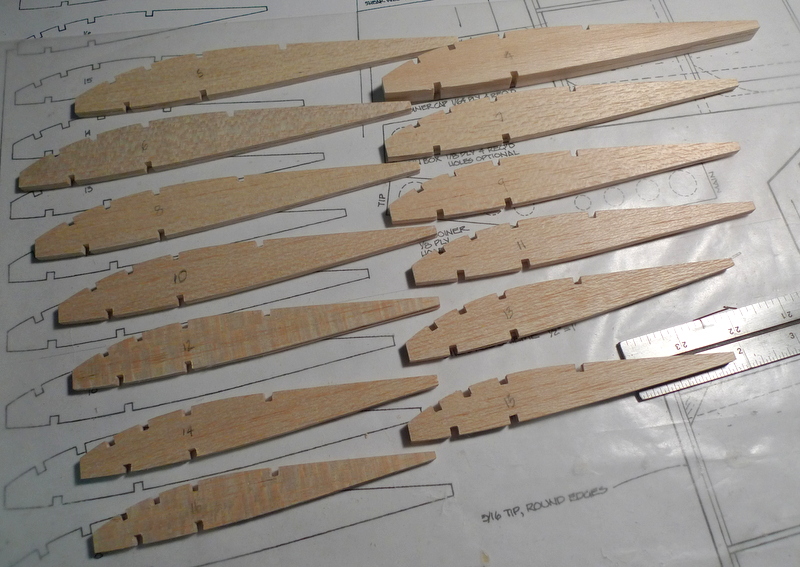
Balsa for ribs
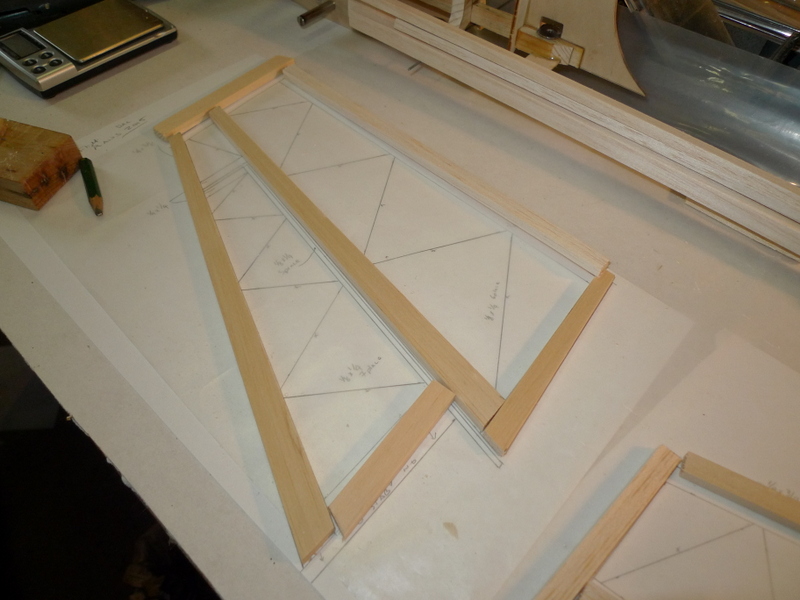
ribset center panel

Main Panel ribset

Main Panel Layout
Jan 03 2016

Rudder to elevator connection, with 4-40 nylon screws, t-nuts and sleeves will be added

All spars, spruce and basswood
t-nuts in place
underside of elevator showing clearance for heads of 4-40 screws

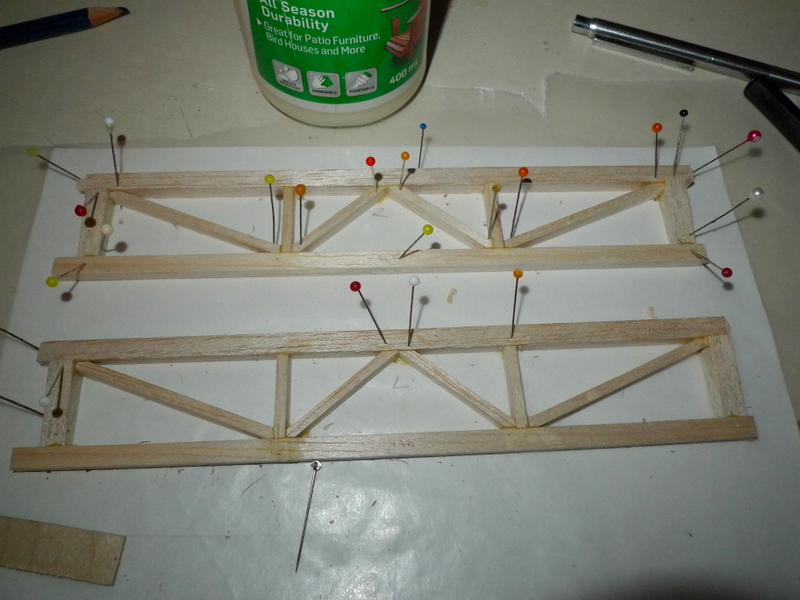
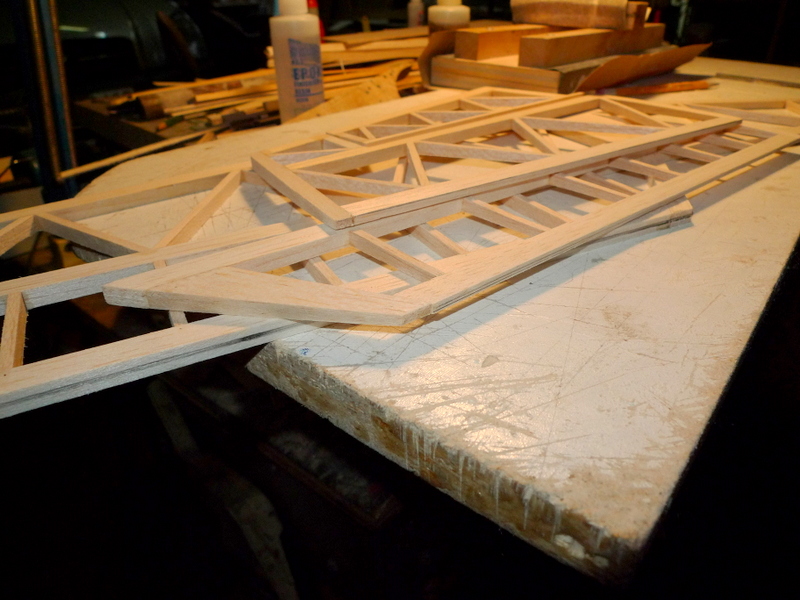
Tip Panel rib sets
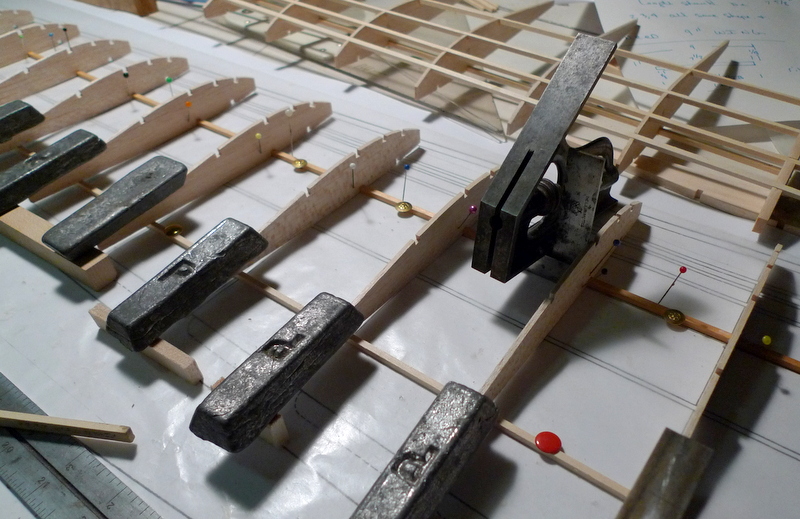
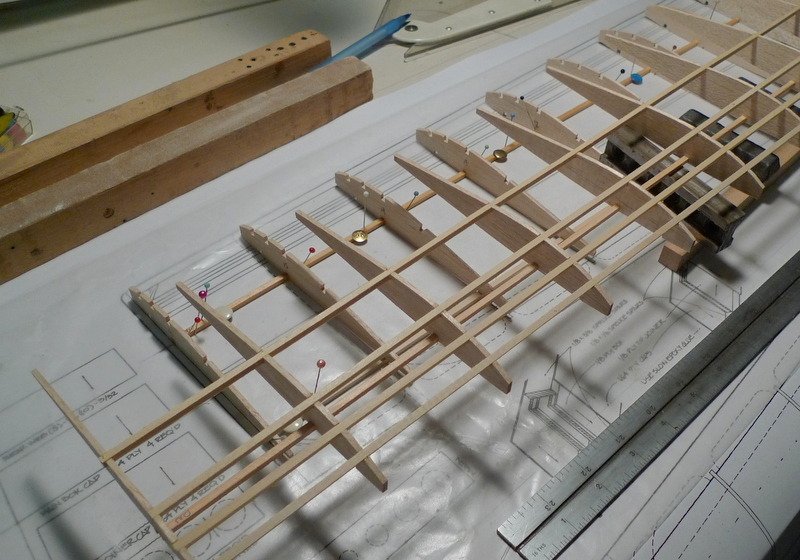
lower spar in place and ribs set for left panel

Left tip panel, with all upper turbulater spars in place


Dec 20

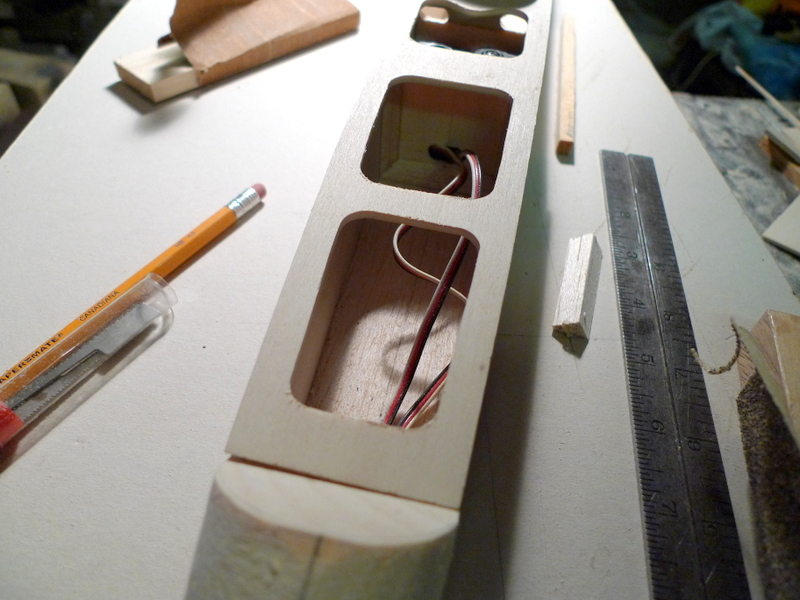
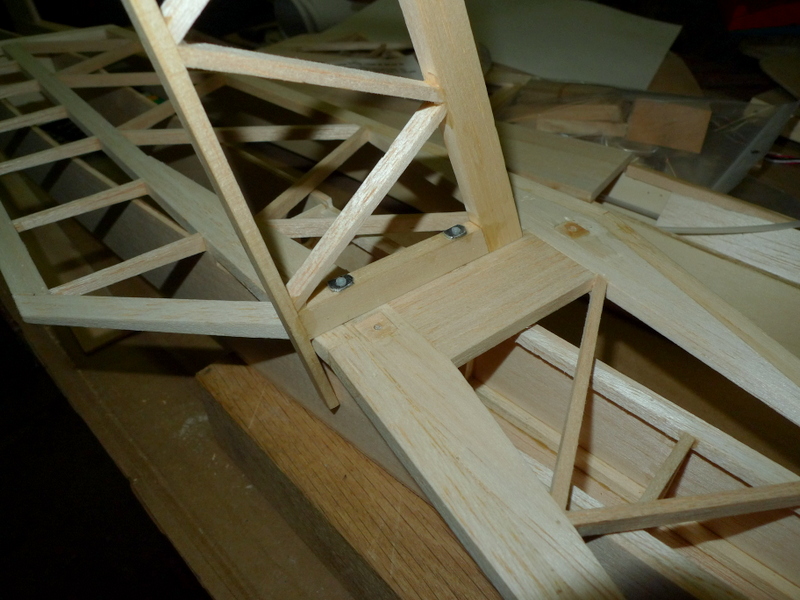
Tow hooks can’t be held tight thru balsa, so I have cut a couple pieces birch ply to go thru the fuse bottom.
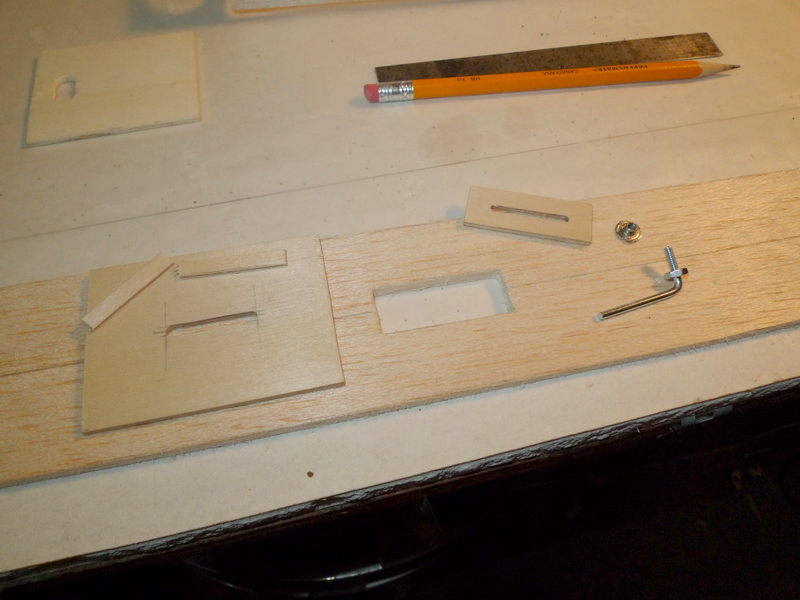
added the slots one for the tow hook and the other for the t-nut

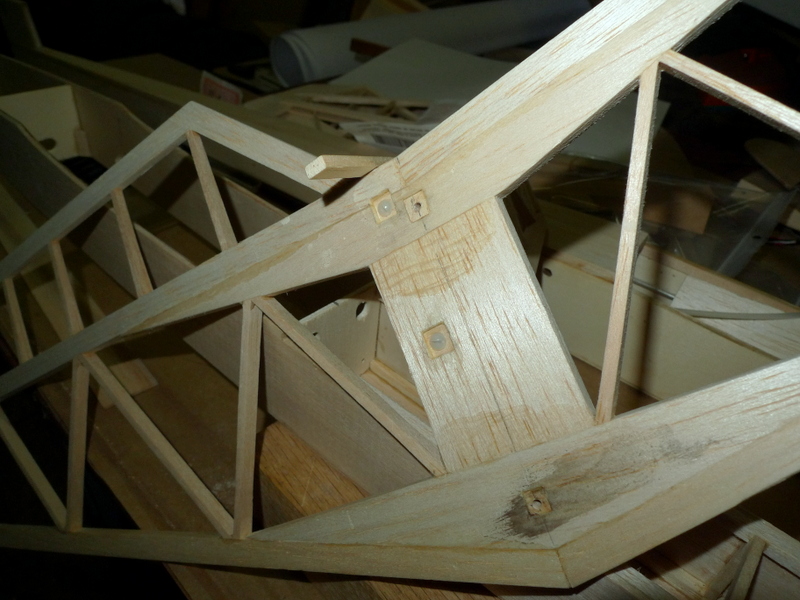
a couple filler strips, to make up the 3/16 balsa thickness

a look at the forward fuse balsa underside, the rear 3/32 balsa is already glued in place

getting the fuse aligned to glue former 4 into place, former 3 which will pick up the LE of the wing won’t get placed until I have the wing

Former 4 also has a couple holes to pass the two push rods thru
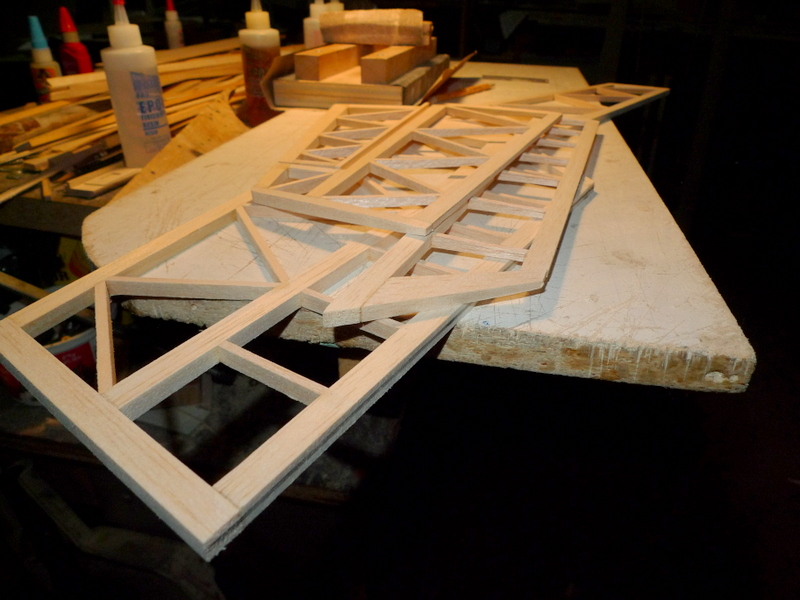
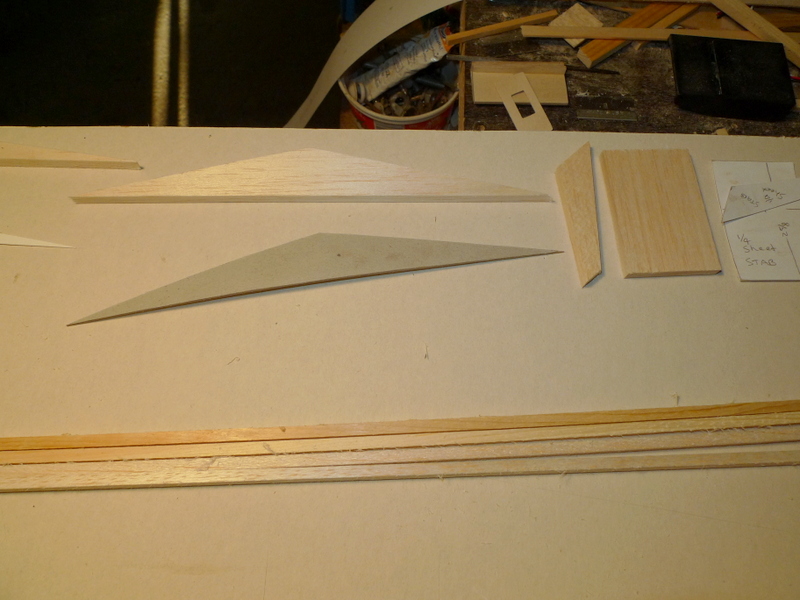
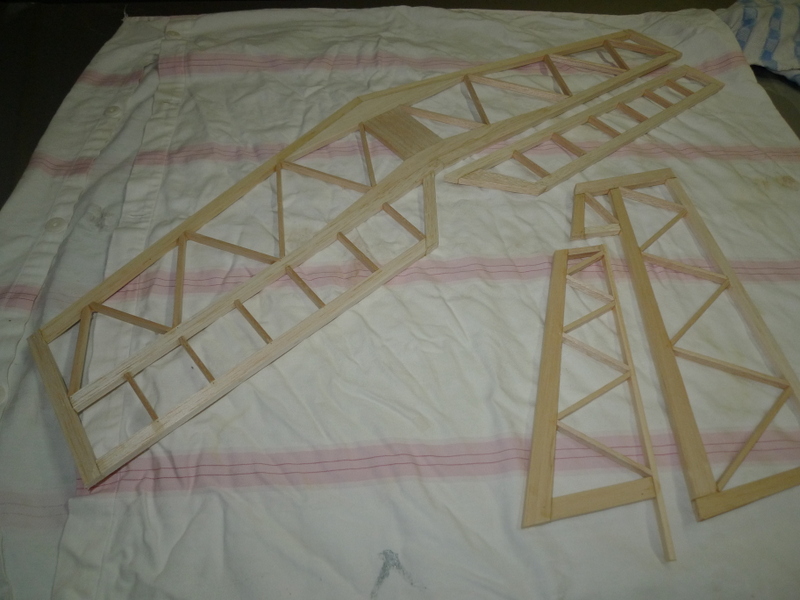
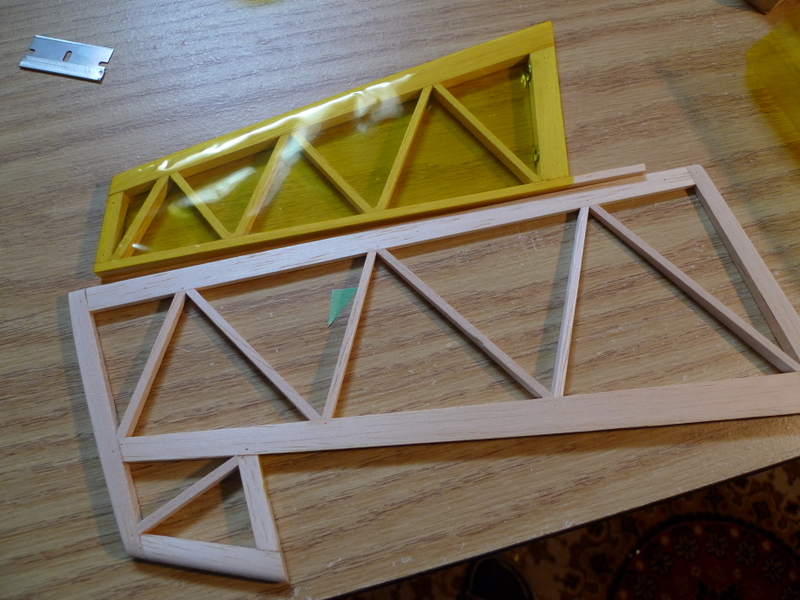
the tail surfaces, quite simple, one side of the rudder gets tapered, and both sides of the horizontal stab TE get tapered.

Dec 17
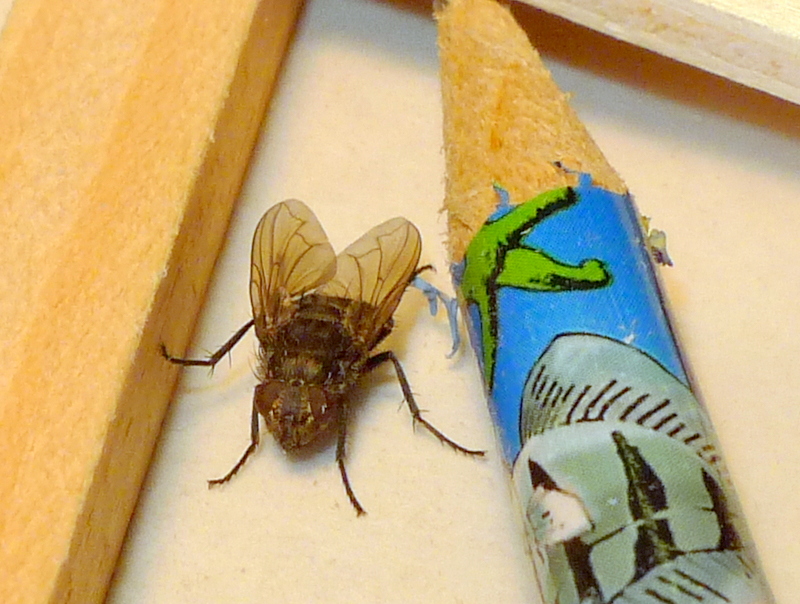
Not many visitors to the Shop, but these guys often drop in when I turn the heat up. Grass Fly or Cluster Fly, not to be confused with House Flies. If you look real close you can tell the difference :):)

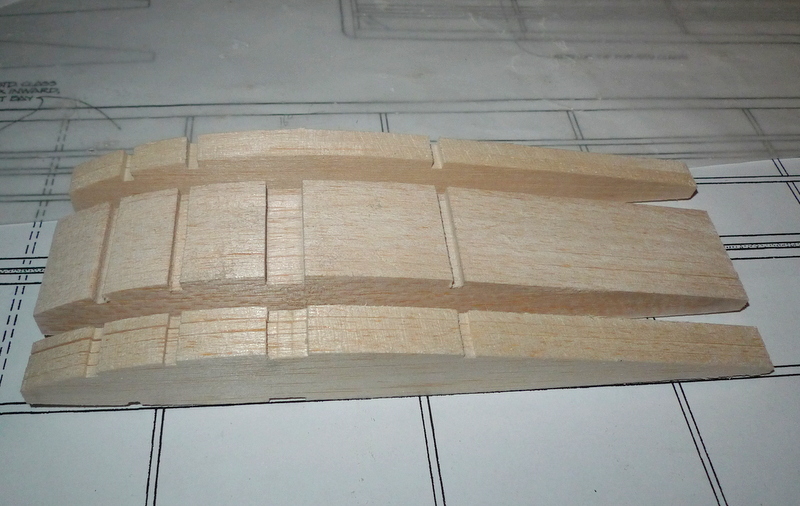
Nose block, 3 pieces of spruce

Rough Cut

Fuselage cross brace supports, 3/32 x 3/16 strips balsa
Cross places cut to length

Pinned in place

Fuse former gussets F2 and F3

Former F2 at 90 Deg, F3 also gets set at 90
Dec 14
Tail Surfaces, mainly 1/4 x 3/8 an 1/8 x 1/4 balsa. A bit of spruce in the fin, and some pre-cut pieces.
I also got a start on the 4 formers for the fuselage and cut the rear fuselage longerons.

The fuselage sides are 3/32 balsa, with a inner 1/32 plywood doubler applied from the nose to beyond the TE of the wing.