Home of the Aquil E
|
|

Aquil E with Out Runner and 2 piece wings
This started as a conversation between Bill and myself on August 11 2013
and not willing to turn down a challenge..
I'm building an E powered Aquila with plug together wings.
Launch anywhere, and Portable 2 part wings
No Hi Start or Winch needed
Aeronaut 10 x 6 folding prop
Hyperion 2220-10 out runner
stab and rudder servos , HS82mg
Not sure what Bill has planned for the Spoiler servos
Battery a 2200 mah 3 cell lipo
I think I'm building a second at the same time, well at least copies of any pieces as I go along!
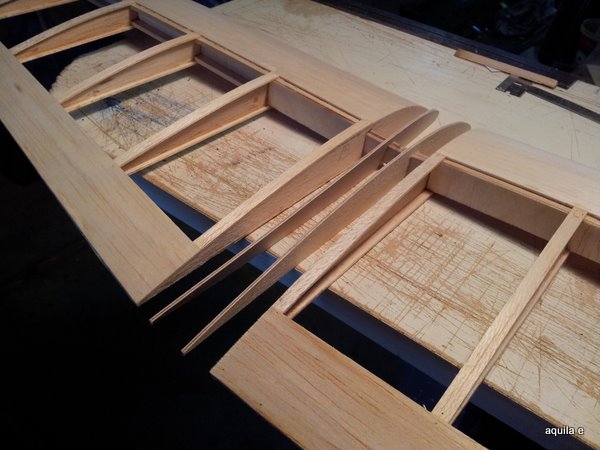
Some more details on the build,
the plane weighs in at 1 KG, before paint , covering and final sanding.
That's with all the goodies in the fuselage, and minus the spoiler servos in the wings
Wings are 175 G each with the spoilers
This is gonna be a light plane, I'm not sure how this compares with the STD Aquila
Sept 13 2013
A month or so after I started this plane, it is off to the Shipping Department.
I had a lot of fun building it, and I really really wish I could be there to see it finished
and witness it's 1st flight.
Oh well it won't be , however I'm sure Bill will get everything together and I'll get a picture, or maybe a video later.
Sept 29 2013
I shipped the plane on the Sept 16th, and Bill received it on the 24th. It arrived at US Customs
4 days after being shipped. They must x-ray this stuff as I had all the metal stuff nicely placed in the fuselage, and that's
what they unpacked .
Oh, well the package spent the weekend with Customs in Plattsburgh.
Next time the metal parts will be packed separate, and be very easy to get at.
Next project is a Skybench Skybird 132" WS kit, it's also going to have a spinner and slide together wing panels.
I should have the kit in a couple weeks .
Preliminary talk also revolving around an Aquila Grande, we have to confirm how the mods worked out with the Aquila E, in particular the
wing tip extensions, and the motor setup before we proceed with this.
Can't wait.
For Information on the Elio
P.S.
This write-up is a work in progress, and is not complete.....
watch for more details


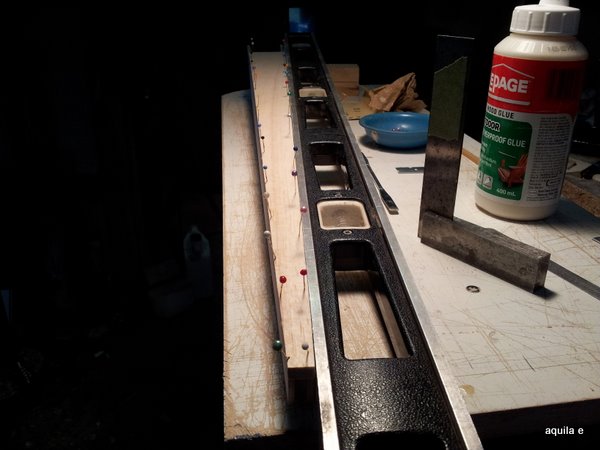 Top fuse deck glued in place, straight edge used on both sides to
 Rear canopy deck 3/4 x 3 balsa
 Motor and spinner installed


